E-Payment Integrator
Table of Contents Show
E-Payment Integration Overview
Companies typically invest a large amount of time and money to create "home grown" systems to integrate E-Commerce capabilities. E-Payment Integrator alleviates the complexity of integrating electronic payment support by providing components with an intuitive interface for handing credit card transactions. There is no need for developers to learn complicated socket programming or security implementation. By using the E-Payment Integrator, developers are able to target and develop for any currently supported payment gateway.
AbleCommerce has integrated with the E-Payment Integrator. It can be used to test the gateway features without having to obtain a merchant account through a third-party payment processing gateway.
Post-order Processing
All AbleCommerce payment gateway integrations offer full support for post-order processing. This means that after an order is placed, you can authorize, capture, refund, and void transactions from the AbleCommerce order administration area.
Some post-order processing features, such as refunds, may require that you enable credit card storage from the Configure > Security > System Settings page.
E-Payment Supported Payment Gateways
The following is a comprehensive list of the payment gateways supported by E-Payment Integrator. Some of the gateways shown below have already been converted to a stand-alone integration which allows us to fully document the configuration settings. If you see a linked version of a gateway in the list below, please use the stand-alone version instead of the E-Payment Integrator.
In the case of payment gateways, one size does not fit all. Even though the E-Payment Integrator supports 93 different gateways, keep in mind that each gateway has it's own configuration settings, and sometimes it can be difficult to setup a new gateway without having explicit documentation written. With this in mind, AbleCommerce technical support will gladly assist you with any of the supported gateways below. Simply open a support ticket for help.
3DSI 5thDimension ACHFederal ACHPayments Adyen AuthorizeNet AuthorizeNetXML BankOfAmerica Barclay Bluefin Converge Cyberbit CyberCash DataCash ECX Eprocessing ExPay FastTransact FirstAtlantic FirstData FirstDataE4 FirstDataPayPoint GlobalIris GoEMerchant GoToBilling |
Heartland HSBC Innovative Intellipay IntuitPaymentSolutions ITransact JetPay LinkPoint Litle MerchantAnywhere MerchantESolutions MerchantPartners MIT MonerisUSA Monetra MPCS MyVirtualMerchant Netbanx NetBilling NetworkMerchants NexCommerce Ogone PayDirect PayFlowLink PayFuse PayJunction PayLeap PaymentExpress |
PaymentsGateway PaymentWorkSuite PayPoint Payscape PayTrace Payvision PlanetPayment PlugNPay PRIGate ProPay PSIGate PSIGateXML QBMS RTWare SagePay SagePayments SECPay SecurePay Skipjack Sterling TransactionCentral TransFirst TransNationalBankcard TrustCommerce USAePay USight Verifi WorldPay WorldPayLink WorldPayXML YKC YourPay |
DEV NOTE: NSoftware's E-Payments component will not work under medium trust. You will need to use full trust for this gateway to function.
Installing the E-Payment Integrator
Login to your AbleCommerce installation.
Using the menu, go to the Plugins page.
Use the Filter Plugins option and select the type "Payment".
NOTE: E-Payment integrator plugin will be available in the list as shown in the screenshot below.
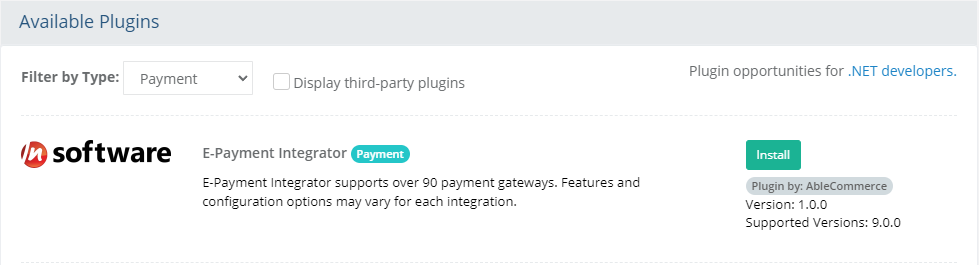
Click the green Install button in the far right column.
When the confirmation popup appears, click the green Yes, install it button.
Upon completion, click the orange Configure button.
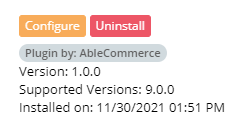
NOTE: Version shown may be different depending on the release of AbleCommerce you are using.
Configure E-Payment Gateway
The E-Payment gateway configuration page is an all-purpose single configuration page which supports multiple payment gateways. The following is an example showing how most configurations will appear.
From Configure > Payment > Gateways page, all of the installed payment gateways will be shown.
NOTE: Visit the Plugins page to install a new payment gateway. There is no limit to the number of gateways that can be install and/or in use.To configure a new gateway, click the blue plus (+) button to continue. If the gateway is already configured, click the Edit button to make changes.
You will now be on the Add E-Payment Integrator configuration page as shown below:
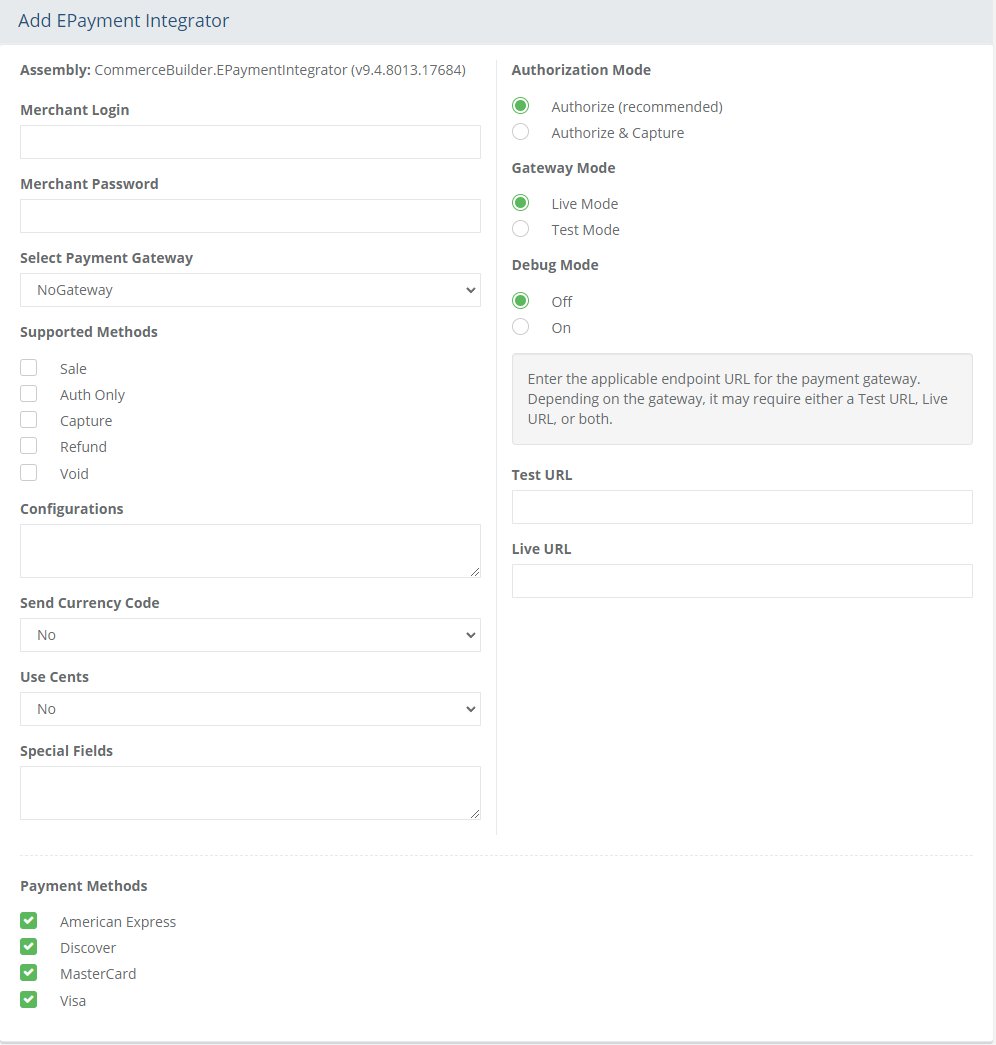
In the field named Merchant Login, enter the account number or information provided by your payment gateway provider.
In the field named Merchant Password, enter the account password or key provided by your payment gateway provided.
Select your Gateway from the payment gateway list. Review the list above and make sure that the gateway selected isn't already created as a separate stand-alone integration. If your gateway is linked in the above section, then click on the link to use a different gateway instead of E-payment integration.
The Supported Methods available for selection are Sale, AuthOnly, Capture, Refund, and Void. Each gateway will have it's own supported methods, so you will need to go to this page and find your listed gateway. Then select the methods that are available in AbleCommerce. Not all supported transaction methods may be available from AbleCommerce.
- Sale: payments are captured at time of sale
- AuthOnly: payments are authorized at time of sale
- Capture: payments that are authorized can be captured after the order is placed
- Refund: payments can be refunded as a post-order processing feature
- Void: authorized payments can be cancelledThe next fields for Configurations, Currency Code, Use Cents, and Special Fields may or may not be used depending on the particular gateway being configured. If you are uncertain, technical support can assist you with the configuration.
Choose the type of Authorization Mode.
Authorize: to request authorization without capturing funds at the time of purchase. You can capture authorized transactions through the order admin interface.
Authorize & Capture: to capture funds immediately at the time of purchase. You should not use this feature unless you are able to ship goods the same day of the sale.
Choose the Gateway Mode.
Live Mode - used for processing live transactions with a production merchant account.
Test Mode - used for testing transactions with a development merchant account.
Debug Mode: When debug mode is enabled, all messages sent to and received from E-payment integrator are logged. This should only be enabled at the direction of qualified support personnel.
Default Log File Location: ..\App_Data\Logs\[gatewayname].log.The Test URL and Live URL fields are used to store the connection link to the gateway. This information is pre-populated when you configure the gateway and should not be changed unless directed by your payment gateway or AbleCommerce personnel.
In the bottom section of the page, find the section called Payment Methods.
Click the box next to all credit card payment methods that will use the configured payment gateway.
At the bottom of the page, click the Save and Close button to finish.