Manage Users
The Manage Users menu allows you to search for user records in your store. From this page, you can add, edit, delete, or simulate a login of the user. Additionally, you may select multiple records to send an email message to one or more users.
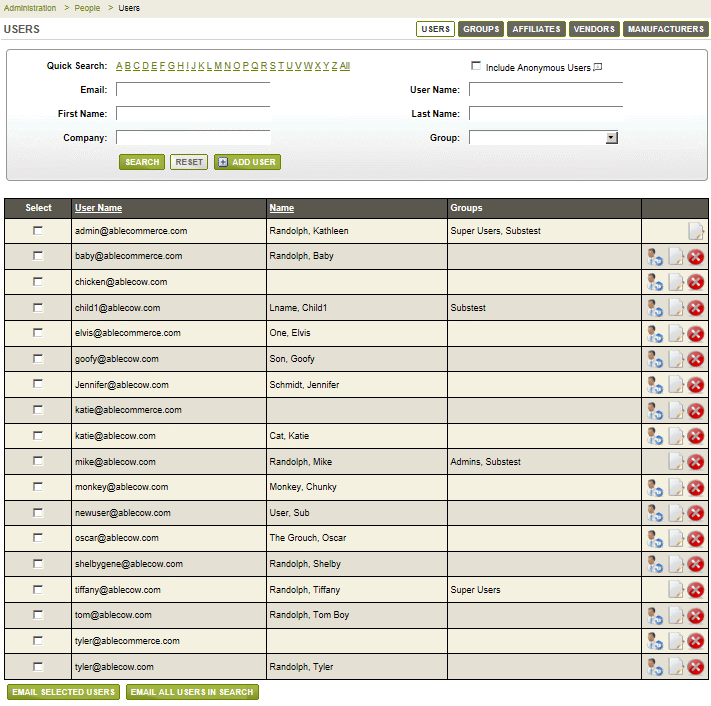
Looking left to right on the page, the search results information shown is as follows:
-
Select - a checkbox used to select multiple users for the Email Selected Users feature.
-
User Name - typically, this is the user's email address used for login.
-
Name - if known, the name of the user.
-
Groups - if the user is assigned to group(s), they will be shown here.
In the far right column, you can login as the user, edit, or delete* a user by selecting the applicable action icon.
* It is not possible to delete the user you are currently logged in with.
Searching for Users
From the top of the Manage Users page, you will have several search options.

-
Quick Search - an easy way to find all records where the username begins with the letter selected.
-
Search fields - use any of the search fields to narrow down the search results. Use of wildcard characters accepted.
-
Group - filter your search to only members of the selected group.
-
Anonymous - check this box to display anonymous user records. These are unknown users who visit the store.
-
Search - after entering your search criteria, click this button to display the results.
-
Reset - use this button to reset all fields to their default blank state.
-
Add User - create a new user registration.
Email Users
At the bottom of the Manage User's page, you'll see two button options to email users. You can make your record selections by using the search form, individual selection of user records, or both.
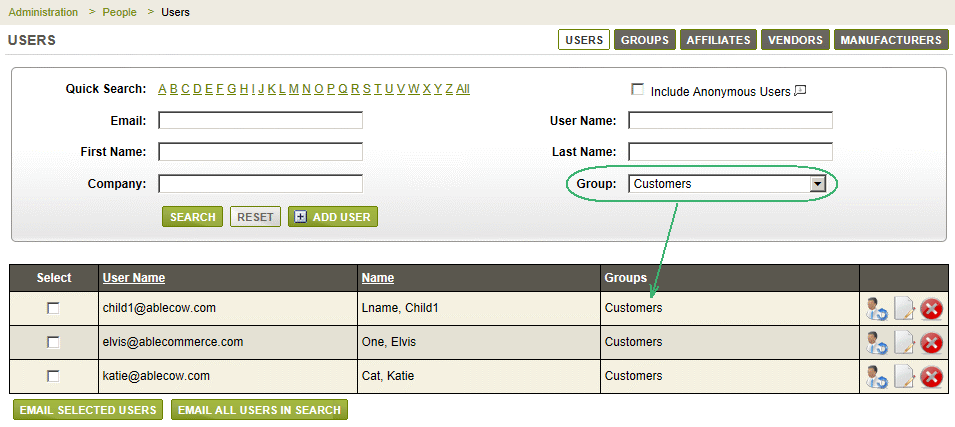
The example below shows a search by Group. This store has a custom group named "Customers" which can be used for many purposes. In this example case, we are going to send an email to all users that are assigned to the "Customers" group.
-
Using the search form, filter the user records as needed to show only users that will be sent an email.
-
Click the EMAIL ALL USERS IN SEARCH button to continue.
-
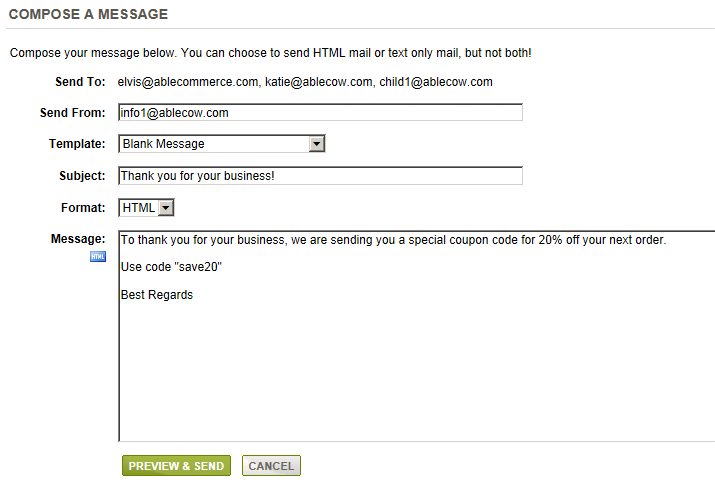
The Compose a Message page will appear.
-
The email recipients will be displayed in the Send To row.
-
The Send From email address will pre-populate from the default email settings. You can change this email address as needed.
-
The Template selection will be a Blank Message by default. You may select an email template from the list provided, or you can compose a new message.
-
Enter the Subject line for the email addressing.
-
Select a format to send your email. HTML is the default choice, or you may send a plain text message.
-
Enter your message in the format selected. If using HTML, you can click on the icon to use the built-in editor.
-
When finished, click the PREVIEW & SEND button.
-
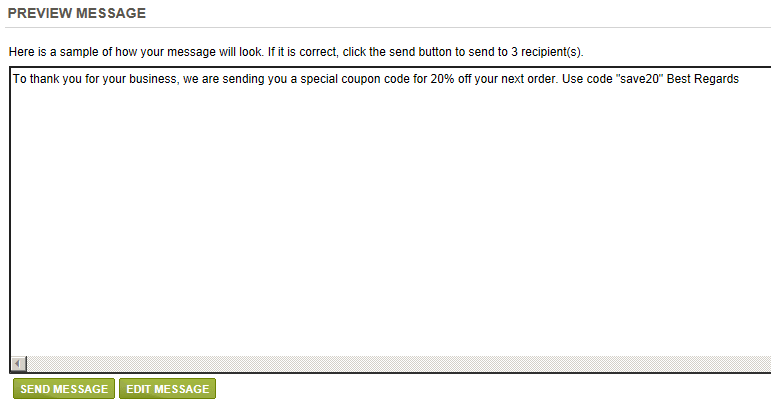
Review your message and click the SEND MESSAGE button, or you can revise the message by clicking EDIT MESSAGE.
-
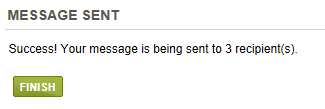
After sending the email, a final confirmation page will be shown.
Go to Site Map