Categories > Manage Product Templates
Manage Product Templates
From the Product Template page, or from the top-menu, go to Catalog > Product Templates. An example page is shown below.

The Product Template management page displays the name of each Template Name, and the number of Merchant Fields and Customer Fields for each one.
In the Products column, a counter indicates the number of products that are associated to the Template. For products assigned to Templates that are using Merchant fields, this information is displayed within the Product Editing pages. For products assigned with a Template that is using Customer fields, the information is displayed within the product pages of the retail store.
To change the name of a Template, or if you want to edit/add Merchant and Customer Fields, click on the EDIT icon.
![]()
The COPY icon creates a duplicate set of the selected Template and all of it's input fields. Click the DELETE icon to delete a Template, it's input fields, and any product associations.
Assigning Products to a Template
-
To assign products to the Template, click on the linked number counter in the Products column.
-
This will bring you to a search form that looks similar to the one shown below.

By default, you will see any Assigned Products that are currently associated to the Product Template.
Using the detailed search form provided, you will be able to easily find more products that can be assigned to this Product Template. -
Type in some search criteria, or select a filter, then click the SEARCH button

In the results section below, you can check the top box in the first column to select all product results, or select individual items as needed. -
To associate product(s) to the Product Template, simply click the green PLUS icon in the Link column.
-
Or you may select one or more products using the checkbox, and then use the batch options to Assign or Remove Selected products to/from the Template
-
You can remove the association by clicking the red delete icon.
-
When finished assigning products, click the CANCEL button to return to the Product Template page.
Assigning Templates to a Product
-
From Product Editing page, click on the Product Template tab.

-
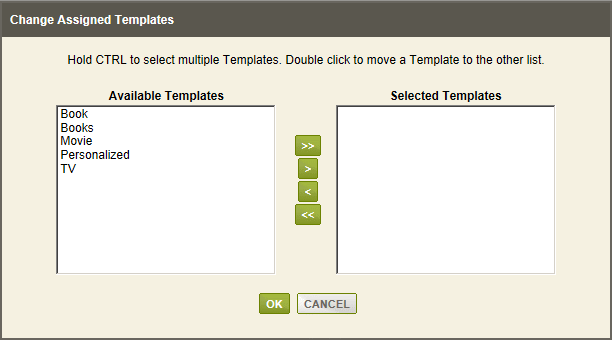
Click the Change link to add or remove Templates associations.

-
After making your selection, use the right arrow to move it to the Selected Templates list.
-
To remove a selection, select it from the right list and move it to the Available Templates list on the left.
-
Click the OK button to finish and view your changes.

Depending on the type of input fields used in your Product Template, the results will either be displayed for the customer or the merchant. Let's take a look at an example for each.
The Personalization template, used for this example, only uses Customer input fields.
These appear on the retail product page as additional selections or input forms.

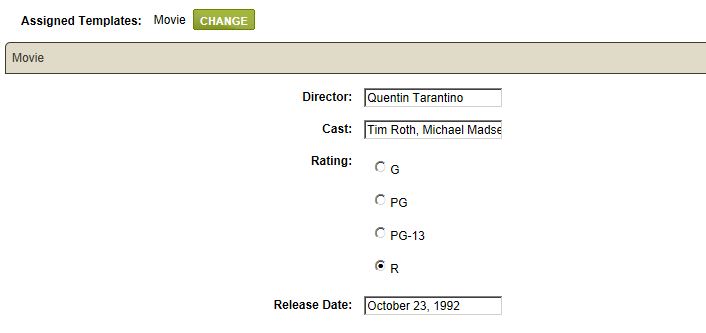
If you are assigning a Template that uses Merchant input fields, then it will be displayed in the product editing area.

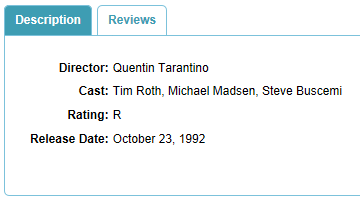
Administrator users can create custom product attributes using templates. This eases adding repetitive information in the product descriptions.
In the example above, a custom Movie Rating template was used to output some common information on the product description page.

You can add as many Templates to a product as needed. The results of the input form will be shown on the product pages for all that it is assigned to.
Go to Site Map