Square POS Export and Import
Table of Contents Show
Mapping Data between AbleCommerce and Square
The purpose of the integration with Square POS is to keep your product sales from the AbleCommerce online store in-sync with sales performed at a physical location. After installing the plugin and performing configurations with your Square merchant account, you can import AbleCommerce products and begin selling through the Square app (in person) and continue online sales. There is no need to worry about adjusting your product inventory from either platform. It will always be kept in-sync if you follow the instructions below and understand a few basic requirements.
Before starting your export, it's important to first understand what data will be kept in-sync and how that happens. The SKU of your product or variant is used to perform the sync in real-time. Make sure all the products in AbleCommerce have a SKU before beginning. Variants are also supported, but they must have their own unique SKU in order for the data to be kept in-sync.
Important: There can be no duplication of any SKU or the data sync may result in incorrect results in the Square app. However, once the products are mapped, you can change the SKU in either application, and it will reflect properly to the item in Square or AbleCommerce.
By default, the information that is kept in-sync between AbleCommerce and Square:
Product Price
Product SKU
Variant Price
Variant SKU
Product GTIN
Variant GTIN
Product Inventory Level
Variant Inventory Level
Product Names (not a default setting)
Descriptions (not a default setting)
You may also sync Product Names and Descriptions, although it's not recommended from Square to AbleCommerce. Please refer to Square POS settings to change what information is automatically synced or to enable these optional features.
If you make any updates, either automatically from a sale, or manually through either application, the corresponding information from the above list will be updated instantly for both Square and AbleCommerce.
Exporting Products for Square
Get off to a good start with this checklist before creating your export CSV file -
Do all your items and variants have a unique SKU? The SKU will be used as a match field during the mapping process.
Do you have inventory control enabled for all items and variants?
Are you inventory counts accurate?
Variants must be using the "Override" price and weight options. The "Modify" option where base + variant price and/or weights are combined is not supported in Square. Each variant SKU must be unique. Confirm these variant rules before exporting.
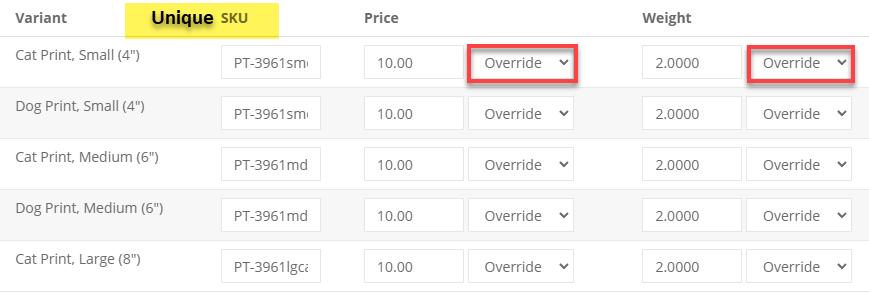
The Catalog > Batch Edit > Products page is a great place to confirm all of the above. For variants, you will need to confirm from the Manage Variants page for each product.
Export in smaller batches by selecting a single category...Square does not support a complex category structure.
After the import to Square, don't forget to Map your Products from AbleCommerce.
Preparing the Export File
You can export all of your products or you can select products by searching and then doing a batch export. Both export procedures are nearly the same. For the purpose of this process, we will show you how to export products using a selection. If you wish to export all products, there will be no selection necessary. You can just click the Export All Products button and proceed to step 8 below.
Using the menu, go to the Data Transfer > Square POS> Export page.
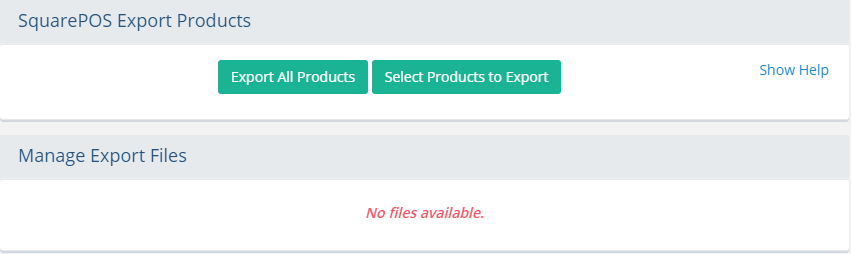
Click the Select Products to Export button to begin.

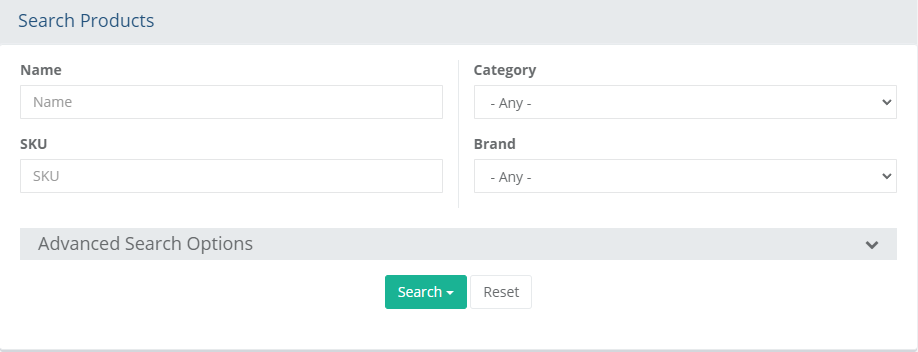
Use the Search Products form to find products for export.
IMPORTANT: The category features within AbleCommerce are more complex than Square offers. For example, products within AbleCommerce can be assigned to more than one category. It is recommended that you create exports of products with that in mind. The final export file will include the name of the sub-category, but not the entire structure.
After clicking the Search button, the results are shown in the grid below.
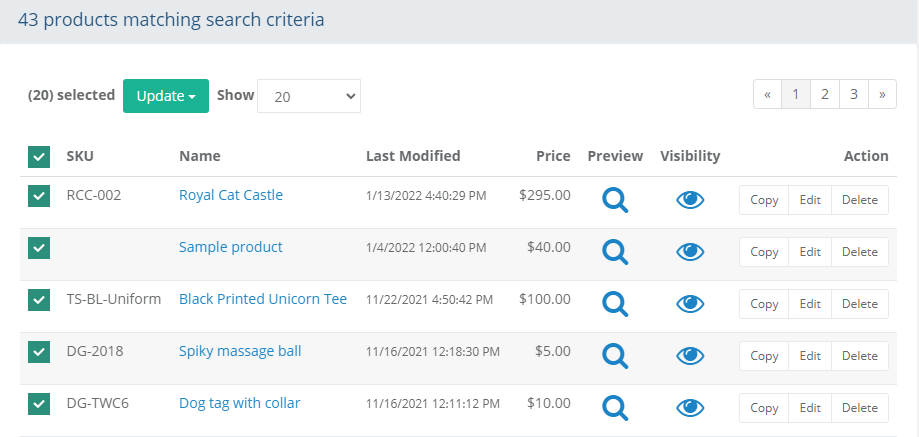
To export, you must select at least one products by checking a box in the first column.
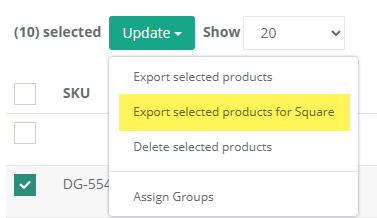
At the top of the search results, you can view the total number of products selected.
Click the Update button to show a list of options. Choose the Export selected products option from the list as shown below.
On the next page, the product field naming has been adjusted to match Square's data import requirements.
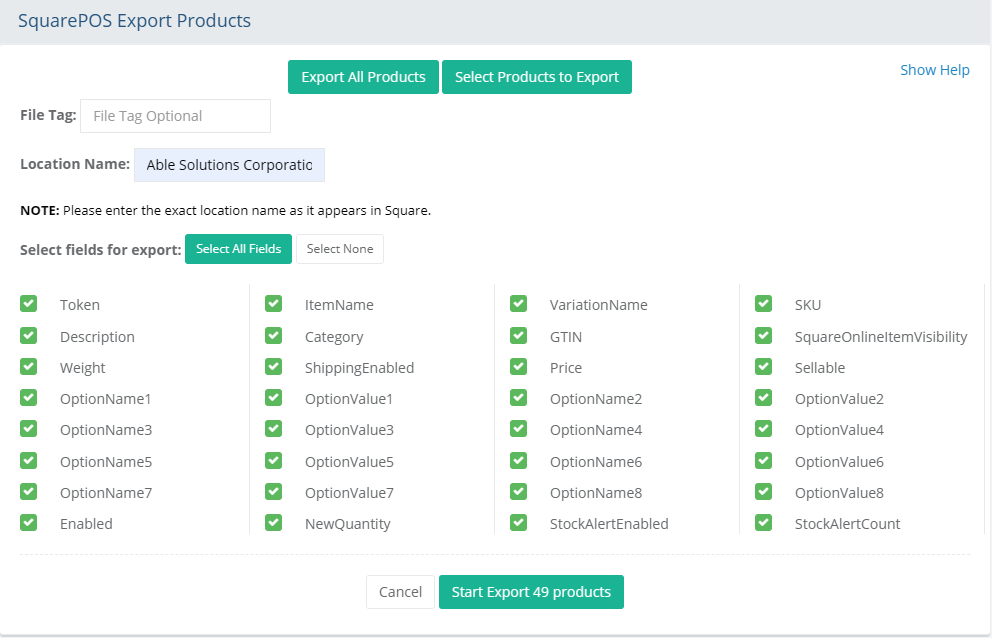
In the optional File Tag field, you can use your own naming conventions for the exported file.
You must enter the Location Name before starting the export. You can find this information on the Square POS > Settings page.
Using the buttons, select the fields to include in the export. There is a button to Select all Fields, or you can press Select None and then individually pick fields to be output.
A list of the product fields available for export is shown in the above. These are the fields that Square is expecting for the import.
The export button indicates the number of products that will be included in the export.
To start the process, click the Start Export [# of Products] products button and wait for the process to complete.

NOTE: It can take some time to complete the process. This depends on the number of products and fields selected. To reduce the time for export, we recommend following the instructions in the next section.When finished, you can view your product export file(s) as shown in the example below.

In the first column, the file name is shown. An archived (.zip) file is automatically created for the exported product data.
The second column shows the actual size (in KB) of the product export file.
In the next column, you can click the Download icon to copy the product export file to your local computer.
In the last Action column, you can click the Delete icon to remove the file permanently.
NOTE: After the export is completed, you can also find your file in the ..\App_Data\DataExchange\Download folder.Download the file in preparation of importing to Square.
Unzip the file. Open the CSV in Excel and view the data to make sure everything looks as expected.
Importing Products to Square
This step requires that you have the Square POS plugin installed and configured. If you have not completed this process, see Square POS settings first. The instructions here assume that this is an import of NEW products. Square offers the option to "overwrite entire item library" which should be used with caution.
Login to your Square account.
From the menu in the upper-left corner, expand Items & orders. Then go to Items.
Before importing, go to the Categories menu. If desired, create new top-level categories that correspond to your product import(s).
Next, go to the Item library page.
Using the Actions button, drop-down to Import library.
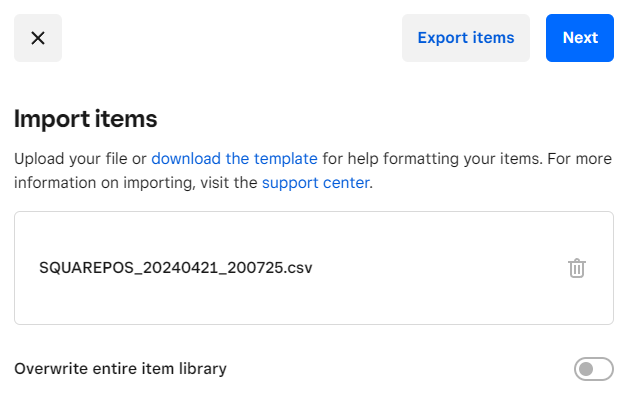
Drag your CSV file from the AbleCommerce Square Export into the space provided.
Click the Next button.
On the Sync data page, you should review the data being matched to Square's catalog. Make sure everything appears correct. You should not have to make any adjustments. If everything looks good, click Next.
The import will begin. If there is an issue, a popup dialog will appear. You can then download the error report and investigate.
Note: errors may occur if the data is not in the expected format.Upon successful import, you will be notified with a success message.
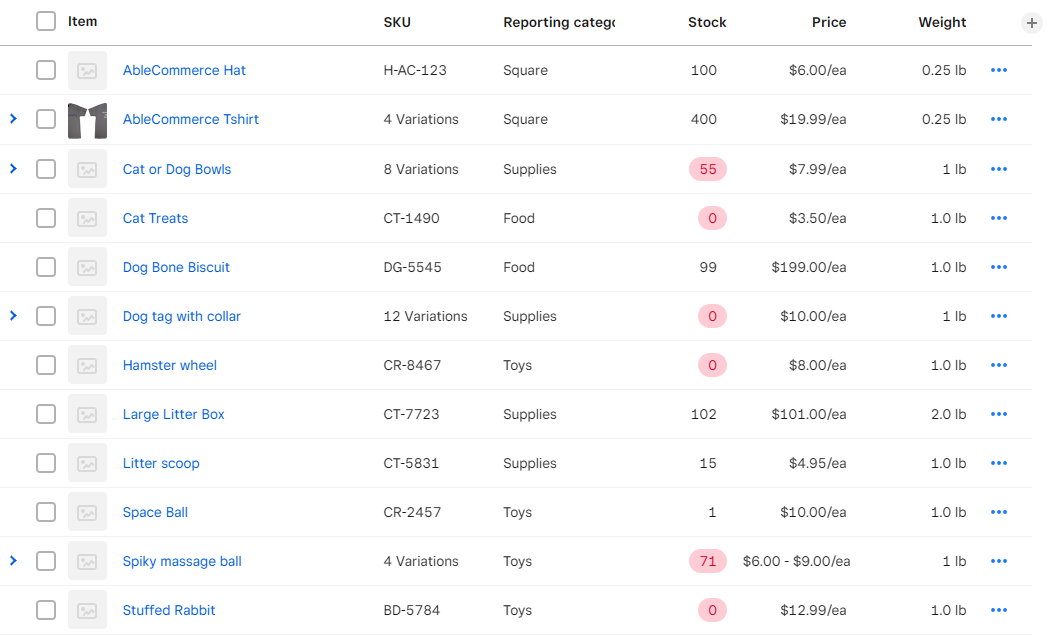
Refresh the Item library page to view your items.
You can adjust the fields to display on this page.
The final step is keeping your AbleCommerce and Square catalogs in sync. This is an automated feature, please go to Square POS settings to complete the configuration of Square POS and Map Products to Square from AbleCommerce.
A few more things to note:
The SKU is the data used to match AbleCommerce products to Square items. If the SKU is unmatched, no data sync will take place.
Product images need to be served from the Square platform. If you need images to appear with each item, those will need to be added through Square's Image library or assigned to each product or assigned to each item individually using their recommended image sizes.
Locations in Square are not the same as Warehouses in AbleCommerce. Unfortunately, we are unable to support products residing in multiple physical locations until further enhancements are made to the AbleCommerce platform to support this feature of Square.
Additional features in Square that you should review are Channel listings, discounts, and Custom attributes.
Although exporting and importing to Square is much more efficient, you can also add items to Square individually by following the instructions below.
Manually Add Products to Square
Although it can be done, the recommended method for adding new products is to first Export from AbleCommerce and import to Square. Just remember to use the Map Products to Square after importing. If you want to manually create a product in AbleCommerce and then repeat the process in Square, use the following instructions. You will still need to Map Products to Square.
Login to https://squareup.com and use the Quick access menu to open the Items page.
Click the Create an Item button from the upper-right corner of the page.
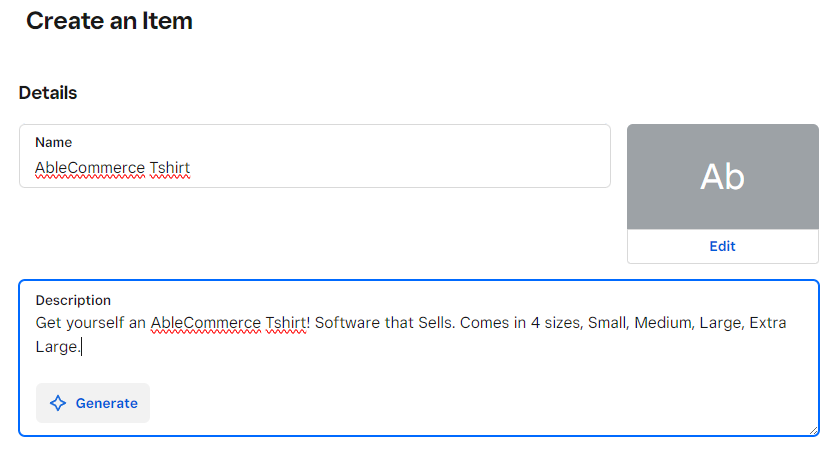
Enter a Name and Description for the item. This should match the name and description in AbleCommerce catalog.
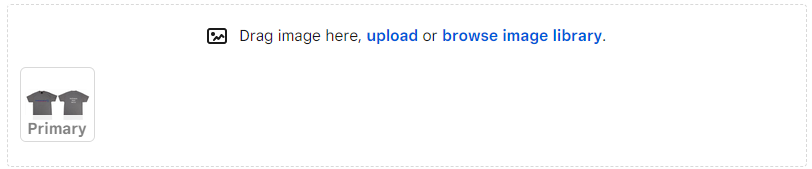
Add a product image. Drag an image, upload, or browse image library.

Select one Location for the new item. Keep in mind that AbleCommerce currently supports a single location per item.
Choose a Category for the new item. This should match the category name used in the AbleCommerce catalog.
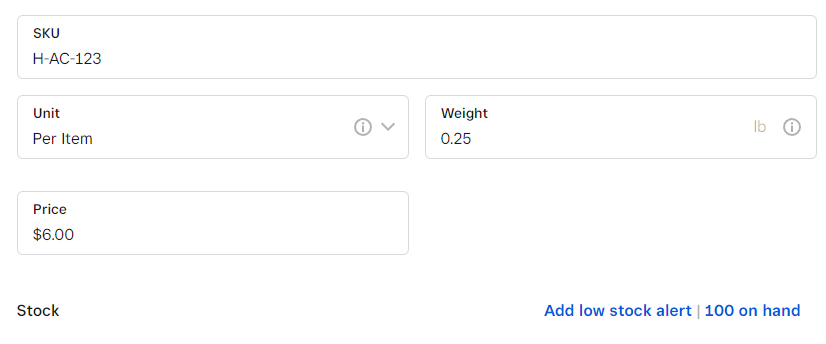
If the product does not have options, then enter a SKU, Weight, and Price. Update the inventory levels.
Save to add the new item.
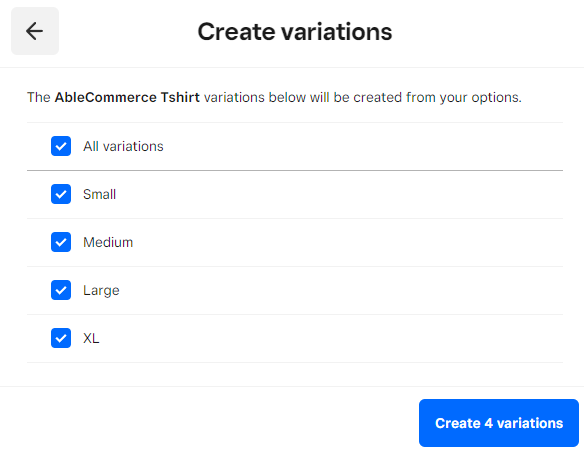
Add options if the product uses them. These need to match AbleCommerce product variants.
The item SKU is used to match the same item in AbleCommerce. Make sure to enter the exact matching SKU's for the item or each variant.
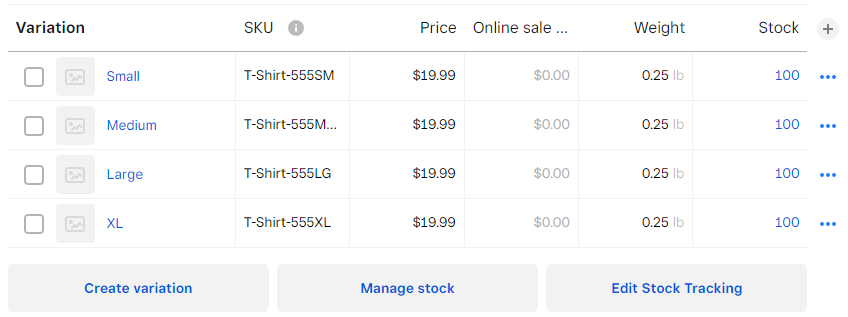
Carefully compare the variant setup between Square and AbleCommerce to make sure values, such as price, weight, and stock are matching for both catalogs.
NOTE: AbleCommerce can use the base product price and weight while Square requires this information to be entered for each variant.When you've finished adding products to Square, they will appear on the Items page as shown in this example.
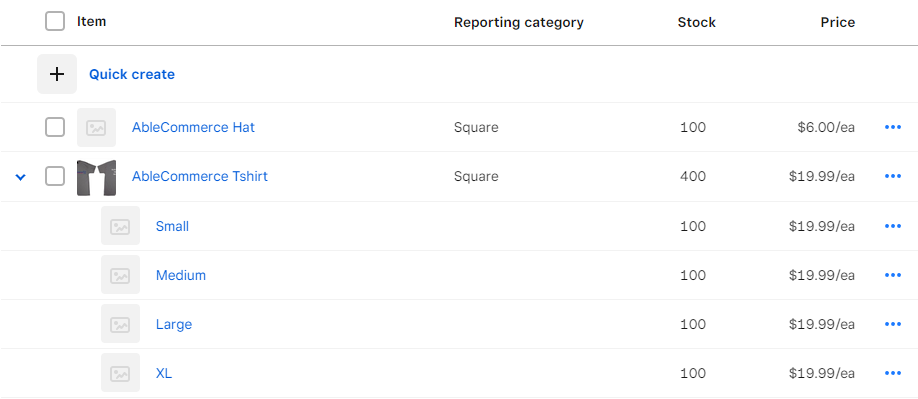
The final step is keeping your AbleCommerce and Square catalogs in sync. This is an automated feature, please go to Square POS settings to complete the configuration of Square POS and Map Products to Square from AbleCommerce.
As long as the SKU's match between AbleCommerce and Square, inventory levels will match between both catalogs.
Troubleshooting
If you are finding that a product attribute is not updating, confirm the SKU is a match between Square and AbleCommerce. If the SKU was unmatched, then you can update it in AbleCommerce and run the "Map Products to Square" function from the Square settings page in Ablecommerce.
Product and Variant weight mapping is not an available feature in Square. Weights can be imported for both products and variants though. Weights cannot be kept in sync, so if they are changed, it must be done in both applications or use the import to update the products in Square.