Square Point of Sale
Table of Contents Show
Point of Sale, or point of purchase, is where you ring up customers and accept payments. When customers check out online, walk up to your checkout counter, or pick out an item for you stand or booth, they're at the point of sale. A POS system allows your business to accept payments from your physical storefront and your online ecommerce store.
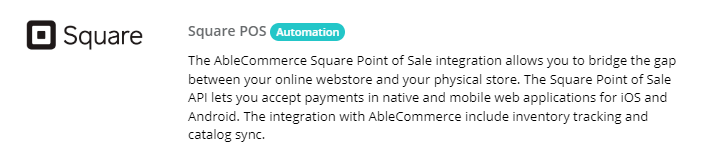
The AbleCommerce - Square Point of Sale integration allows you to bridge the gap between your online store and your physical in-person sales. The Square Point of Sale API lets you accept payments in native and mobile web applications for iOS and Android. The integration include inventory tracking and a catalog sync with support for product price updates, inventory, and more.
The main benefit is that you'll be able to keep your inventory counts accurate. If a sale, return, or restock is made from either Square or AbleCommerce, both systems will automatically reflect the correct inventory amounts.
Additional support for credit or debit card payments, Apple Pay, and Google Pay is available with the new AbleCommerce - Square Payments integration. A secure alternative to storing credit cards and proving PCI compliance. The Square Payments option is included in AbleCommerce version 9.0.10 and higher.
![]()
Part 1: Configure Square with AbleCommerce
Before you install the AbleCommerce's Square POS Plugin, you will need to first obtain a Square production account:
Step 1 - Obtain a Square Account
Skip this step if you already have a Square account.
Go to https://squareup.com and create a new account, or login with an existing one.
When creating a new account, choose, at a minimum, Square Point of Sale software.
Next, choose how you will run the business by adding "On-the-go" and "Brick and mortar".
Select what hardware to use for taking payments in-person. The Square Reader is free.
There is optional add-on software for payroll, employees, etc. These are not needed for AbleCommerce.
Finish the account setup steps by providing your business and banking information.
After the account is created, make sure to download the Square Point of Sale app using the QR code provided.
Continue to the Square Dashboard. Before adding products, continue with the next steps.
Step 2 - Obtain API keys for Square Oauth
Confirm you are still logged in to your Square Dashboard.
In a new browser tab, navigate to https://developer.squareup.com
The first step is to create an Application. Use the +Add option to launch the application wizard.
Enter a name for the application. (e.g. AbleCommerce POS) and click Next.

From the next screen, choose the following options before clicking Next:
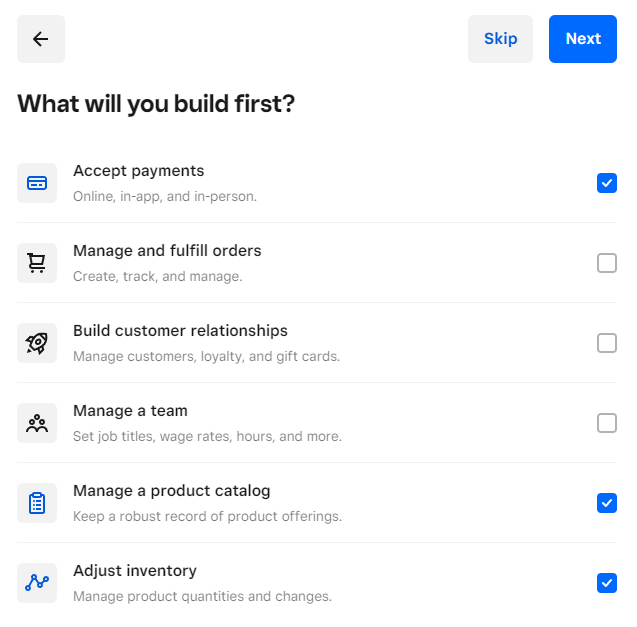
Accept payments
Manage a product catalog
Adjust inventory
On the Find your audience screen, choose "A company" and click Complete.
From the Developer Dashboard, select Production mode.
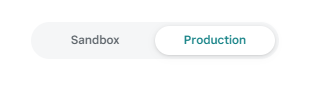
Note: If you wish to begin in Sandbox mode, you can ReAuthorize the Square application after initial configuration and testing.From the left menu, select OAuth.
There are two pieces of information you will need to install the AbleCommerce Square POS plugin.
Production Application ID
Production Application Secret
The Production Redirect URL will be given to you in the next section, so stay on this page.
Step 3 - Install the Square POS Plugin for AbleCommerce 9
In a new browser window, login to your AbleCommerce merchant admin.
Using the menu, go to the Plugins page.
Use the Filter Plugins option and select the type "Automation".
Find the Square Point of Sale plugin.
Click the green Install button in the right column.
NOTE: The Square POS Plugin is only compatible with AbleCommerce version 9.0.10+When the confirmation popup appears, click the green Yes, install it button.
One the plugin is installed, you will need to configure it.
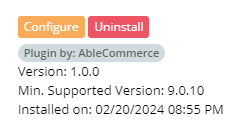
From the same Plugins page, find Square POS and click the orange Configure button.
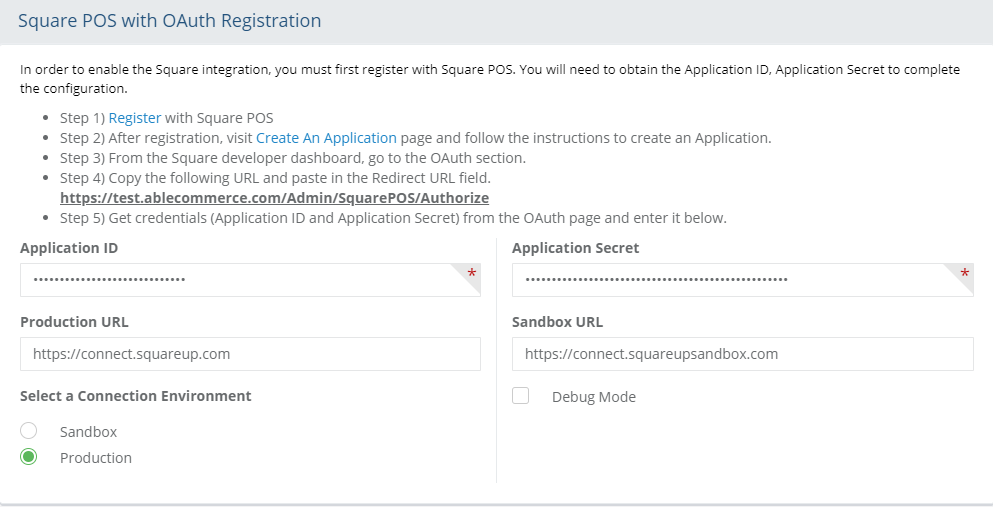
Copy the URL given in Step 4) of the on-screen instructions of the "Square POS OAuth Registration page" within AbleCommerce. Reference the screenshot above. The URL will be different than the example as it is generated using your licensed domain name.
Return to the Square Developer > OAuth page from Part 1 - Step 2 above.
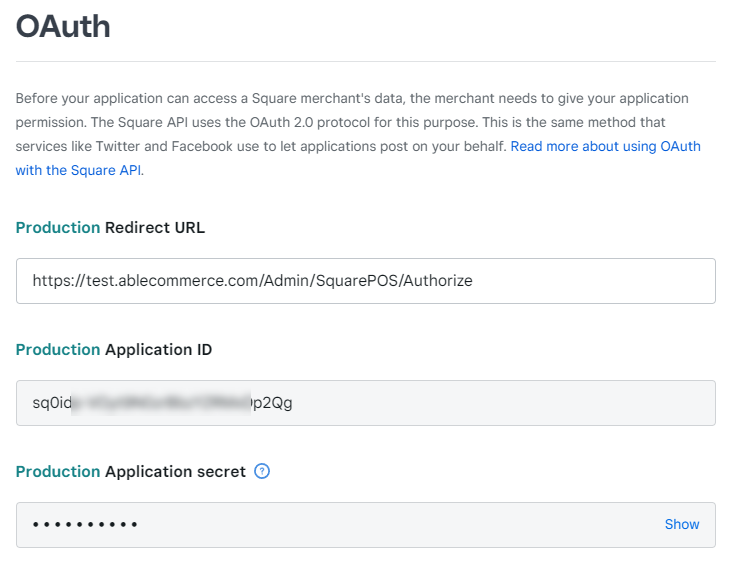
In the first field, paste the Production Redirect URL. Again, this will be different from the example screenshot above.
Next, copy the Production Application ID from Square to the Application ID field on the AbleCommerce Square Registration page.
Return to the Square OAuth page. Use the Show link to display the Application secret. Copy the code from Square and enter it into the Application Secret field on the AbleCommerce Square Registration page.
Return to the Square OAuth page and click the Save button before continuing.
Return to the "AbleCommerce Square POS with OAuth Registration" page and confirm the Connection Environment is set to Production.
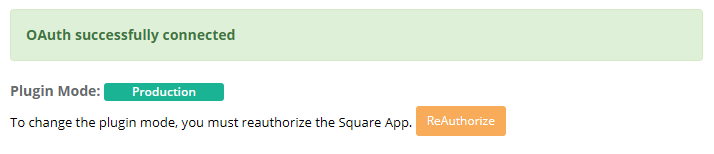
Click the Authorize button in the admin footer. If everything was entered properly in both configuration pages, you will see the main configuration page within AbleCommerce Square POS page and a success message.
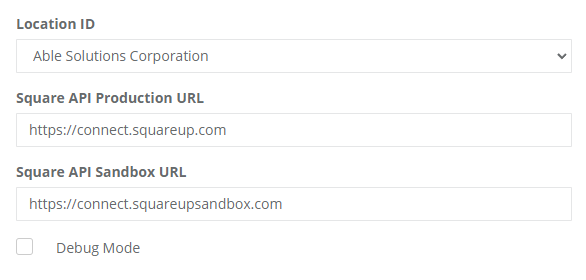
In the General Settings section of the Configure Square POS page, select the Location ID for your business.
IMPORTANT: If you ever need to reconfigure the AbleCommerce Square plugin for a different production account, or to switch between Sandbox and Development modes, then you must ReAuthorize the Square Application using the orange button available under Gateway Mode.
Step 4 - Configure Square with a new Webhook for AbleCommerce
Webhooks are used to enable the different features within Square so they can be used with AbleCommerce. A Webhook is a way to automate changes between the two applications. This step is required for catalog and inventory updates.
Confirm you are still logged in to your Square Developer Dashboard.
From the left menu, go to the Webhooks > Subscriptions page.
Click the Add subscription button.
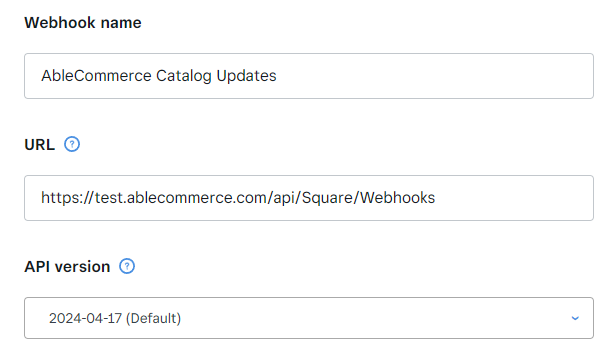
In the first field, enter a Webhook name. (e.g. AbleCommerce Catalog Updates)
For the second URL field, you will need to return to the AbleCommerce Square POS Plugin page and view the configuration section Webhook Settings.
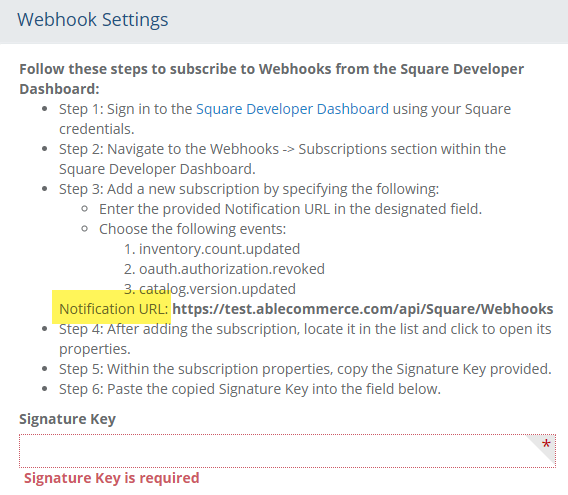
Copy the URL given in Step 3) of the on-screen instructions. Reference the screenshot above. The URL will be different than the example as it is generated using your licensed domain name.
Return to the Square Add a webhook subscription page, and paste this into the URL field. Again, this will be different from the example screenshot above.
For the API version, select the default.
Below the form, there will be a long list of Events. Scroll down and select the following 3 events:
catalog.version.updated
inventory.count.updated
oauth.authorization.revoked
Click the Save button to finish adding the Webhook.
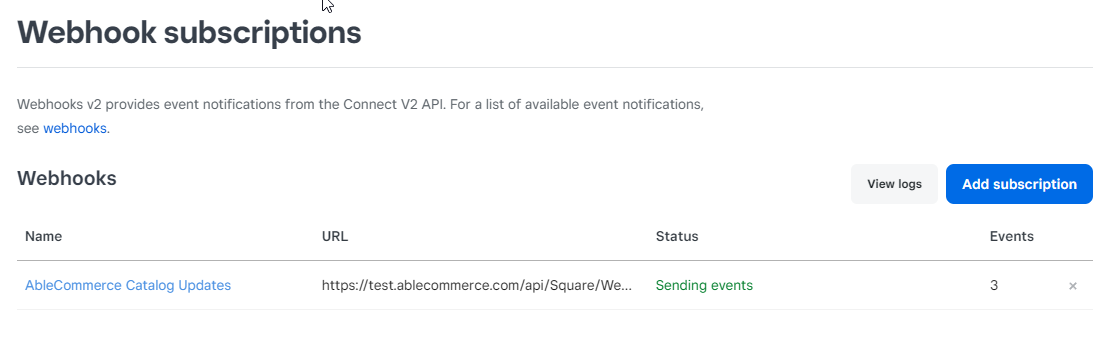
To complete the configuration with AbleCommerce, click the linked Webhook name. This will expand a window pane on the right.

Find the Signature key section. The information is not shown on screen, so you will need to click the Copy icon.
Return to the AbleCommerce Square POS Configuration page, and Paste the information into the Signature Key field.
Click Save in the admin footer.
Part 2: Sync Square and AbleCommerce Catalog
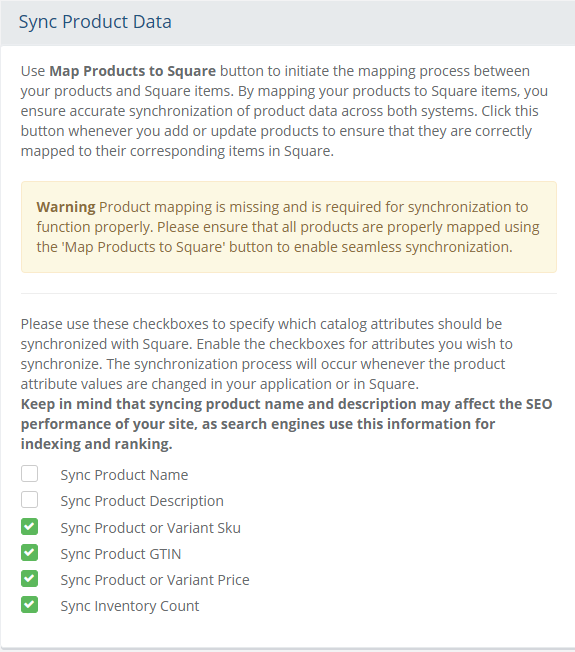
After the completing Part 1 above, your Square POS integration should be configured. However, the next process that is required for catalog syncing must map products from the AbleCommerce catalog to Square. Reference the Sync Product Data section on the Square POS Configuration page below:
Notice the warning indicating the product mapping is missing. There are two options available. You can manually add products to Square, or you can use the Export function to make this process much easier. Click here to proceed to the Square POS Export instructions.
When finished, return to the AbleCommerce Square POS configuration page here to Sync Product Data.
How to Map Products to Square
The sync process happens in real-time. The ensures that prices and inventory are always kept up-to-date and the same between all your selling channels.
From the admin menu, go to the Data Transfer > Square POS > Settings page.
If you have not yet mapped your products in AbleCommerce to Square, there will be some warning text in the Sync Product Data section.
If this is the case, click the Map Products to Square button in the admin footer now. Depending on the size of the catalog, the process can take a few seconds or several minutes, so please be patient until it completes with a success message.
If the Map Products to Square was successful, the warning should disappear from the page.
There are 6 options for syncing product data. The recommended sync options are pre-selected.
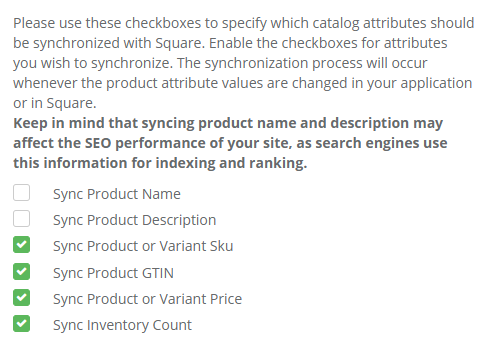
What this means is that your products in Square and AbleCommerce will be updated regardless of where you change the information. For example, if an item is sold using your online store, then inventory is adjusted in AbleCommerce and in the Square app. Likewise, if a product's price is modified in the Square app, then it will be adjusted in the AbleCommerce store. The syncing is an automated process to make sure items are the same for both your online store and the physical locations where the item can be sold in-person.
A note about product syncing:
Syncing of Product Name and Description is not recommended unless it is done in AbleCommerce first. If a product name is changed in Square and being automatically synced to AbleCommerce, this could lead to issues with products that have been indexed by Google. For example, if the product name changes in AbleCommerce, there are additional options to adjust the URL and create a redirect. For this reason, we recommend only syncing the product data not related to search engines or how it's viewed in your online store. It is up to you if you want to do this. The options are available if you want to.
Adding New Products
If you create new products, you will need to add them to Square and then use the "Map Products to Square" button in the admin footer.
Deleting Products
If you delete products either application, you will need to delete them in both places. It is not necessary to map the products again.