Product Images
Table of Contents Show
Add Product Images
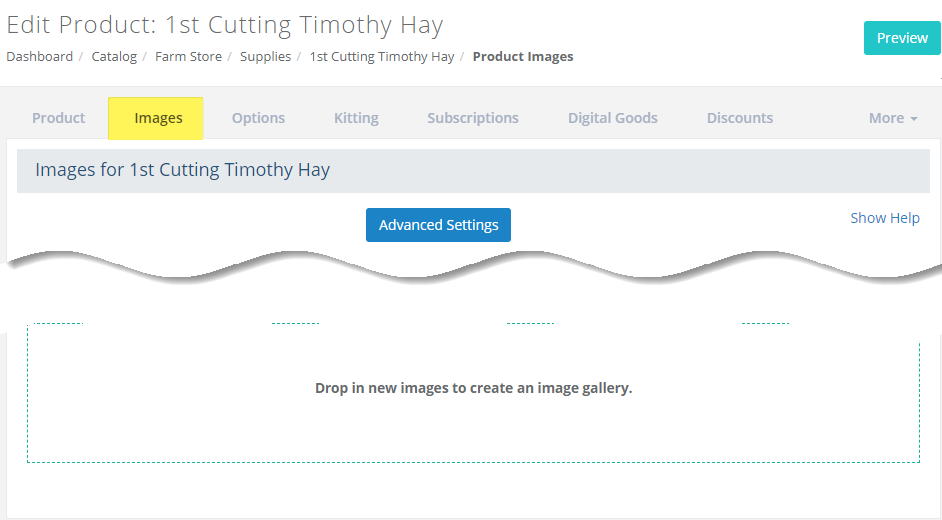
From Product Editing page, click on the Images tab.
From this screen, there are different image upload options available.
The most common, and easiest, way to upload your product images is by using the automatic resize feature.
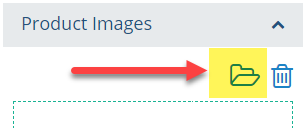
Find the section Product Images as shown in this example below.
Drag-and-Drop Image from a Local Folder
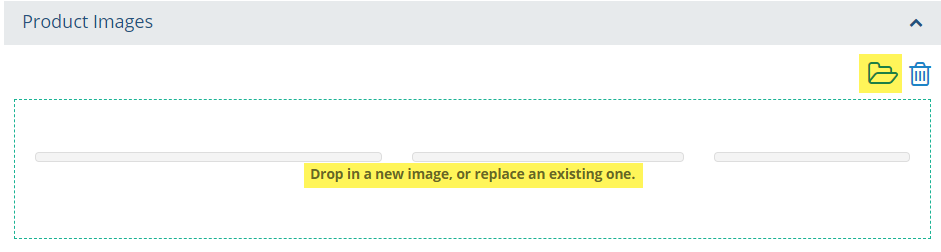
Method #1: Drop in a new image, or replace an existing one
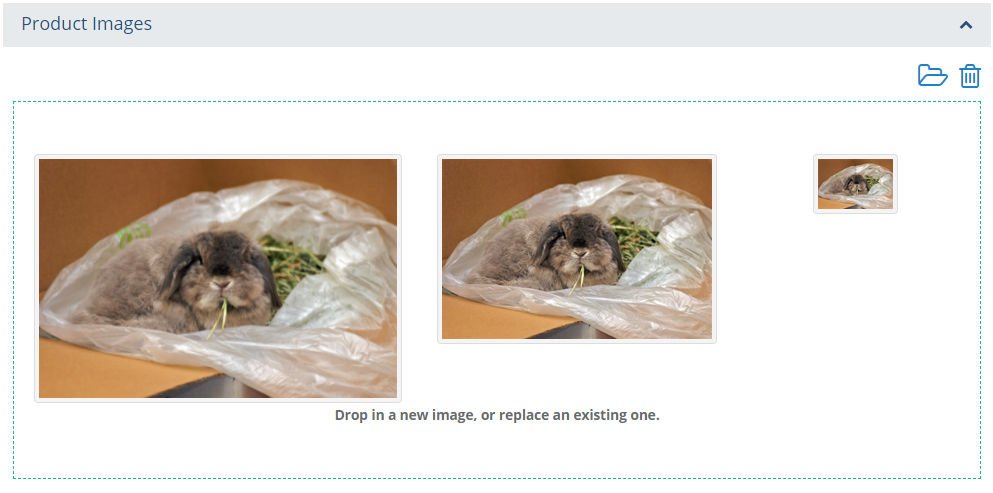
If the image is located on your local PC, then find your large product image and use the drag-and-drop feature by placing the image within the area surrounded by dashed green lines. The image will be resized accordingly to create three separate images:
Full size product image - shown on the main product detail page. Default size: 2048x1365 pixels
Medium product thumbnail - shown on the pages where products are shown in a list or grid format. Default size: 270x180 pixels
Small product icon - shown within the checkout pages and some admin pages. Default size: 75x75 pixels
Note: The sizes that are generated are controlled by an image setting. To change the default image sizes, see Image Settings for more information.
After dragging an image into the Product Image section, the three sizes generated are shown in the example below.
To replace the image, you can either drag-and-drop in a new image, or you can select the folder icon to pick one from the server.
To remove the image, click the trash can in the upper-right corner. This will remove all of the 3 images. If you want to edit, add, or remove images individually, then you must use the Advanced Images feature instead.
NOTE: When working with the image upload and re-size feature, we recommend that you use a consistent size and orientation for original images.
Select Image from the Server
Method #2: Select an image from the server by using the folder icon. You should select an image that already has its thumbnail (*_t) and icon (*_i) versions created in the /ProductImages/ folder.
Use the Browse icon to select an image from the server. For best results, your uploaded image should be larger than the maximum size value that is configured for the store.
You will be redirected to the Image and File Manager page. From here, you can select an existing image or you can upload a new one. For more information, see Images.
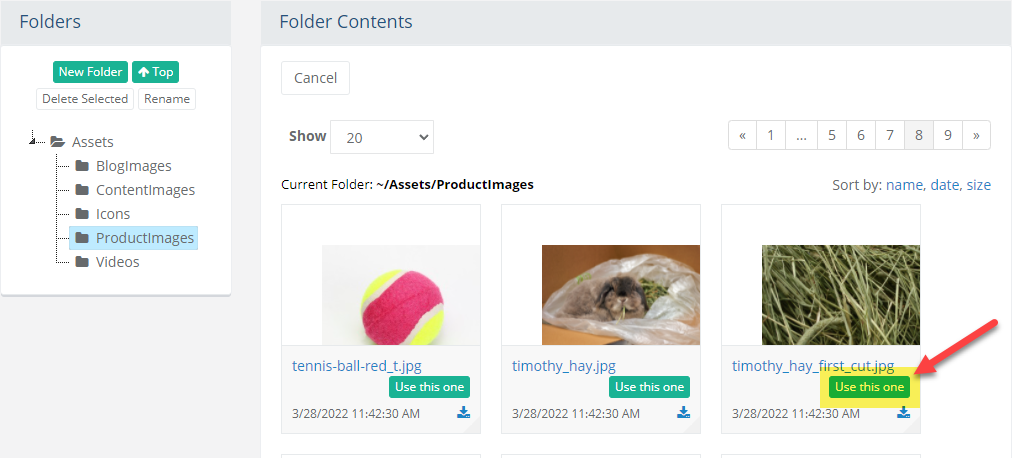
Find the desired large product image and click the Use this one button.
You will be redirected back to the product editing page where the image selected will be used for the product.
Add or Edit Product Images manually
From Product Editing page, click on the Images tab.
Then click the blue Advanced Settings button at the top of the page.
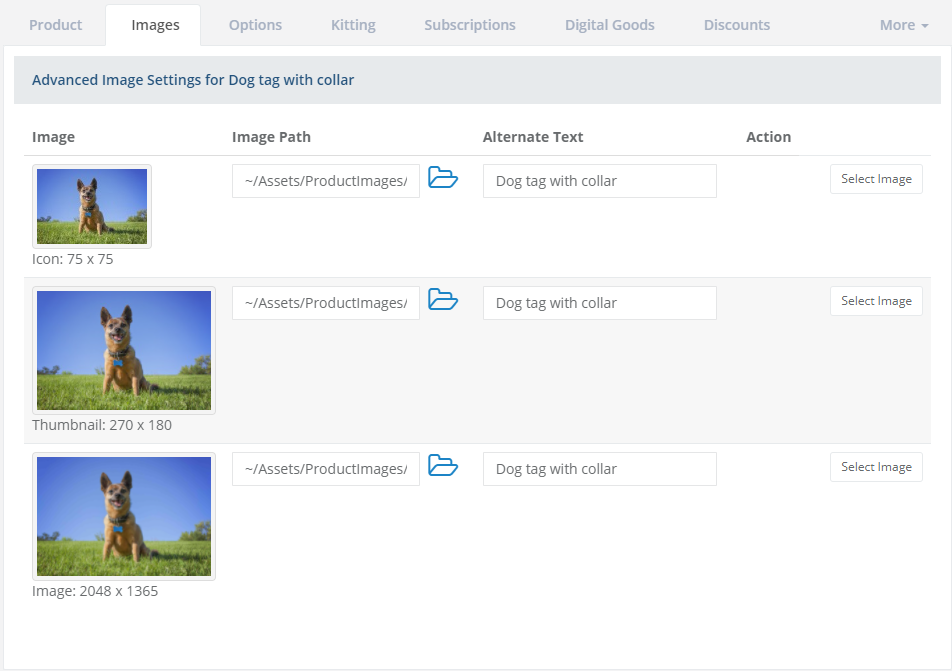
From this page, all images that are used for the product will be displayed in a list.
- Image Path: the physical path to the image which resides on the server
- Alternate Text: a short description of the image use when the image cannot be displayed.
- Action: The Select Image button can be used to change the existing image with a new one, or to add images manually to the product.If you are manually creating your three image sizes with a 3rd-party software tool, you would typically have these images ready for selection in the \Assets\ProductImages\ folder. You can also keep them locally from your PC.
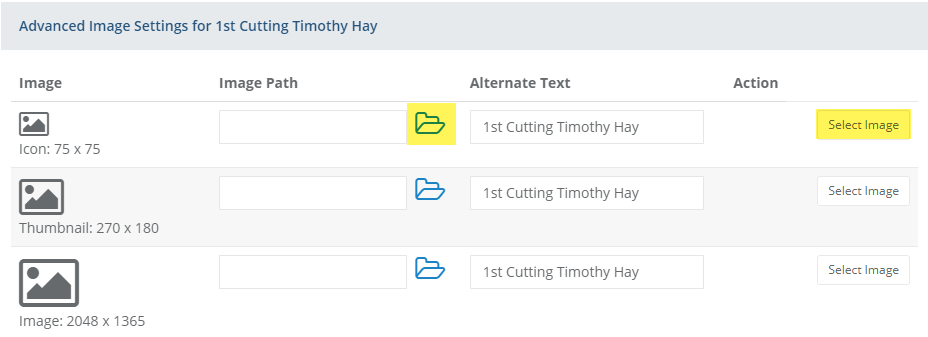
To manually add product images, click the folder icon to select an image from the server, or use the Select Image button to select one from your local PC.
Repeat as needed for each of the three types of product images (Icon, Thumbnail, and Standard Image).
Click the Save button when finished.
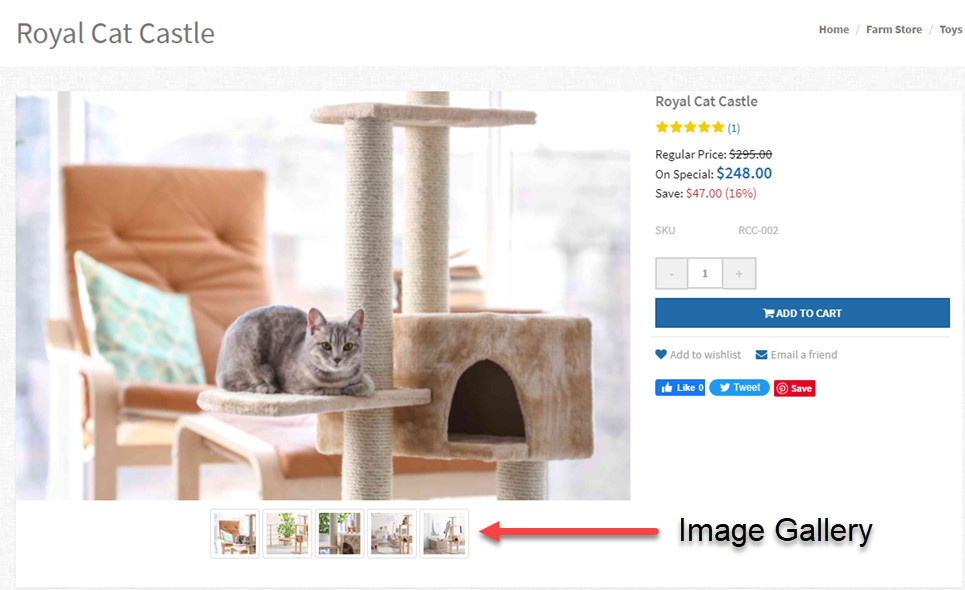
Additional Image Gallery
From Product Editing page, click the Images tab.
The last section on the page is for the Image Gallery. See the example below.
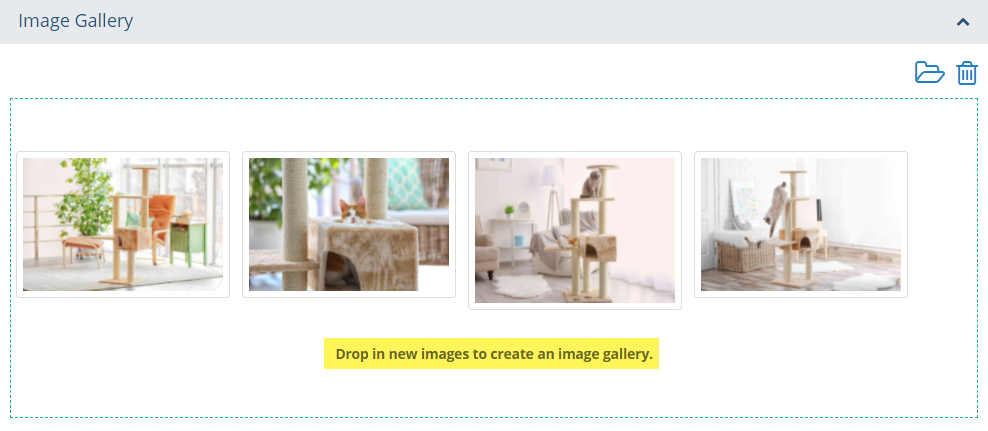
You can drag and drop in as many images as needed to create an image gallery for the product.
To replace the image, you can either drag-and-drop in a new image, or you can select the folder icon to pick one from the server.
To remove the image, click the trash can in the upper-right corner.
The image gallery appears on the product detail page with each image shown as a thumbnail beneath the main product image.