Catalog > Add Gift Wrap
Add Gift Wrap
Learn how to create gift wrap groups and wrapping styles.
Adding a New Wrap Group
-
From the Gift Wrap page, or from the top-menu, go to Catalog > Gift Wrap.
-
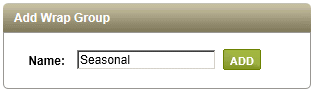
Find the Add Wrap Group section in the right column of the page.
-
Enter a name for your Gift Wrap Group in the field provided.
-
Click the ADD button to create a new Wrap Group.
-
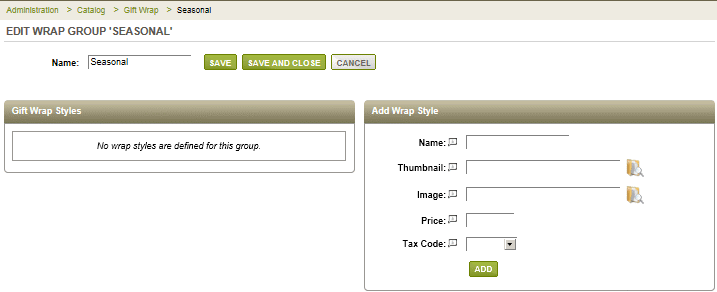
Your new Wrap Group will shown with on the Edit Wrap Group page. Now you will need to add at least one Wrap Style.
Adding a New Gift Wrap Style
-
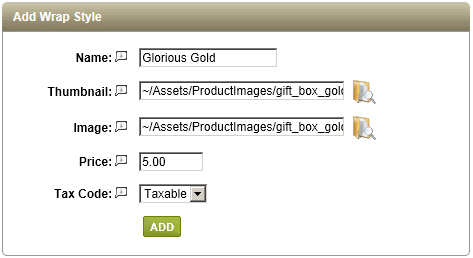
Find the Add Wrap Style section as shown in the example above. At a minimum, you will need to enter a name for your gift wrap style.
-
Name - This is the name of your Gift Wrap Style. Required to create a new gift wrap style.
-
Thumbnail - Use the Image Picker to select a medium-size image that represents this style of gift wrap.
-
Image - Use the Image Picker to select a large-size image that represents the gift wrap in detail.
-
Price - Enter a price if the Gift Wrap will be an additional cost at checkout.
-
Tax Code - If the Gift Wrap has a price, then you may select a tax code for it.
-
When finished, click the ADD button.
-
Repeat as needed until you have added all the Gift Wrap Styles to the selected Wrap Group.
-
You can return to this page at any time, by editing the Wrap Style.
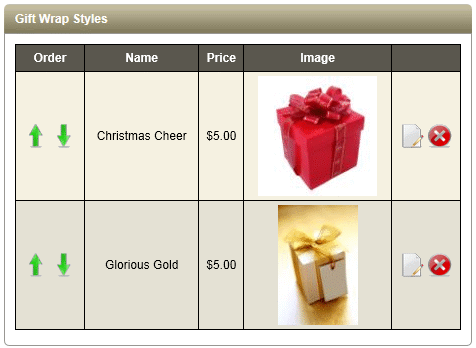
As shown in this example, the Gift Wrap Styles are displayed in a list for editing, sorting, or removal.
Adding Gift Notes
-
From the Gift Wrap page, or from the top-menu, go to Catalog > Gift Wrap.
-
Find the Add Wrap Group section in the right column of the page.

-
Enter a name for your Gift Wrap Group in the field provided.
Since this group will not contain any gift wrap choices, we'll name it Gift Note. -
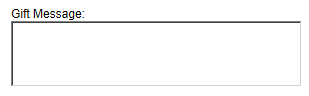
Assign the new Wrap Group to your products, and a customer may include a personal note with each product purchased.
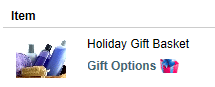
A Gift Message option is displayed in the customer's shopping basket.
![]()
Go to Site Map