Digital Goods
Table of Contents Show
Assigning Digital Goods to Products
A product can have one or more digital goods assigned to it. When purchased, the digital good's configuration settings will be used to determine when the download is activated, which emails will be sent, licensing option, and other settings.
From the Product Editing page, click on the Digital Goods tab.

You will need to have created Digital Goods for your store before continuing. This can be done through the Catalog > Digital Goods menu.
Click the Add Digital Good button to view the search form.
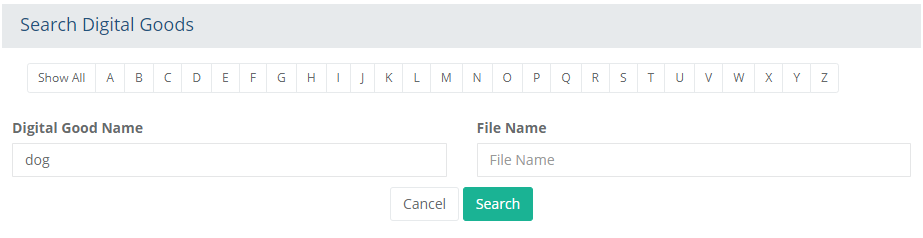
Type in a search term and click the Search button to view your results. You can also filter the digital goods by selecting one of the alphabetical characters to show only those beginning with a matching letter.
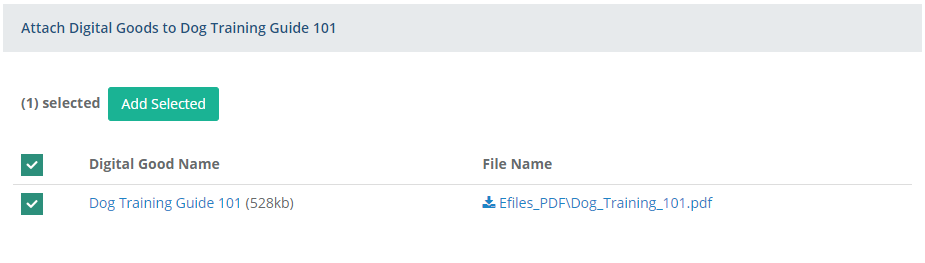
You can assign any number of digital goods to a product, simply by checking the box for each.
The Add Selected button will activate after making your selection(s).
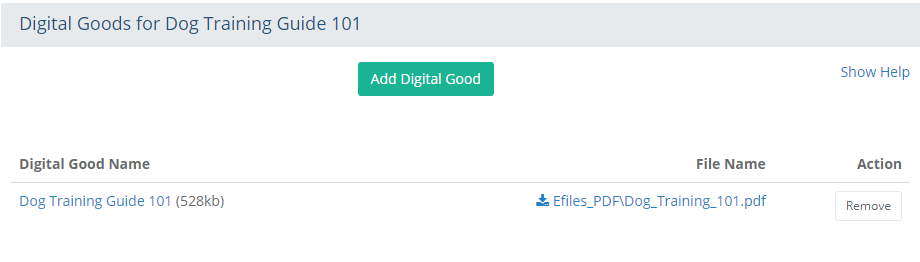
This completes the process. The assigned Digital Good for this product is shown.
To remove the Digital Good that is associated to this product, then click the Delete button from the Action column.
NOTE: For each digital good you assign, any validation or fulfillment emails will be sent individually for each one.
Assigning Digital Goods to Options
From the Product Editing page, click on the Options tab if the product has options.
For this section, we will be using the 'Pet Health Records app' sample product included with AbleCommerce.
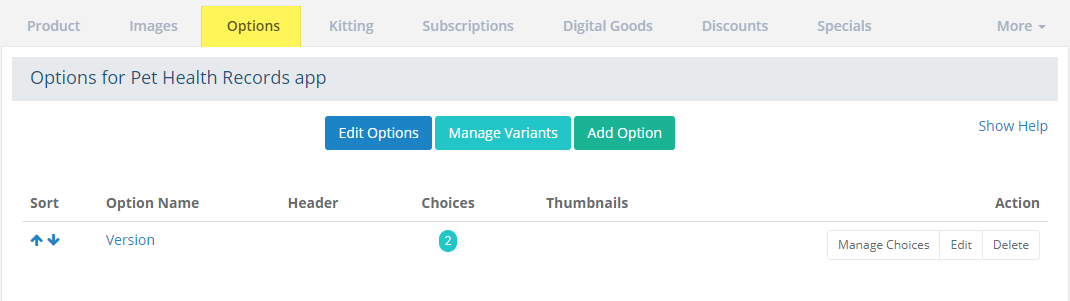
Next, click the Digital Goods tab. Note the page is a little different now. This is because the product has options, which will allow you to assign digital goods to each unique variant, as well as assign the digital good directly to the product.
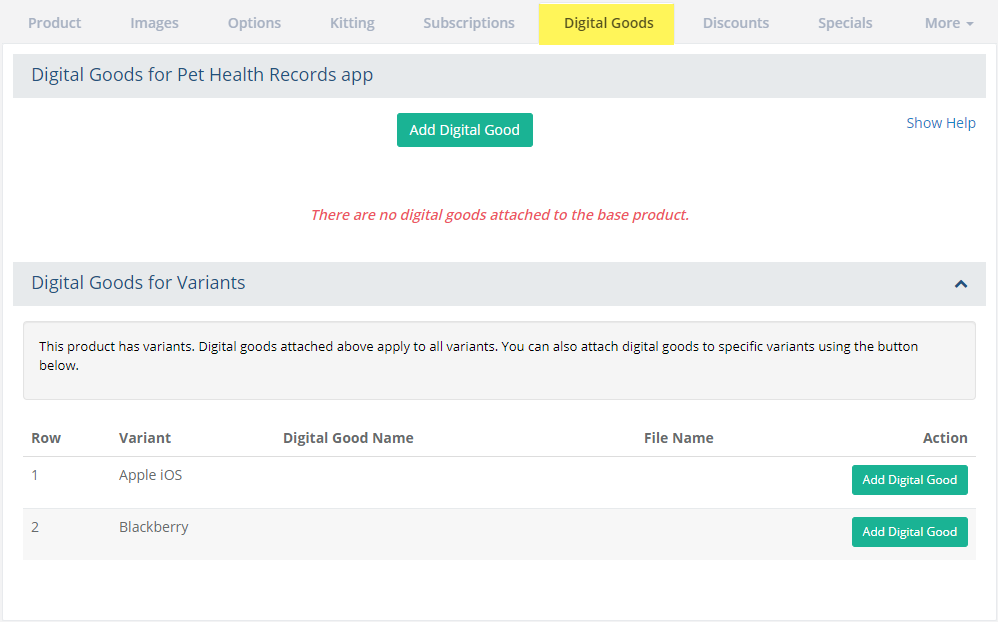
Click the Add Digital Good button from the Action column for the Variant you want to assign it to.
You will now be on the search form. Type in a search term and click the Search button to view your results.
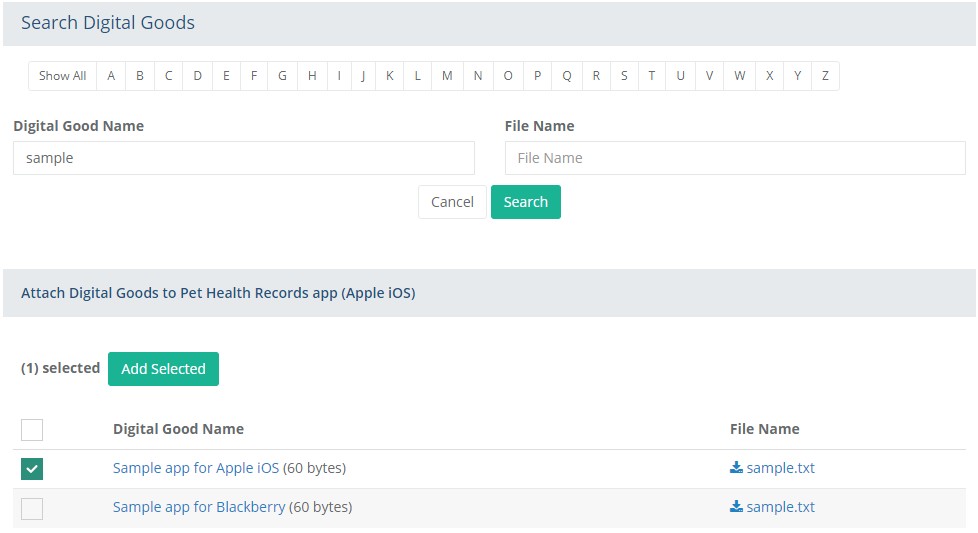
Check the box for the digital good that you want to assign to this unique option (variant).
Click the Add Selected button after making your selection(s).
Repeat as needed, until all option variants have a digital good assigned.
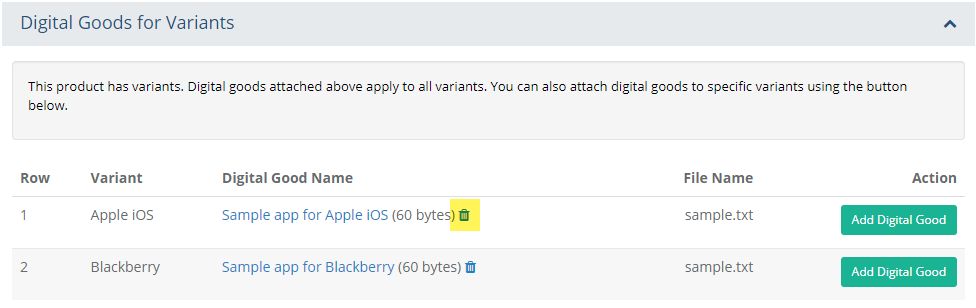
The assigned Digital Good for this product's unique variants are shown.
To remove the Digital Good that is associated to this product, then click the delete icon.
Digital Good Purchases
The next screenshots show the checkout and order process, if the customer is trying to purchase a paid digital good with all features enabled.
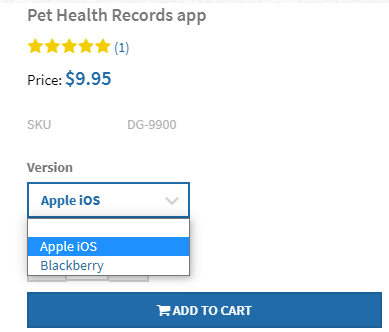
After the customer chooses an option from the product page,
the Add to Cart button can trigger the license agreement. The
license agreement may also be triggered by a digital good setting
that lets the merchant select the point at which the license agreement
will appear.
In the next screenshot, the customer must Accept the License Agreement to continue. If the user Declines, then they will be returned to the product page.

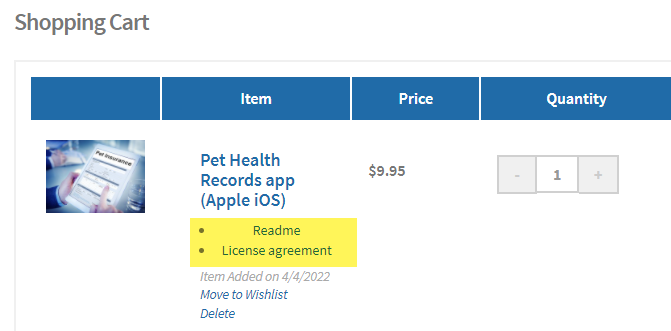
If the customer is required to accept the agreement, and does, then the product will be added to the shopping cart. If the digital good has a readme and/or license agreement, then they will be linked in the cart and checkout pages.
After the product is ordered, you can decide when you want the digital good to be activated (available for download). In this example, the download is not activated yet.

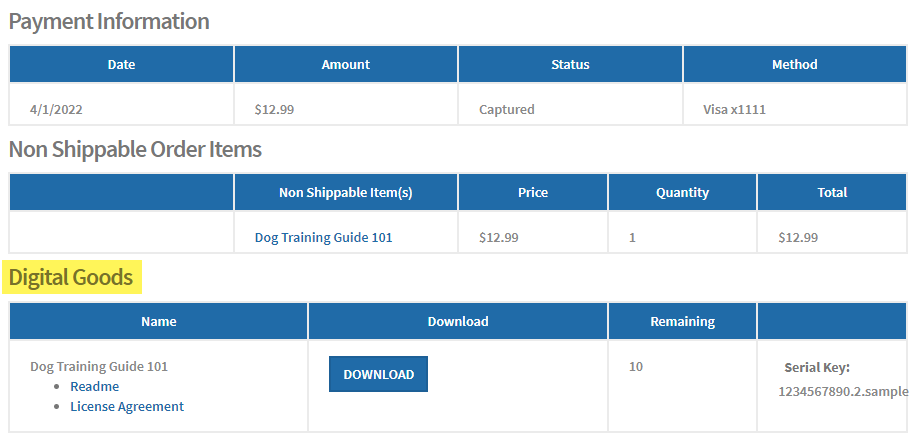
There are configuration settings that allow you do immediate activate the download, as well as generate a serial key. In this example, the download is activated and a serial key was pulled from the available inventory of keys.

Orders with Digital Goods
After the order is placed, the customer will have access to
their digital good downloads in two places -
From the Order Invoice
where the digital good was purchased, and -
From the /members/MyDigitalGoods page, which is within the Customer Account area -
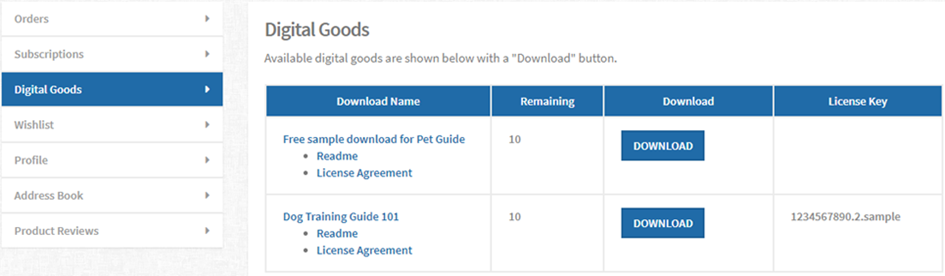
This is an example of a free download and a paid download. In the next section, we'll use a different digital good product to illustrate some additional features.