Export Orders
Table of Contents Show
Exporting Orders
You can export all of your orders at once, or you can select orders by searching and then doing a batch export. Both export procedures are documented on this page.
Using the menu, go to the Data Transfer > Export > Orders page.

To begin an export, choose one of the options available:
Export All Orders and follow the instructions in the first section below.
Select Orders to Export and follow the instructions in the second section below.
Export All Orders
Click the Export All Orders button to begin.

First, you must choose an Export Format of CSV or XML. The default option is CSV which allows you to select the individual fields to export.
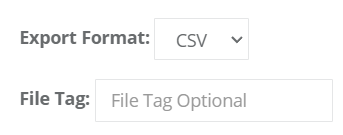
In the optional File Tag field, you can use your own naming conventions for the exported file.
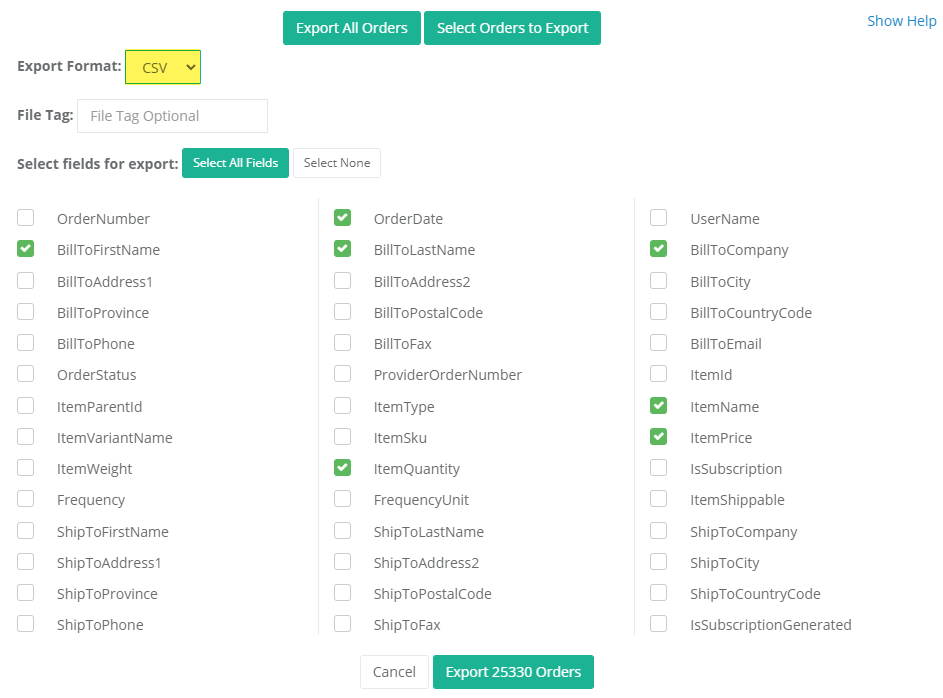
If the CSV option is selected, the screen will display individual fields for export. Reference the image below.
Using the buttons, select the fields to include in the export. There is a button to Select all Fields, or you can press Select None and then individually pick fields to be output.
If the XML export format option is selected, the screen will a single export option as shown in the image below.
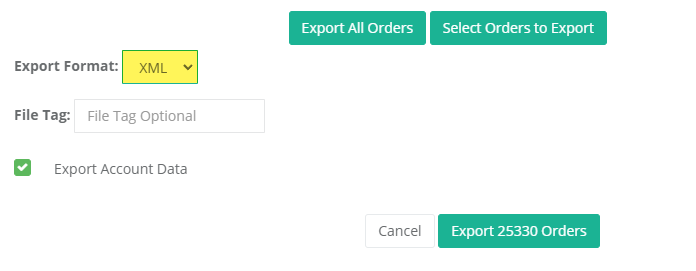
* See note below concerning the Export of Subscription Account dataThe export button indicates the number of orders that will be included in the export.
To start the process, click the Export [# of Orders] Orders button and wait for the process to complete. The image below shows the total number of records selected and the status of the export.
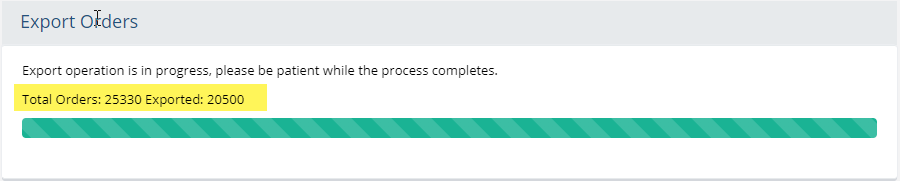
NOTE: It can take considerable time to complete the process. This depends on the number of orders and fields selected. To reduce the time for export, we recommend following the instructions in the next section.When finished, you can view your order export file as shown in the example below.
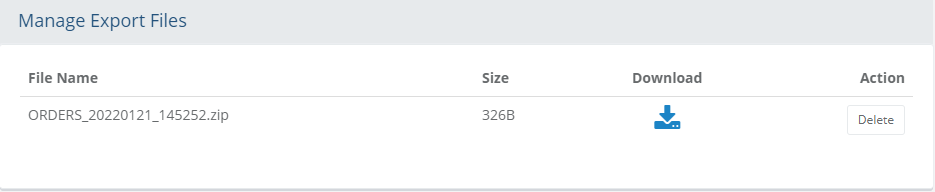
In the first column, the file name is shown. An archived (.zip) file is automatically created for the exported order data.
The second column shows the actual size (in KB) of the order export file.
In the next column, you can click the Download icon to copy the order export file to your local computer.
In the last Action column, you can click the Delete icon to remove the file permanently.
NOTE: After the export is completed, you can also find your file in the ..\App_Data\DataExchange\Download folder.
Select Orders to Export
Using the menu, go to the Data Transfer > Export > Orders page, or you can go directly to the Manage Orders page if you want to select which orders to export.
Click the Select Orders to Export button to begin.

Use the Search Orders form to find orders for export.
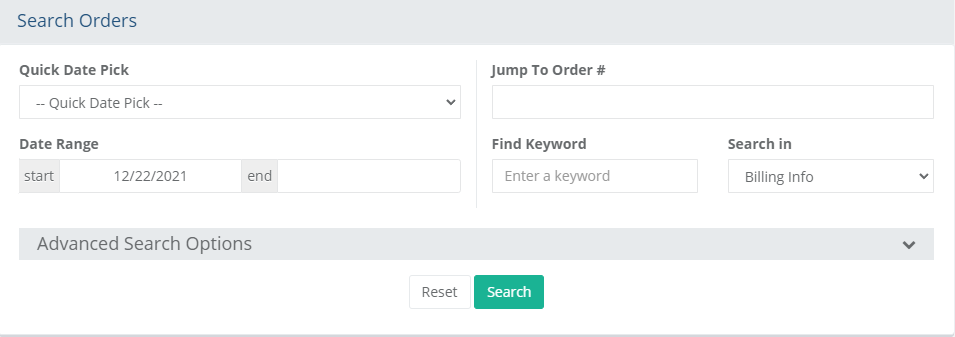
After clicking the Search button, the results are shown in the grid below.
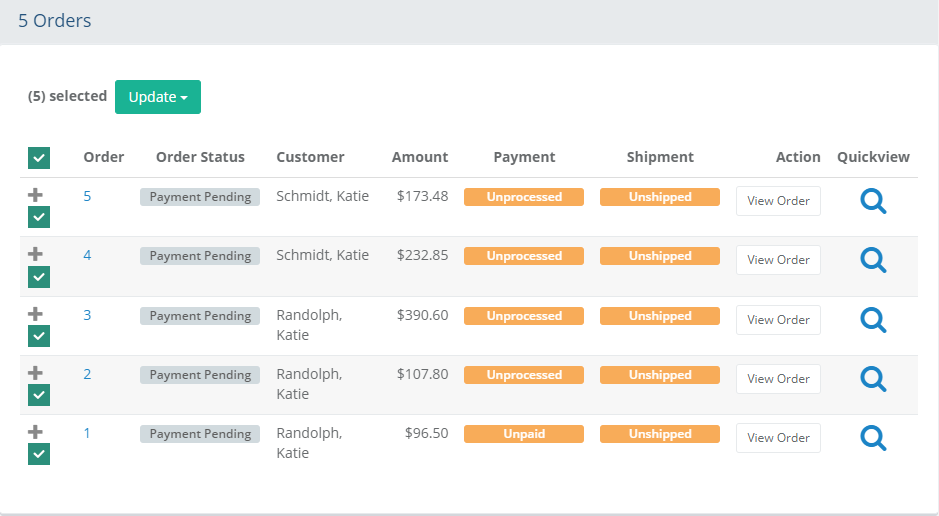
To export, you must select at least one order by checking a box in the first column.
At the top of the search results, you can view the total number of orders selected.
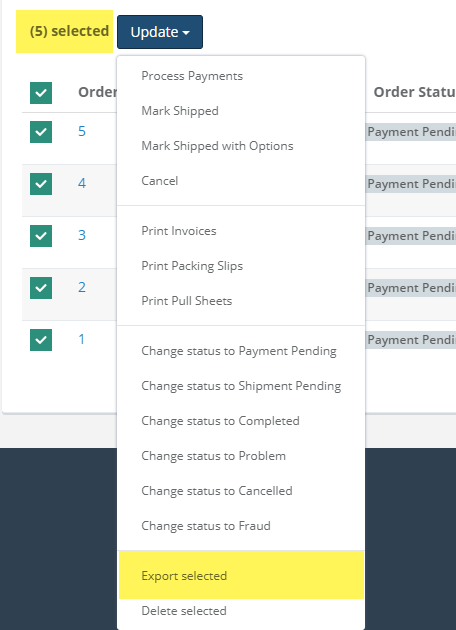
Click the Update button to show a list of options. Choose the Export selected option from the list as shown below.
From the next page, choose an Export Format of CSV or XML. The default option is CSV which allows you to select the individual fields to export.
In the optional File Tag field, you can use your own naming conventions for the exported file.
If the CSV option is selected, the screen will display individual fields for export. Reference the image below.
Using the buttons, select the fields to include in the export. There is a button to Select all Fields, or you can press Select None and then individually pick fields to be output.
If the XML export format option is selected, the screen will a single export option as shown in the image below.
* See note below concerning the Export of Subscription Account dataThe export button indicates the number of orders that will be included in the export.
To start the process, click the Export [# of Orders] Orders button and wait for the process to complete. The image below shows the total number of records selected and the status of the export.
NOTE: It can take considerable time to complete the process. This depends on the number of orders and fields selected.When finished, you can view your order export file as shown in the example below.
In the first column, the file name is shown. An archived (.zip) file is automatically created for the exported order data. The second column shows the actual size (in KB) of the order export file.
In the next column, you can click the Download icon to copy the order export file to your local computer.
In the last Action column, you can click the Delete icon to remove the file permanently.
NOTE: After the export is completed, you can find your file in the ..\App_Data\DataExchange\Download folder.
Exporting Subscription Account Data
* NOTE: All the fields specified below for OrderItem.Subscription and Order.SubscriptionOrders can only be exported in XML.
Order.SubscriptionOrders
SubscriptionOrderId
SubscriptionId
OrderId
IsPrimary
OrderDueDate
PaymentAlertDate
OrderItem.Subscription
Name
Quantity
NumberOfPayments
ExpirationAlertDate
ExpiredAlertDate
NextOrderDueDate
LastOrderDueDate
PaymentFrequency
PaymentFrequencyUnitId
BasePrice
BaseTaxCodeId
RecurringCharge
RecurringChargeModeId
RecurringChargeSpecified
RecurringTaxCodeId
RepeatDiscounts
IsLegacy
PaymentProcessingTypeId
PaymentMethodId
GatewayPaymentProfileId
ProcessingStatusId
ProcessingStatusMessage