Catalog > Add Webpage
In this Topic Show
Add Webpage
Create new webpages from the catalog or from the Manage Webpages area.
Adding a New Webpage
-
From the Website Menu, or from the top-menu, go to Website > Webpages.
-
Click the ADD WEBPAGE button to begin with a new blank webpage, or make a copy of an existing page by clicking the COPY icon.


-
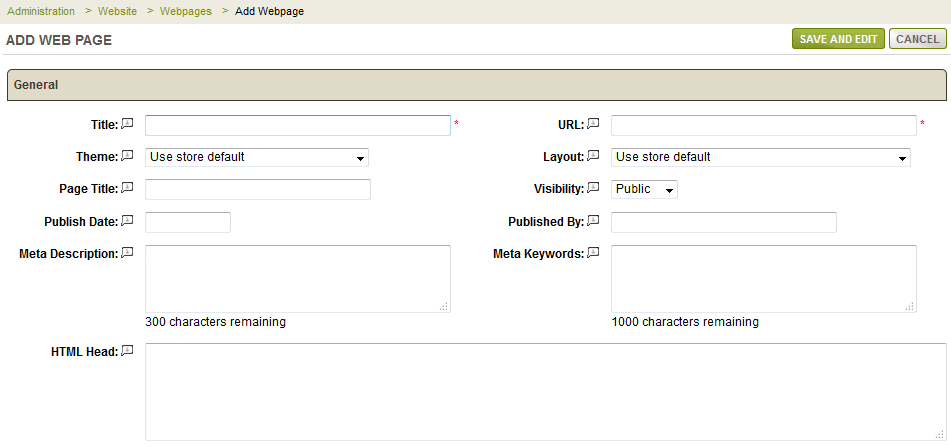
For this example, we'll create a new blank webpage as shown in the example below.
-
Enter a Title for your webpage in the field provided. This will be used for the name of your webpage.
-
The URL field will populate using your webpage name. You may change this as needed, but it must be a valid page URL. Enter the URL as it would be relative to your store directory. e.g. /webpages/mypage.aspx or mypage.aspx
-
For the next selection, you can pick a different Theme or use the store's default setting.
-
Select a Layout for this wepage, or use the store's default setting.
-
A Page Title can be used to over-ride the webpage name. This is what you would see in the title bar of the browser.
-
The Visibility setting determines whether the webpage will be Public (shown to all users), Hidden (available through direct link only), or Private (unable to view except as an administrator).
-
You can enter a Publish Date which will only appear when using the built-in Blog control. This allows you to provide some sorting options for your customers.
-
The Published By field is an entry for the name of the person who is authoring the webpage blog. Both publishing fields are optional.
-
If desired, you can enter a Meta Description. Some search engines use this as a summary. A maximum of 150 characters available. Enter text only.
-
The Meta Keywords will be used within the meta tag. Enter single words separated by commas. A maximum 1000 characters available.
-
The HTML Head field can be used to enter your custom Javascript code, or anything that needs to go into the <HTML><HEAD> portion of the webpage.
-
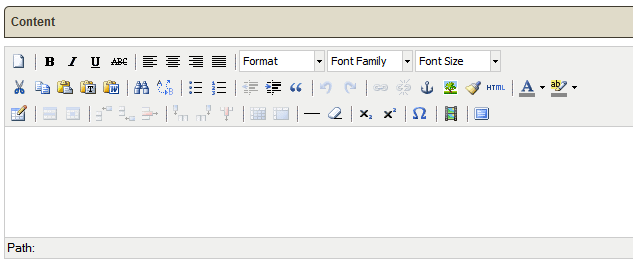
In the "Content" section you can use the built-in editor to create the content in your page. If you prefer to enter straight html code into the field, there is an option available from the Configure > Store > General page which allows you to disable the WYSIWYG editor throughout the store.
-
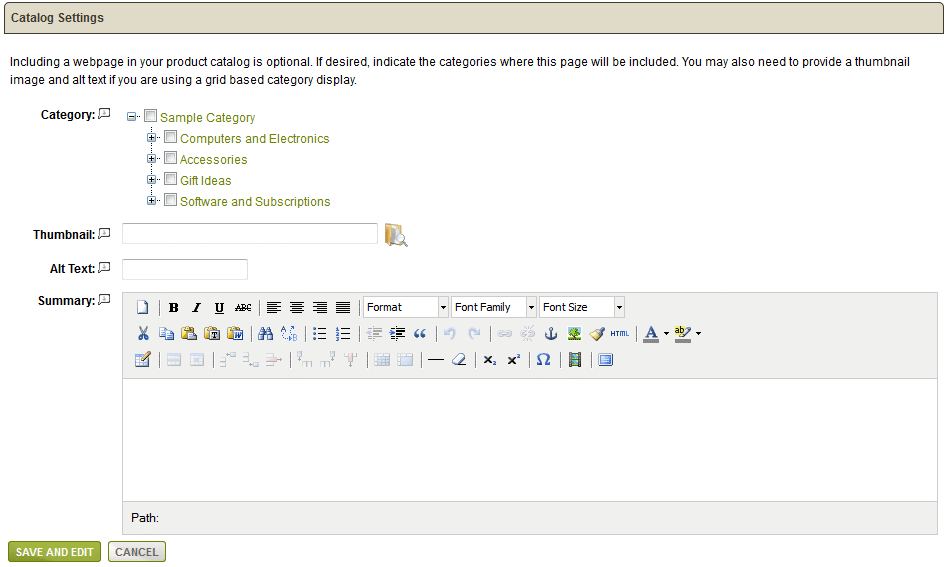
The Catalog Settings section is optional. There are options to associate the webpage to a category, add thumbnail images, or a short summary description.
-
By checking the boxes next to any categories, this webpage can be displayed as products are displayed in your catalog. You must be using a Category control that displays webpages.
-
Select a Thumbnail image if you will be showing this page within the catalog.
-
The Alt Text field is used for SEO purposes. It is the text that is shown if the Thumbnail image cannot be displayed.
-
The Summary description should be a short bit of text that is used when the Webpage is linked on any Category page that displays Webpage links.
-
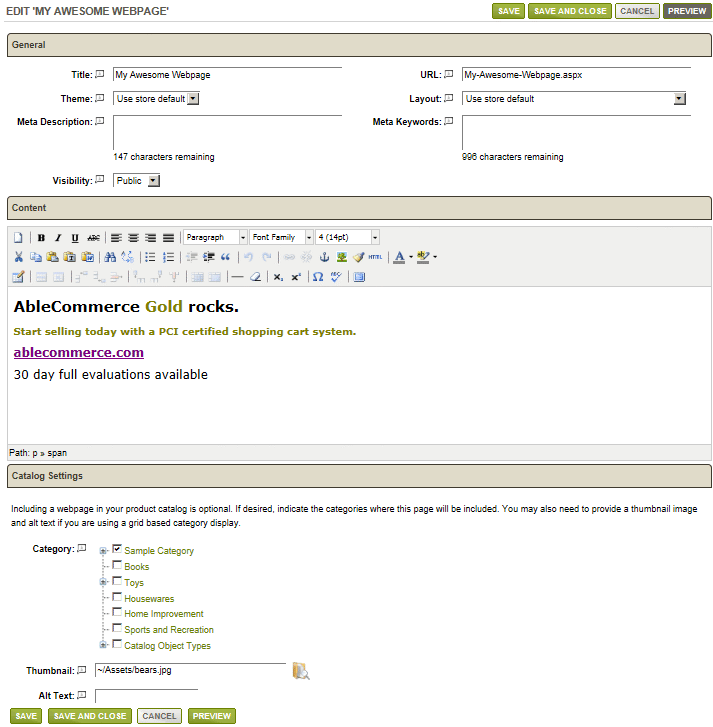
When finished click the SAVE button. The Edit Webpage will be displayed.
-
A PREVIEW button will be available after saving. You can return to the Manage Webpages area by clicking the SAVE AND CLOSE or CANCEL buttons.

-
In the right column, the actions available are Preview, Copy, Visibility, Edit, and Delete. If we preview a sample webpage, you can see how it is displayed using the default store theme and layout.
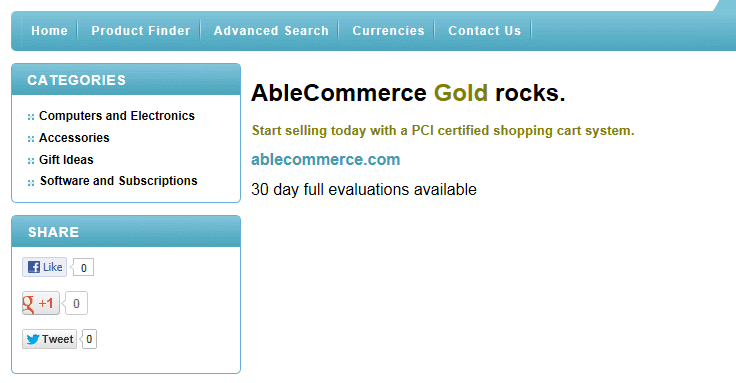
In our example, the webpage was assigned to the Sample Category. We can view the webpage from the store catalog as well.
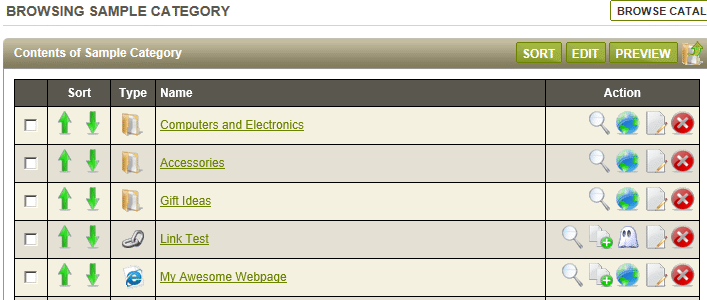
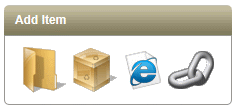
While you are browsing the catalog, you can add a new webpage by clicking the icon in the Add Item box.
Go to Site Map