Data Exchange > Export > Users
Export Users
You can export all of your users at once, or you can select users by searching and then doing a batch export. Both export procedures are documented on this page.
Exporting All Users
-
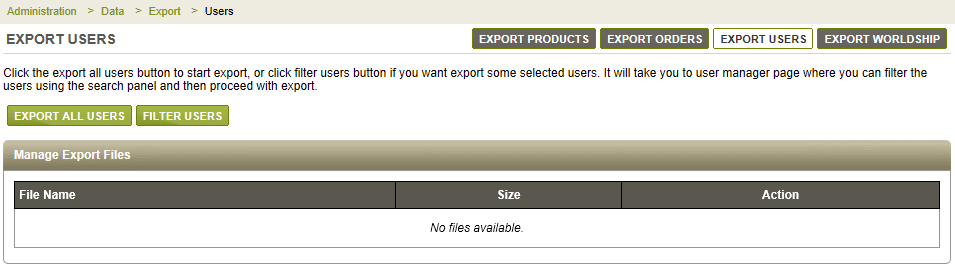
From the Data Exchange page, or from the top-menu, go to Data > Export > Users.
-
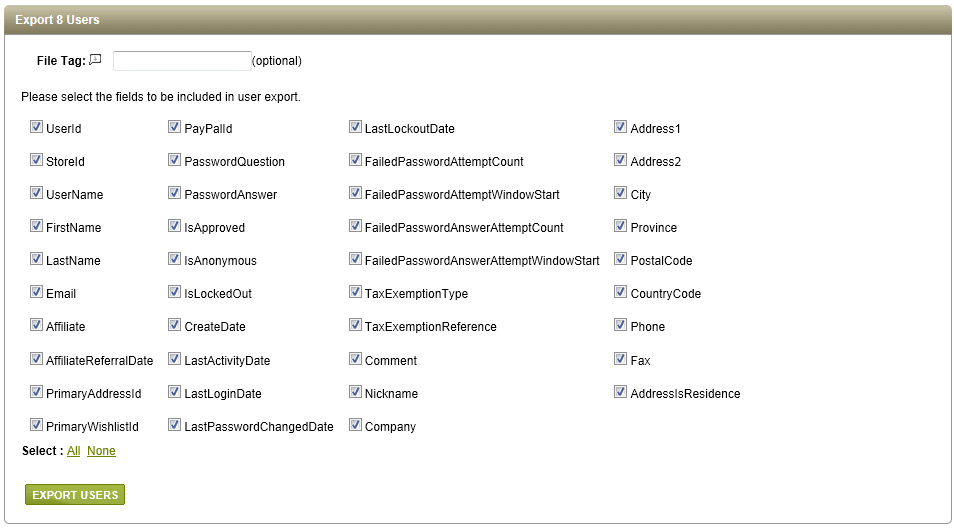
Click the EXPORT USERS button to begin. This will expand the screen to allow selection of all user fields or individual ones. At the top of the section, the number of users ready for export will be indicated.
-
Below the list of user fields, you can use the Select options to select all user fields, or remove the checkbox for all of them, and select individual ones as needed.
-
In the optional File Tag field, you can use your own naming conventions for the exported file.
-
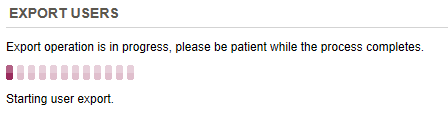
After making your field selections, click the EXPORT USERS button and wait for the process to complete.
-
When finished, you can view your user export file as shown in the example below.

-
In the first column, the file name is shown. An archived (.zip) file is automatically created for the exported user data. The second column shows the actual size (in KB) of the user export file.
-
In the last column, you can click the Download icon to copy the user export file to your local computer. You can click the Delete icon to remove the file permanently.
NOTE:
After a backup, you can find your file in the \App_Data\DataExchange\Download\ folder.
From the Configure > Store > Maintenance page, you can set options to remove these files automatically.
Filter and Export Selected Users
-
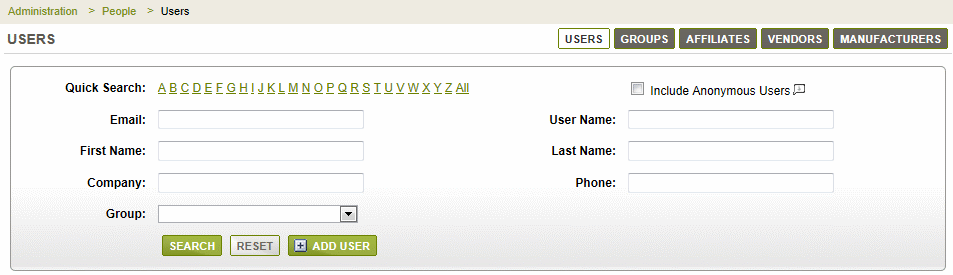
From Data > Export > Users page click the FILTER USERS button, or, you can go directly to the People > Users page.
-
Use the User search form to find specific users for export.
-
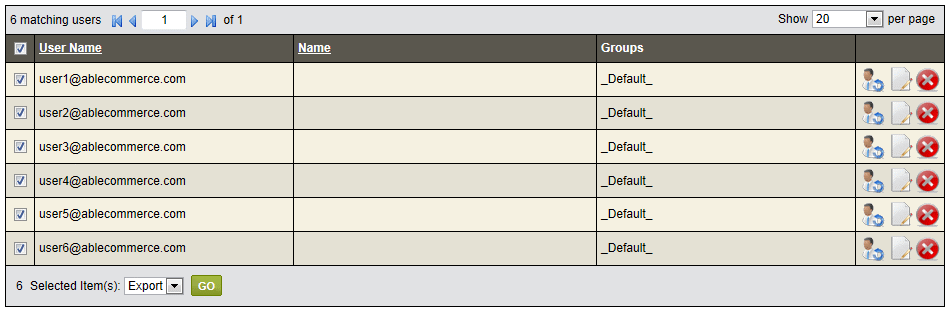
After clicking SEARCH, the results are shown in the grid below.
-
To export, you must select at least one user by checking a box in the first column.
-
At the bottom of the search results, you can view the total number or users selected.
-
Choose the Export option and click GO.
-
From the next page, you will be able to select the fields to include in the user export.
-
After making your selections, click the EXPORT USERS button to continue.
-
Wait while the export file is created.

-
In the first column, the file name is shown. An archived (.zip) file is automatically created for the exported user data. The second column shows the actual size (in KB) of the user export file.
-
In the last column, you can click the Download icon to copy the user export file to your local computer. You can click the Delete icon to remove the file permanently.
NOTE:
After a backup, you can find your file in the \App_Data\DataExchange\Download\ folder.
From the Configure > Store > Maintenance page, you can set options to remove these files automatically.
Go to Site Map