Themes
Table of Contents Show
Themes
A theme is composed of several files, including CSS, images, and scripts which will allow you to customize the style, or "skin" of your store.
The files that make up a theme are located in the corresponding \Website\Themes\{#ThemeName#}\ folders. Before beginning, you may want to make a copy of a theme before making any design changes. You can do this by using the Themes Manager.
The Themes Manager allows you to edit the CSS directly, import, preview, and download the themes. If you want to make style changes, but you don't have any prior CSS knowledge, then use the Theme designer from the retail storefront.
At this time, there is a single default theme called "Sample". The store doesn't necessarily need to have hundreds of themes to choose from because it's super easy to make your own color and style changes. The Sample theme utilizes Bootstrap with a responsive website that works for all types of browsing devices.
Bootstrap is a free
and open-source CSS framework directed at responsive, mobile-first
front-end web development.
Responsive web design is
an approach to web design that makes web pages render well on
a variety of devices and window or screen sizes.
Editing a theme can take place on the admin side or the retail side. Any changes made to the theme will affect all pages that are using that theme. This includes changes that are made from the retail side. Any changes made from the retail side will have a preview option, so you can make sure it looks great before committing the change.
Managing Themes
Using the menu, go to Website > Store Design > Themes to view the Themes listing page, as shown in the example below.
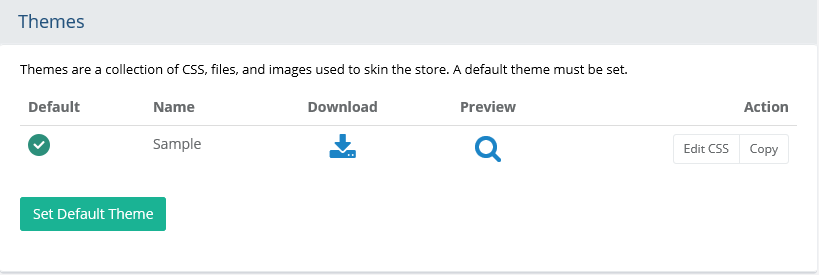
All new installations will include a Sample theme. This is a Bootstrap theme based on the Responsive website design.
In the first column, an indicator showing which theme will be used as the store default.
Note: To use multiple themes throughout the store, you will need to create them here and assign them to each individual category, product, or content/application page as needed. Otherwise, each data object will be assigned to the store's default theme.The second column displays the Name of each theme. Click the column heading to sort the list alphabetically.
There is a Download icon for each theme. Clicking this will generate a file that you can download and save locally. All content will be compressed into a .zip folder.
The Preview icon allows you to view the retail storefront as it would appear with the selected theme.
In the last Action column, there are buttons to Copy, Edit CSS, or Delete. The delete option is only available for a theme that is not in use.
Copy a Theme
Before beginning, take a copy of the Sample theme and make it your own. If anything goes wrong while making style changes, you can always compare or revert back to the Sample theme.
Using the menu, go to Website > Store Design > Themes to view the Themes listing page.
For the theme that you want to copy, click the Copy button from the Action column. The Copy Theme pop-up appears as shown in the example below.
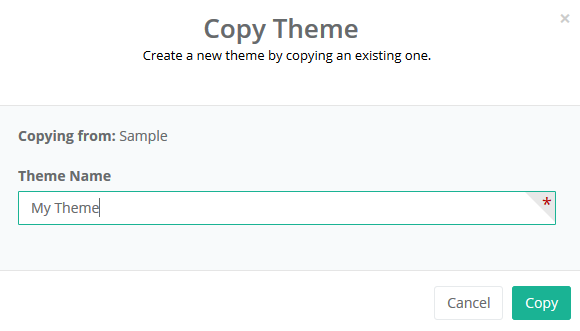
In the Theme Name field, enter a short name for your new theme. The theme name cannot include any special characters or spaces.
Click the Copy button. This action will create new folders, and copy everything from the original folder to the new ones. The new theme will be created in the \App_Themes\ folder. Permissions to write files to this location are required.
Note: You can physically copy a theme set to the Website\Themes\.. folder. This will be recognized the next time the Theme Manager page refreshes.
Set the Default Store Theme
From the Themes listing page, select your new theme and click the Set Default Theme button.
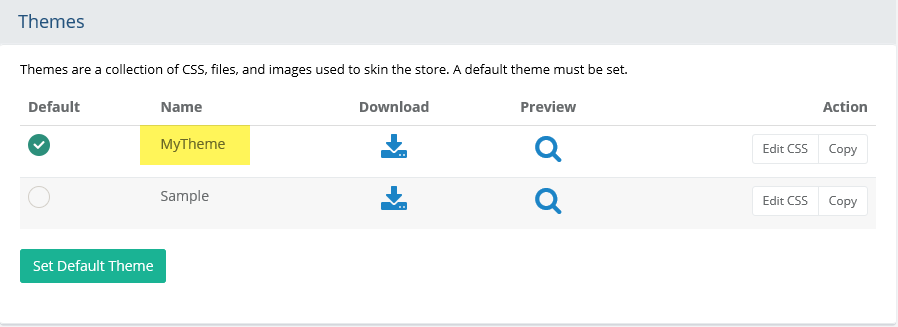
A successful update confirmation will appear. The store is now using a new default theme. You can still over-ride this value on a page-per-page basis.
Editing a Theme
There are two methods for editing a theme, and it depends primarily on your skill level when working with cascading style sheets (CSS). If you are an advanced user, then you may want to enter CSS directly to the custom.css file. However, it is not the purpose of this document to explain custom CSS, so, if you are not familiar with .CSS files, you may want to search on Google for some more information.
If you are not capable of adding your ownCSS editor, skip to the next section, "Customizing a Theme" to continue.
To edit a theme directly, click the Edit CSS button from the Action column.
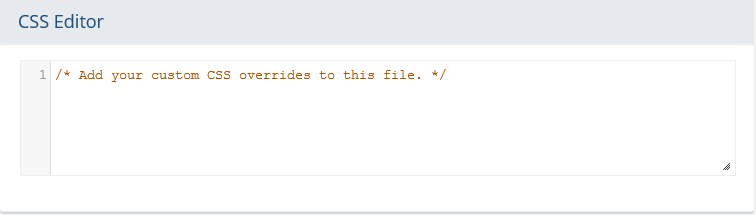
The CSS Editor page is launched as shown in the example above. This is an editor that interacts with a physical file located on the server.
The form field is adjustable. Enter any custom CSS here. This will override all other CSS used for theme.
Note: The physical location and name of this file is \Website\Themes\{#ThemeName#}\custom.cssWhen finished, click the Save or Save and Close button.
Customizing a Theme
From the retail side, make sure you are logged in with an account that has administrator access.
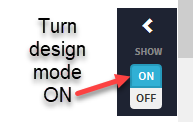
Turn ON design mode using the control found along the right margin of any page.
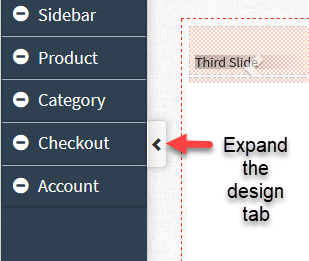
This will display a design tab along the left side of the page. Expand the menu.
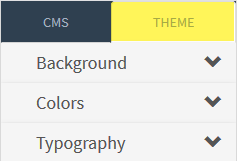
At the top of the menu, click the Theme tab to display the design options available.
Setting a Background
From the Theme tab, expand the Background panel.
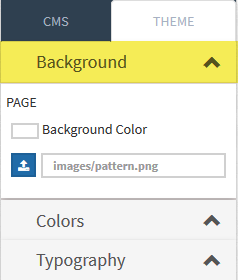
There are two options for the background; an image or a background color. You can use both.
To change the background color, click the rectangle next to "Background Color" and this will open the color picker.
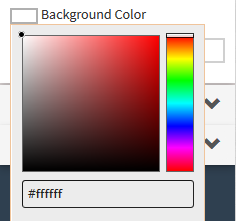
Either type in a color number or select a color from the palette.
Click outside of the palette to close it.
If you want to use an image for the background, click the blue upload icon next to the field provided. You can also type in the name if the image already resides on the server. URL format needs to be like this example, "images/pattern.png" (without quotes).
An option to select an image from your local PC is provided. Select a small image (for repeating), or a large image for the entire page.
Note: The image is copied to the Website\Themes\{#ThemeName#}\Content\images folder.When you are ready to check your change, click the PREVIEW button in the bottom footer.
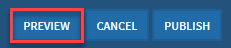
If everything looks good, commit the change by clicking the PUBLISH button.
Note: Once the change is saved, you will not be able to undo it. If you make a mistake, the file that is being updated is located in Website\Themes\{#ThemeName#}\Content\skin.cssIf you want to cancel out of the change, click the CANCEL button.
Changing Colors
From the Theme tab, expand the Colors panel.
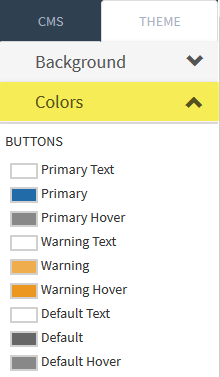
The color options apply to several areas throughout the store. They are categorized as follows:
Buttons - applies to buttons throughout store
Header - includes elements within the header only
Footer - includes elements within the footer only
Widget - applies to widgets that are placed within the inner template (body)
Sidebar Widget - applies to widgets that are placed in a sidebar of a page template.
Product Listing - applies to places with product listings.
Forms - mostly applies to the checkout and account pages with forms.
To change the text or button colors, click the rectangle next to any of the colors you want to change, and this will open the color picker.
Either type in a color number or select a color from the palette.
Click outside of the palette to close it. Repeat as needed until you have the colors selected for your own theme.
When you are ready to check your change(s), click the PREVIEW button in the bottom footer.
If everything looks good, commit the change by clicking the PUBLISH button.
Note: Once the change is saved, you will not be able to undo it. If you make a mistake, the file that is being updated is located in Website\Themes\{#ThemeName#}\Content\skin.cssIf you want to cancel out of the change, click the CANCEL button.
Changing Typography
From the Theme tab, expand the Typography panel.
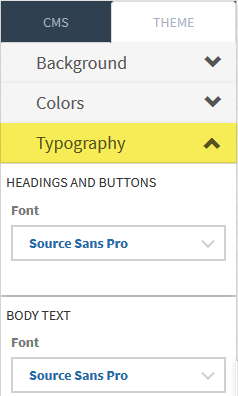
There are two options for changing font types. The first applies to all Headings and Buttons. The second applies to all Body Text.
Select a font from the list provided.
When you are ready to check your change(s), click the PREVIEW button in the bottom footer.
If everything looks good, commit the change by clicking the PUBLISH button.
Note: Once the change is saved, you will not be able to undo it. If you make a mistake, the file that is being updated is located in Website\Themes\{#ThemeName#}\Content\skin.cssIf you want to cancel out of the change, click the CANCEL button.
Importing a Theme
Using the menu, go to Website > Store Design > Themes.
Find the IMPORT THEME button and click it to view a pop-up form.
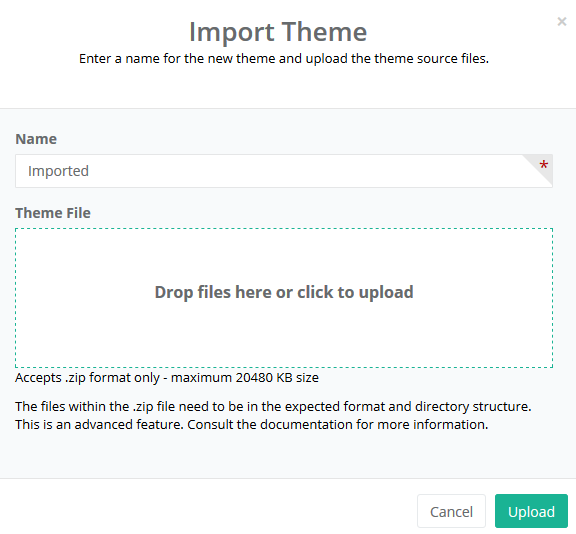
In the Name field, enter a name for the imported theme. The theme name should be short, and it cannot include any special characters or spaces.
Then select a .zip file that contains the theme source. This zip file needs to contain all the necessary files and folders for a theme. Reference a valid theme in the Website\Themes\.. folder to see the required files and folder structure.

Click the Upload button, and wait a moment for the theme files to be copied to their new location.
The new theme will be created the Website\Themes\{#ThemeName#}\ folder.
Download a Theme
Backup your themes at any time.
Using the menu, go to Website > Store Design > Themes.
From the Themes page, click on the Download icon for any theme listed.
Save the file to a location on your computer.