Creating a Blog
Table of Contents Show
Website Blogs and Accessory pages
When you create content pages for your store, there are options to integrate the new pages with your eCommerce store catalog. This is a very useful feature if you would like to create informational pages alongside the products in your catalog. Some examples include blogs, product specification sheets, or any HTML webpage. There are no limits to the number of pages that can be created, and many features are supported including the ability to create pages in advance and set a publish date in the future.
The benefit of using AbleCommerce is that you can create a single website that includes your eCommerce store and your HTML content pages. Because everything is under a single system of a content management, all pages in your website and store can be easily maintained.
You can also use AbleCommerce to create a content-only website. This process, and other examples, will be demonstrated in this document.
Add a Category to Organize and Display your Pages
By setting up a category structure, you can organize new content pages that are added to the website. There are times when it isn't necessary to create categories for your pages, but keep in mind that they can only be accessed through a direct link that is manually coded into another page, snippet, or widget by you.
For this example, we will walk you through the process of creating a large, categorized, website Blog with a custom landing page. If you would like to create a small website Blog, then certain sections can be skipped and will be noted for its use.
Recommended use: Any size website blog needs to have at least one category that will be used to assign pages to.
Using the menu, go to Catalog > Categories
Tip: Use the quick access toolbar in the header and click on Catalog.At the top level of the Manage Catalog page, click the Add New... button located in the upper-right corner of the page.
Note: At the parent (top) level of the catalog, you will only be able to create categories. Once you navigate into any category, there will be additional options to create products, content pages, or additional sub-categories.The Add Category popup appears as shown:
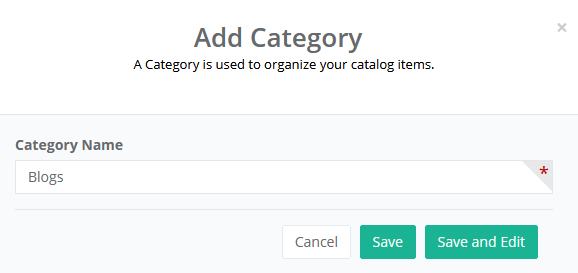
Type in a name for the category. Press the Save button when finished.
TIP: The name of the category can be generated in the store menu, so it's better to keep the name short at the top level.
Add Sub-Categories to create a Custom Landing page
Recommended Use: For this next part, a large website Blog should use additional sub-categories to create a Blog landing page. Skip this next section if you do not want to create a landing page for your Blog pages.
Navigate into the category that you just created by clicking the linked name.
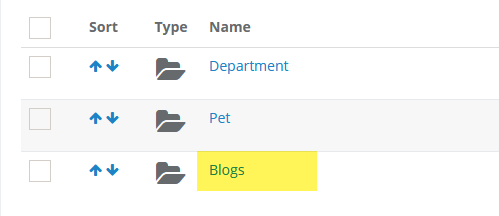
From the empty category, you will have new options to create another category, product, or webpage.
Let's go ahead and create another category to organize a group of similar types of webpages. You can create new pages at the top level and then easily move them around at any time.

Create a second level category by clicking the Add New... button to display the drop-down list of options.
Select Category to display the Add Category popup again.
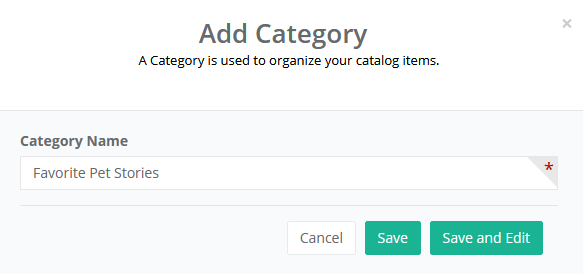
Enter a category name and click the Save and Edit button.
Change the Inner Template to "Article Listing". This is one of the built-in templates. Later in this document, we'll show you how to customize and create your own templates.
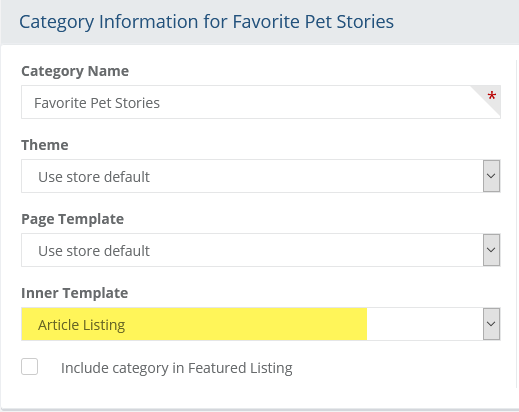
For now, keep the default, or your current settings for Theme and Page Template.
Because this sub-category will be shown on the landing page, we want to add some display elements. Shown in the top section of the edit category page, is an option to assign an image. Drag and drop, or select an image from the assets folder.
TIP: For best results, crop your category images to their desired largest size. The responsive web design will automatically resize them according to screen size available.
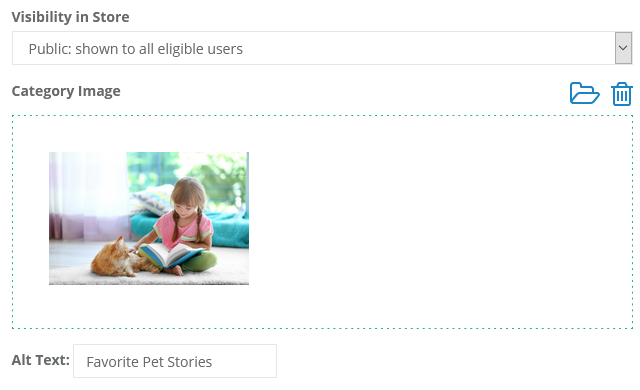
Note the Visibility in Store option which allows you show this category to members of a group, or hide it completely until you are ready to publish.
Be sure to include your image Alt Text.
INFO: Also called "alt tags" and "alt descriptions," alt text is the written copy that appears in place of an image on a webpage if the image fails to load on a user's screen. This text helps screen-reading tools describe images to visually impaired readers and allows search engines to better crawl and rank your website.For the last step, we recommend including a summary description for your category. This helps users know what types of content will be shown. Adding a summary is optional. Slide open the section named "Category Descriptions".
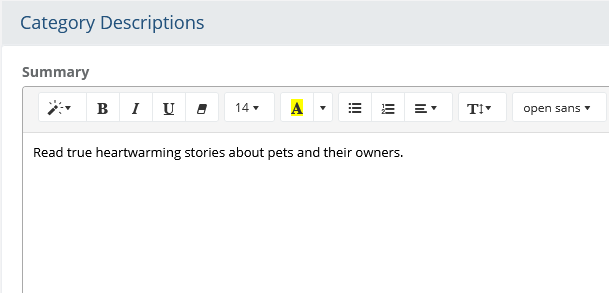
Enter some descriptive text into the Summary field.
Click the Save and Close button in the admin footer.
Create additional sub-categories as needed.
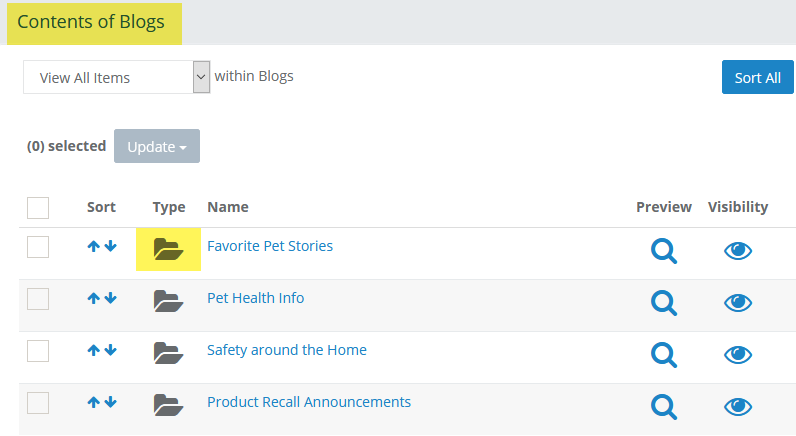
The example below shows a list of sub-categories created beneath the top level Blog category. Notice the Type icon.
Adding Content Pages
This next part applies to stores of all sizes. It describes the process of adding a new content page which can be used for whatever purpose you need.
Navigate into the category that will be used to organize a group of related topics.
Use the Add New... button to display the option to add a new Content Page (Webpage).
Note: We commonly refer to Webpages as Content Pages. They are the same.
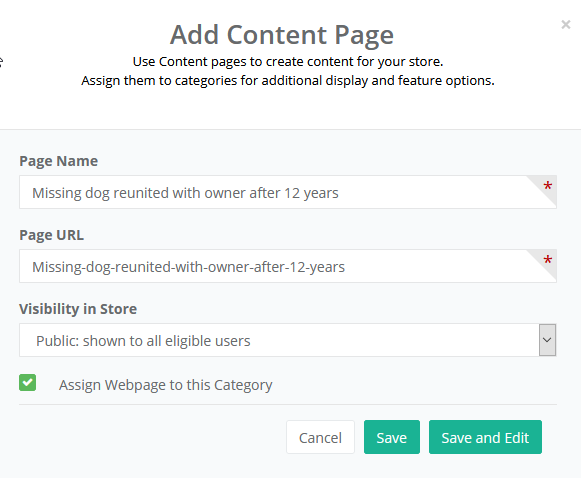
In the first field, enter a name for the new page.
Click in the second field, labeled Page URL. The value should automatically populate based on the name entered in the field above it. If you want to change the URL of this page, enter a new URL as needed.
The Visibility in Store setting allows you to change the content page to be public, private, or hidden. Be careful when changing visibility for pages that are linked to by other features. The setting will determine if the page is shown from any location in the store.
Public: available for any user to view; page will always appear for any user, unless group restrictions are applied.

Private: available by direct link only; page will not appear in the search results or catalog listings.

Hidden: locked and unavailable for viewing; page is effectively disabled.

Keep the box checked next to "Assign Webpage to this Category".
Click the Save and Edit button to view the fields available on the Basic information tab.
Enter a publish date and author information in the published by fields. This information is optional.
Tip: Enter a date in the future to have the page automatically appear on the day you specify.
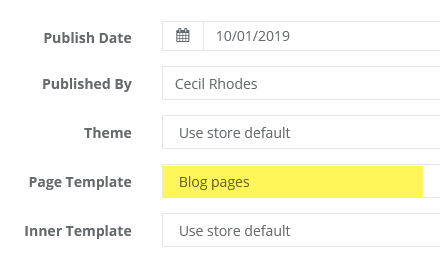
Change the Page Template to "Blog pages". Later in this document, we'll show you how to customize and create your own templates.
For now, keep the default settings for Theme and Inner Template.
Next, go to the HTML tab and enter content for the new page. An inline editor is provided for those who need it. The editor supports source code view for those who prefer it.
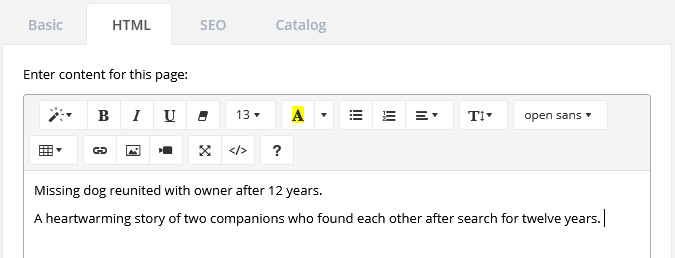
Click the Save after adding the HTML content for your page.
Next, go to the "Catalog" tab. The information entered here is used to display a summary of the content page with an image and description.
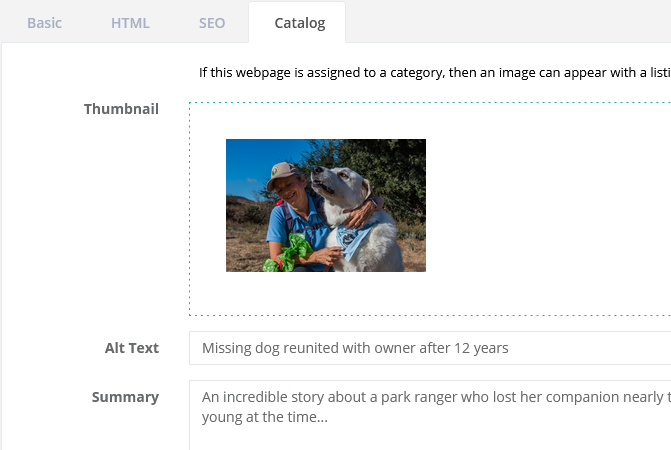
Shown in the top section of the edit category page, is an option to assign an image. Drag and drop, or select an image from the assets folder.
Adjust the Alt Text if needed.
Add a Summary description in the field provided.
Note that you can change or add new page assignments by checking additional categories from this location.
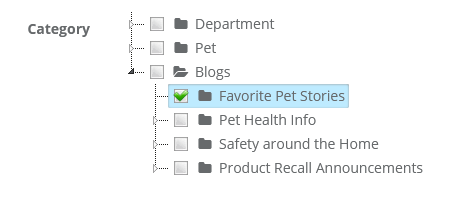
When finished, click the Save and Close button to return to the Manage Catalog pages.
Create additional content pages as needed. Make sure each is assigned to its applicable category.
The example below shows a list of webpages assigned to a category. Notice the Type icon.
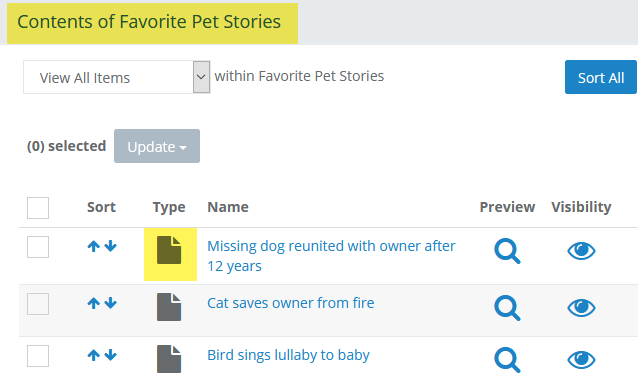
Content Review
Before we move on to page design, let's do a quick review and make sure that all content is in place.
Confirm the following:
That you have created at least a single category to use as a navigation starting point for your content pages.
If you have many documents that need organization and/or a custom landing page, then make sure that you have created a sub-categories. For a nice looking landing page, you should include a thumbnail image and summary description for each one.
That you have at least one webpage created, and that it is assigned to at least a single category.
We suggest you include a thumbnail image and summary description for each webpage. You may also want to include author information. Remember that any page can be created in advance and be published on the date you enter.
Create a Custom Landing Page for your Blog
Recommended Use: A large website may want to create a landing page for their content pages, or Blog. This section describes the process of creating a custom inner template that can display a grid of category links with images and descriptions.
Using the menu, go to Website > Store Design > Inner Templates.
From the upper-right corner of the page, click the Add Inner Template button.
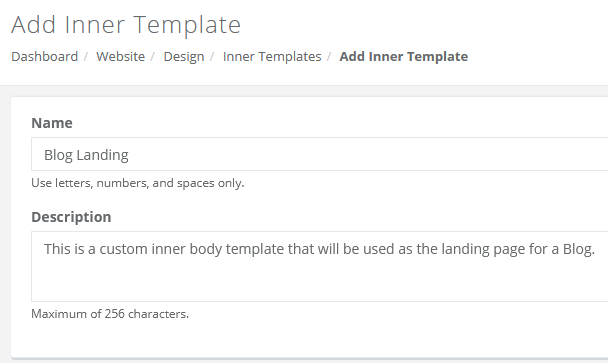
In the first field, enter a new name for the Inner Template.
Add a description of the template for your own purposes.
Click the Save button.
The Basic tab is shown for the new template.
Next, click on the Layout tab.
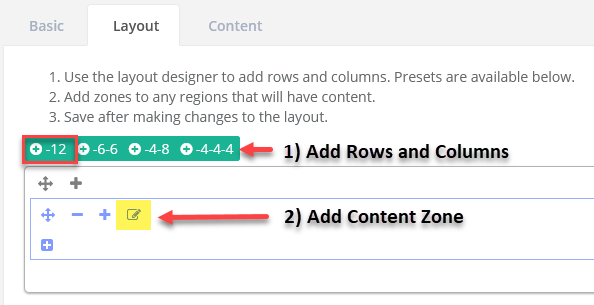
To keep things simple for this example, we will add a responsive container with a row that is 12 wide. First, using the image above as a reference, click the +12 to add a single row to this template.
Second, using the image above as a reference, click the highlighted icon of a pencil and pad. The Insert Zone popup will appear.
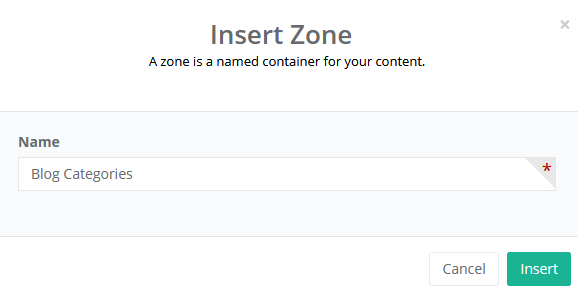
Enter a short one or two word name for the zone. Click the Insert button.
Click the Save button in the admin footer.
Next, click on the Content tab.
You should see an active content zone shown with a light-blue dashed border.
Click the Edit Content button to activate design mode.
Using the option list, select "Category" to display the compatible widgets.
Find the widget named "Subcategory Grid". Drag and drop this widget into the active zone.
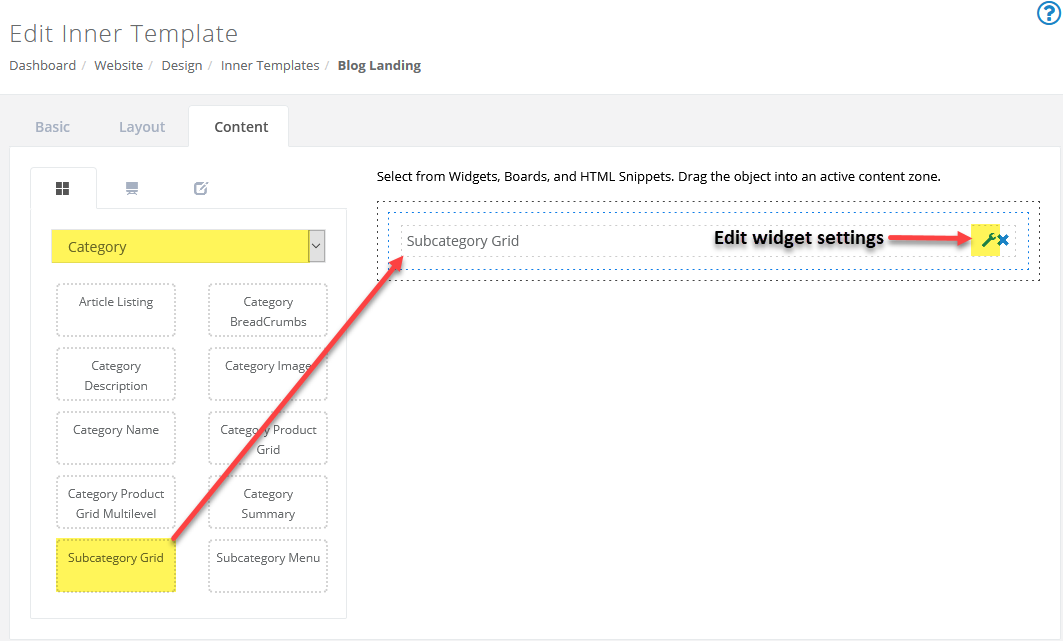
Click the Save button.
Using the wrench icon, view the settings available for this widget.
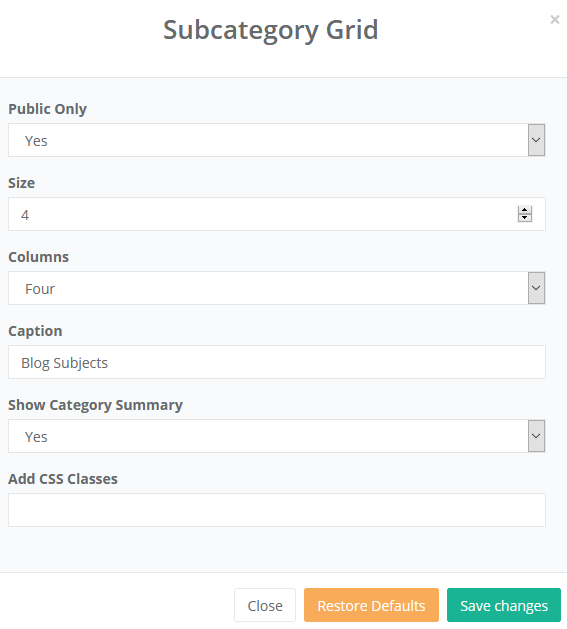
Make any changes as needed. Each label has a tooltip which explains its purpose. Use the Caption text to customize the heading.
Save changes or Close the popup.
You can add more components to the inner template, but for now, this widget will serve as the start to a custom landing page.
When finished, click the Save and Close button in the admin footer.
Then click the Back button to return to the Inner Template listing page.
Apply your custom Inner Template to the Category Landing page
Using the menu, go to Catalog > Categories
Edit the top level category that was created during the first section of this document. This would be the "Blog" category from the examples.
Select the new inner template you created in the previous section. This would be the "Blog Landing" template from the examples.
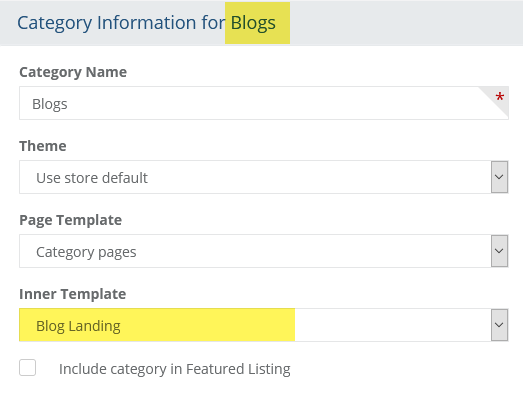
Click the Save button.
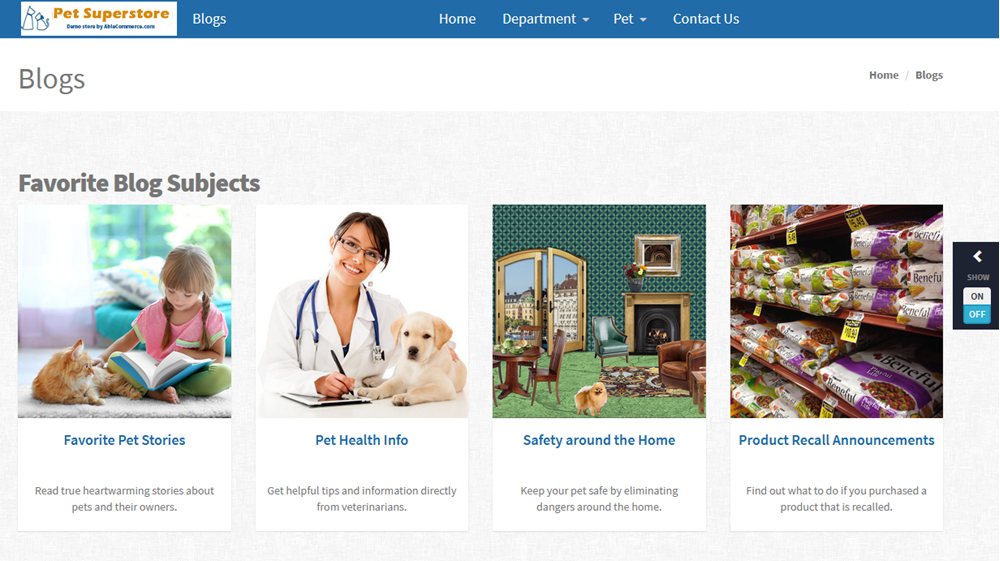
Next to the Save button is a Preview button. This will open a new window where you can see the beginnings of a custom landing page.
Create a Custom Listing Page for your Blogs
Recommended Use: This section describes the process of creating a custom inner template that can display a list of content pages using a summary description, image, and author information. Any size store can utilize this inner template.
Using the menu, go to Website > Store Design > Inner Templates.
From the upper-right corner of the page, click the Add Inner Template button.
In the first field, enter a new name for the Inner Template. (e.g. Blog Listing)
Add a description of the template for your own purposes.
Click the Save button.
The Basic tab is shown for the new template.
Next, click on the Layout tab.
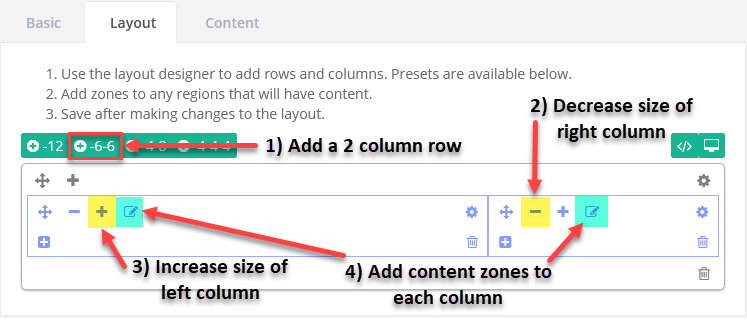
For this example, we will add a responsive container with a two column row that is 6 x 6 wide. First, using step 1) in the image above as a reference, click the +6-6 to add a two-column row to this template.
Using step 2) in the image above as a reference, click the yellow highlighted icon of a minus sign ( - ) TWO times to reduce the size from 6 to 4.
Using step 3) in the image above as a reference, click the yellow highlighted icon of a plus sign ( + ) TWO times to increase the size from 6 to 8.
Using step 4) in the image above as a reference, click the blue highlighted icon of a pencil and pad. Create a zone for the left column and right column.
The Insert Zone popup will appear.
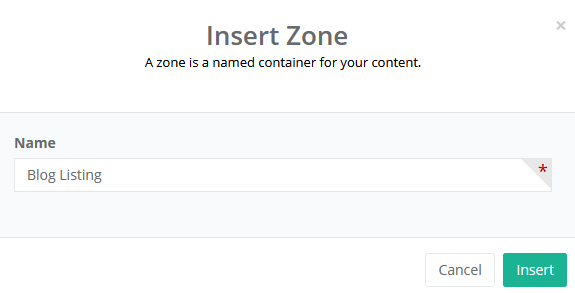
Enter a short one or two word name for the new zone added to the left column. Click the Insert button.
Repeat for the right column by inserting a second zone with the name "Blog Menu" or any name you prefer.
Click the Save button in the admin footer.
Next, click on the Content tab.
You should see an active content zone shown with a light-blue dashed border.
Click the Edit Content button to activate design mode.
Using the option list, select "Category" to display the compatible widgets.
Find the widget named "Article Listing". Drag and drop this widget into the active zone of the left column.

Using the same technique, select "Sidebar" to display widgets that are suitable for display in a narrow column.
Find the widget named "Article List Menu". Drag and drop this widget into the active zone of the right column.

Click the Save button.
Using the wrench icon, view the settings available for each widget.
Make any changes as needed. Each label has a tooltip which explains its purpose. Use the Caption text to customize the heading.
Save changes or Close the popup.
You can add more components to the inner template, but for now, this widget will serve as the start to a custom listing.
When finished, click the Save and Close button in the admin footer.
Then click the Back button to return to the Inner Template listing page.
Apply your custom Inner Template to multiple Category pages
In this section, we describe the process of applying the new inner template created above to more than one category at a time. This is done through the category batch edit feature. You can also change the same information by editing each category and modifying the inner template individually. Either way works fine.
Using the menu, go to Catalog > Batch Edit > Categories
Using the filter to search, select the field "Inner Template" from the list on the left and move it to the list on the right as shown.
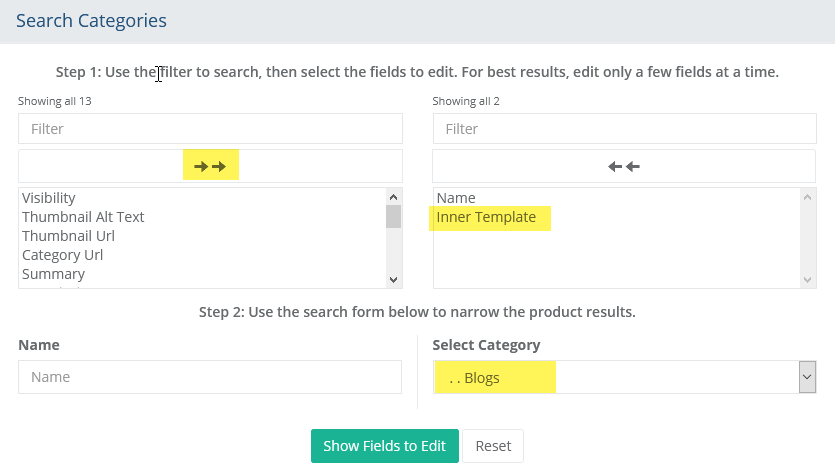
Using the filter to search, select the top level category that was created during the first section of this document. This would be the "Blogs" category from the examples.
Click the Show Fields to Edit button.
On the next page, you can change the Inner Template selection to "Blog Listing" for each of the sub-categories in the search results.
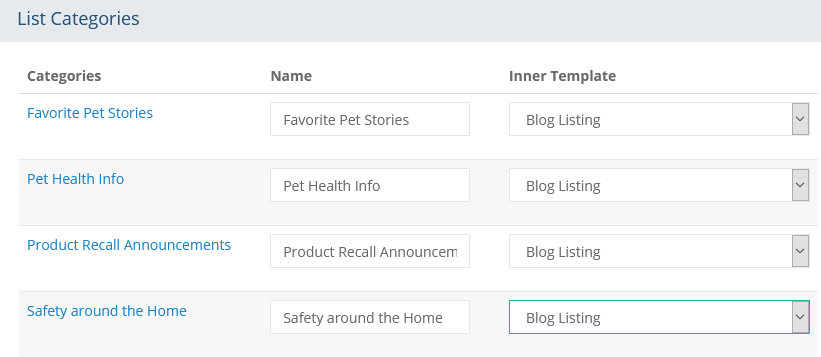
Select the new inner template you created in the previous section. This would be the "Blog Landing" template from the examples.
Click the Save button when finished making the template selection.
Do not leave the page, but instead click on one of the linked category names. This will take you directly to the edit category page.
Then click the Preview button in the upper-right corner. This will open up the retail-facing page (in a new tab) so you can view your work thus far.
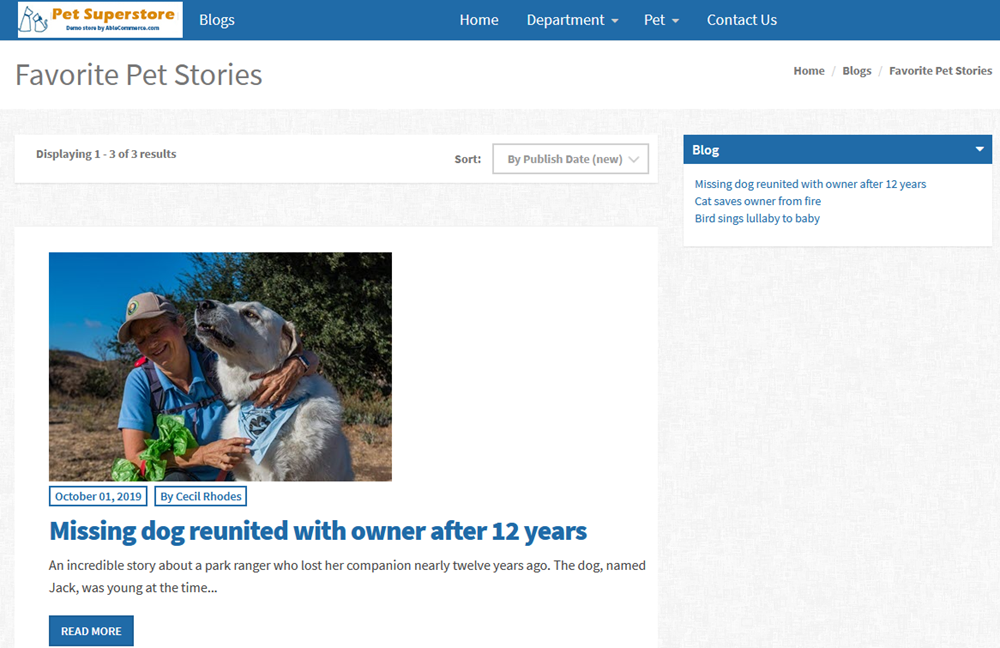
TIPS: Remember that most widgets have display settings that can be changed from the admin template design area, or the retail side. There are options to hide sorting, change captions, and choose what information is displayed. Surround the widgets with your own custom HTML to further customize the design.
If you have applied a template to several pages, and you want to customize the widget settings, you should do this from the admin side under the Website > Design menu. If you make a change to an individual page from the retail side, then that change will only impact the page you are editing. Any page design changes made from the retail side are effectively overrides to the values set from the admin.
Once a page has active customizations, you will not be able to switch to different templates or a theme until the customizations are removed. To view all customized pages, go to the Website > Customized Pages menu.
Create a Custom Blog Detail page
Recommended Use: This section describes the process of creating a custom inner template that can display a list of content pages using a summary description, image, and author information. Any size store can utilize this inner template.
Using the menu, go to Website > Store Design > Inner Templates.
From the upper-right corner of the page, click the Add Inner Template button.
In the first field, enter a new name for the Inner Template. (e.g. Blog Detail)
Add a description of the template for your own purposes.
Click the Save button.
The Basic tab is shown for the new template.
Next, click on the Layout tab.
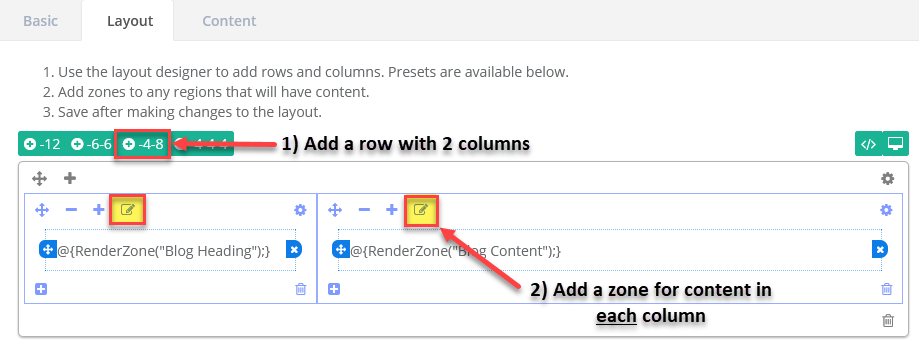
For this example, we will add a responsive container with a two column row that is 6 x 6 wide. First, using step 1) in the image above as a reference, click the +6-6 to add a two-column row to this template.
Using step 2) in the image above as a reference, click the yellow highlighted icon of a minus sign ( - ) TWO times to reduce the size from 6 to 4.
Using step 3) in the image above as a reference, click the yellow highlighted icon of a plus sign ( + ) TWO times to increase the size from 6 to 8.
Using step 4) in the image above as a reference, click the blue highlighted icon of a pencil and pad. Create a zone for the left column and right column.
Once the Insert Zone popup appears, enter a short one or two word name for the new zone added to the left column. (e.g. Blog Heading)
Click the Insert button.
Repeat for the right column by inserting a second zone with the name "Blog Content" or any name you prefer.
Click the Save button in the admin footer.
Next, click on the Content tab.
You should see an active content zone shown with a light-blue dashed border.
Click the Edit Content button to activate design mode.
Using the option list, select "General" to display the compatible widgets for a content page.
Find the widget named "Webpage Content". Drag and drop this widget into the active zone of the right column.
Find the widget named "Webpage Thumbnail". Drag and drop this widget into the active zone of the left column.
Note: This widget may not be available in all versions.Find the widget named "Article Publish Info". Drag and drop this widget into the active zone of the left column, below already inserted widget.
Click the Save button. Refer to the example below.
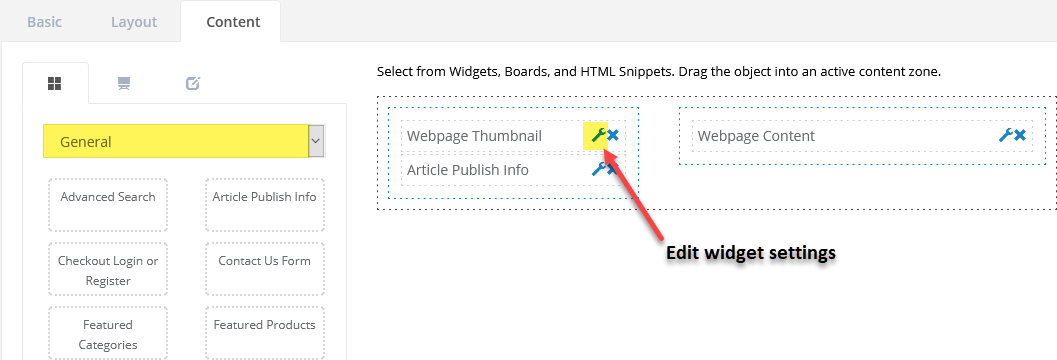
Using the wrench icon, view the settings available for the Article Publish Info widget.
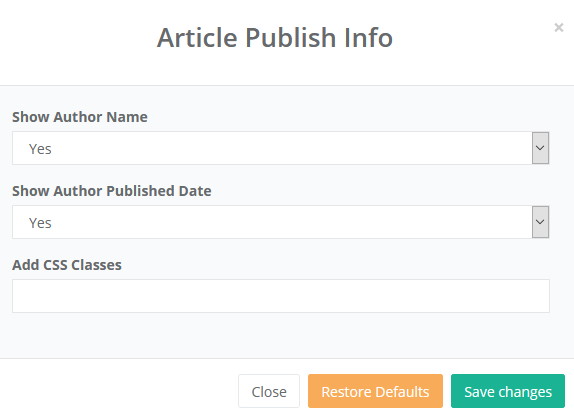
Note the available settings and make any changes if needed..
Save changes or Close the popup.
You can add more components to the inner template, but for now, this widget will serve as the start to a custom blog detail page.
When finished, click the Save and Close button in the admin footer.
Then click the Back button to return to the Inner Template listing page.
Creating Pages in Advance for Timed Postings
The Publish Date and
Published By fields can
used for content pages only.
You can set a publish date in the future to have the page listing
appear automatically on the day it is published for. The page
will still be available as a direct link.

To enable this feature, edit or
add any Content Page from either the Catalog or from the
Website > Content Pages in the menu.