Digital Files
Table of Contents Show
Managing Digital Files
Digital Files are the physical attachments for your Digital Goods. If the files are uploaded through the browser interface, then they must conform to the file types allowed as set by the administrator. If you are going to upload your files through some other protocol, such as FTP, then make sure to place them in the \app_data\Digital Goods\ folder of the installation.
Using the admin menu, go to Catalog > Digital Files to view a page similar to the one below.
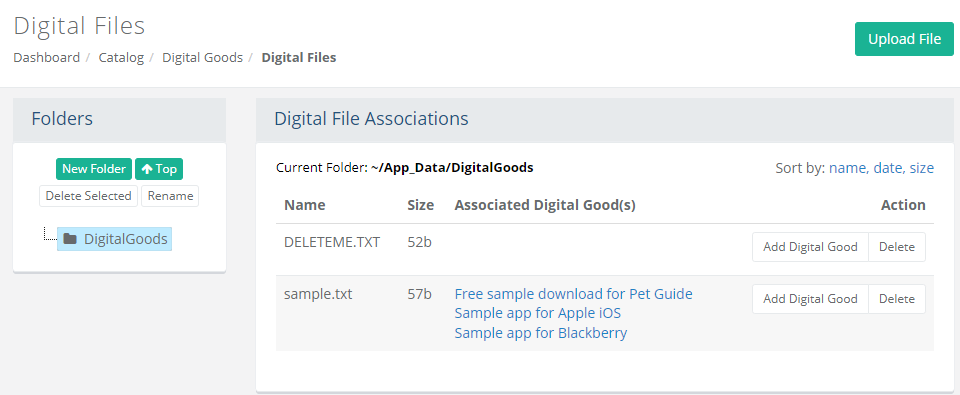
The left section named "Folders" is where you can organize the secure content for your downloadable goods within the \App_Data\DigitalGoods\ folder.
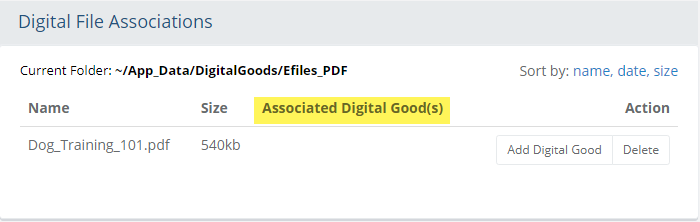
The right section named "Digital File Associations" displays the files that are within each folder.
Current Folder displays the location of the files being viewed.
Sort the items within a folder using the linked Name, Date, or Size
The details of the item are shown with the name and size.
If the file has been associated to a Digital Good, then a link to each digital good will be shown.
An Add Digital Good button in the Action column will allow you to associate the file to a digital good.
The Delete button is available to remove the file permanently from the server.
Managing Folders
You can view the \DigitalGoods\ folder and any of its sub-folders in the Folders section as shown in the example below.

To add a new sub-folder, click on the \DigitalGoods\ folder (or any other folder) and then click the New Folder button to view a pop-up.
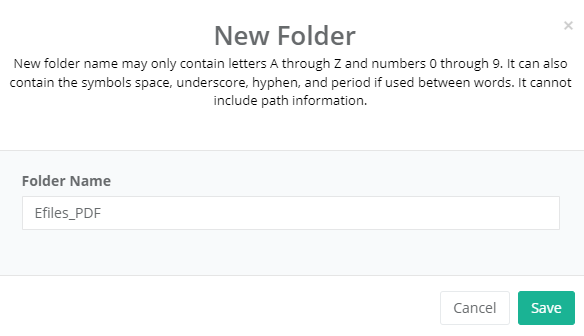
Enter a new Folder Name.
Note: Folder names must not include spaces or special characters. Valid folder names may include hyphens or under-bars. (e.g. "New_Folder" and "New-Folder" are acceptable. "New Folder" is not.)Click the Save button.
If you want to remove a folder, select any empty folder and then click the Delete Selected button.
A confirmation will appear. Click Yes, delete it to continue.
If you want to rename a folder, select any folder and then click the Rename button to view a pop-up.
Note: If there are files being referenced within the folder, then you will need to update the path accordingly.Click the Save button.
Uploading Files
Security system
settings determine the types of new files that can be uploaded.
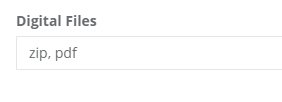
By default, only .zip files can be uploaded. If you want to upload
different types of files, then go to Configure
> Security > System Settings and enter the extension
into the Digital Files field.
From the menu, go to Catalog > Images page.
From the menu, go to Catalog > Digital Goods > Digital Files page.
Make sure you are in the desired folder, or within a sub-folder of the \DigitalGoods\ directory.
Click the Upload File button from the upper-right corner of the page to view a page similar to the one below.
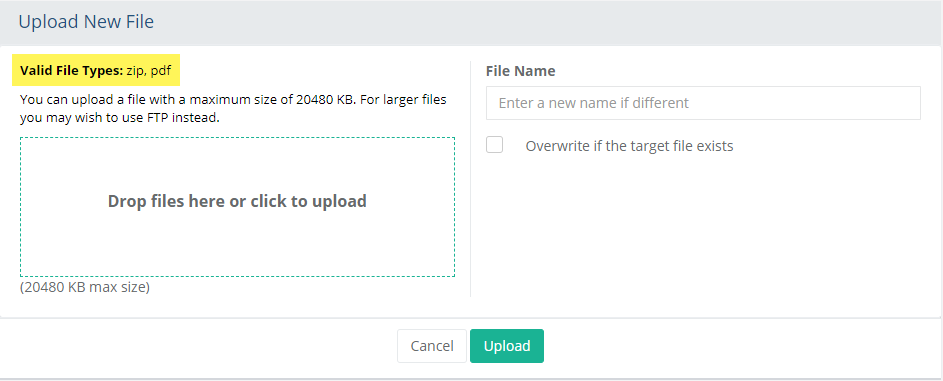
Drag and drop a File into the box shown, or click in the box to select a file from the server.
The File Name can be changed during upload by entering a different name into the field shown.
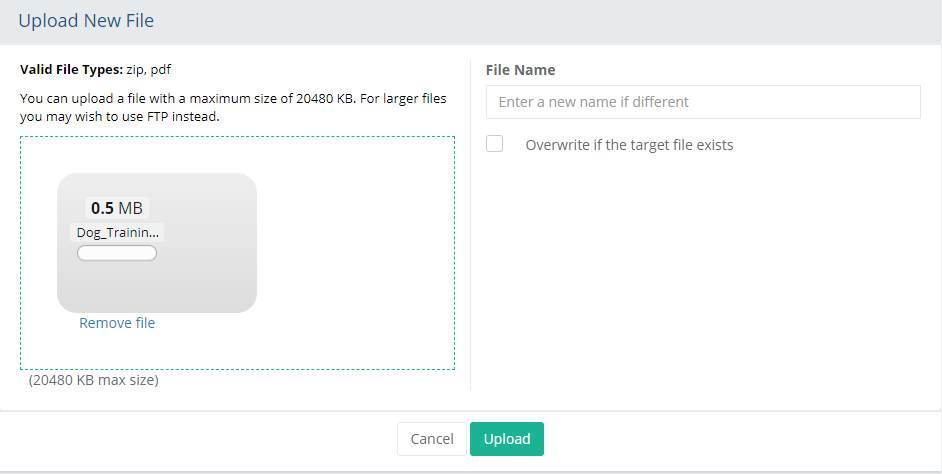
If the file being uploaded will replace an existing one, check the box to Overwrite if the target file exists.
When finished, click the Upload button.
The file will be shown immediately after upload in the folder it was uploaded to.
NOTE: Before the file can be purchased and downloaded, it must be assigned to a Digital Good.