Categories > Manage Categories
Manage Categories
From the Browse Catalog page, or from the top-menu, go to Catalog > Browse. An example Category page is shown below.
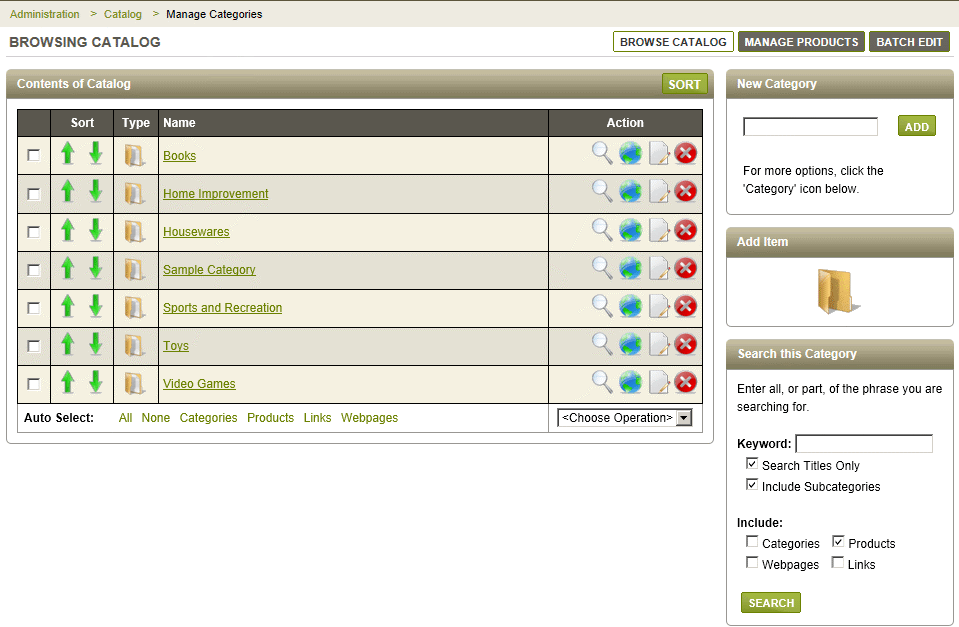
This is a multi-function page, giving you the ability to not only view your category structure, but with full management capabilities as well.
New products, or other types of catalog objects like sub-categories, webpages, and links must be belong to a parent category. The example category shown below is empty.

If you are concerned on how to initially categorize your products, we'll show you how easy it is to move products around to different categories.
Contents of Catalog
Using the same example, the middle content area of the Browse Catalog page is shown below. These are only the top-level categories. Once you have created top-level categories, you can further organize your products with sub-categories as needed. Since a product must be assigned to a category, you will never see product listings at this level. However, it is possible to create content pages here, although not shown in the example, they would be indicated by a different type of catalog object.
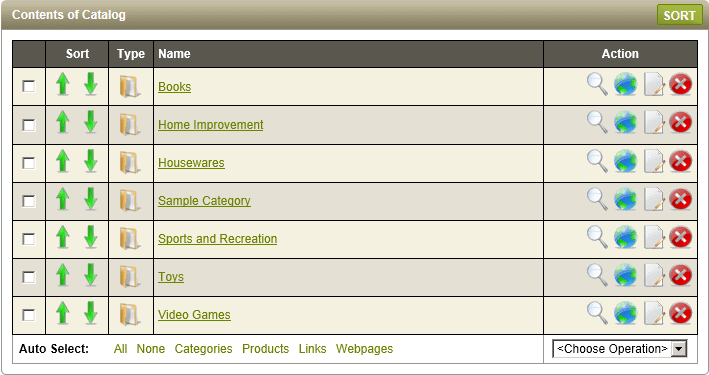
In the upper-right corner there is a SORT button:

-
Sort Category - this is a quick sort of the category list instead of using the individual sort icons.
Looking left to right on the page, the actions are described as follows:

-
Checkbox - check the box to select individual categories.
-
Sorting - click the green up or down arrows to sort individual categories.
-
Object type - an icon represents the type of catalog object. A category icon is shown in this example.
-
Category Name - The linked name of the category. Click this to view the next level below.
In the far right column, you can preview, edit, delete or change the visibility setting.
![]()
-
Preview - a magnifying glass represents a preview of the category page. This launches a new browser window to show you the corresponding store page.
-
Visibility - A visibility setting indicates whether the category is shown in the store, by direct link only, or locked and unable to be viewed.
-
Edit - to add images and descriptions to the category, you'll need to access the Edit page.
-
Delete - to remove a category and all of it's contents, click the delete icon. A warning will appear before action is taken.
At the bottom you'll see a few batch operations.

-
Auto Select - Click the linked name to automatically select only those objects that are listed on the page.
-
Operation - select the batch operation. Options are Move Selected, Delete Selected, and Change Visibility.
Add Items and Search
|
Example from Top-Level Category: 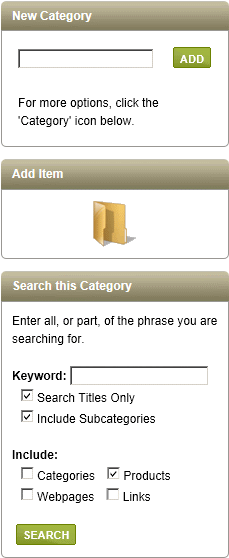
|
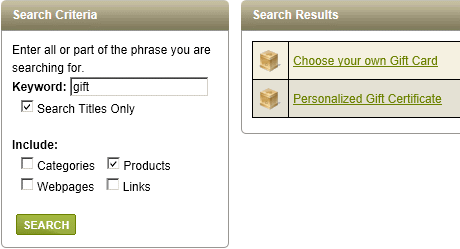
In the right column of the Browse Catalog page, you'll see from top to bottom, a New Category field to quickly add new categories by name only. In the Add Item section below that, notice the differences between the left and right screenshots. Remember earlier we discussed the ability to only create Category objects at the top most level? If you look to the right screenshot, you'll see three more options available - Add (Sub-)Category, Product, Webpage, or Link. In the bottom section, Search This Category, you'll see a form field where you can enter one or more Keyword(s). Additionally, you may expand your search to Include Subcategories, or filter your search to Titles Only. The Catalog objects you wish to include in your search can be selected by checking the box for one or more. AbleCommerce has four types of catalog objects, the Category, Product, Webpage, and Link. Each one will have different characteristics or features available. Once you have made your selections, click the SEARCH button to view a list of catalog objects that meet your criteria. You can make further adjustments as needed, and search again. Example search results page:
|
Example from Sub-Category: 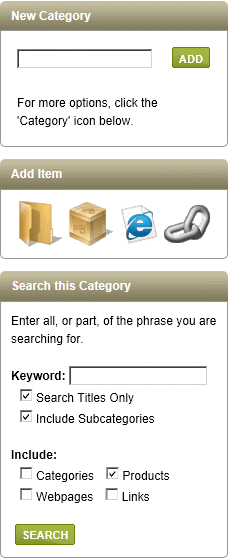
|
Catalog Object Types
AbleCommerce has four types of objects for the merchant to use. A variety of display options and templates exist for each one.

-
Category - a category is used to organize items in the catalog. You can create as many categories and sub-categories as needed. Category attributes include a name, image, short and long descriptions, and a custom URL feature.
-
Product - a product has many different display options, attributes and features - too many to list here! Products are always displayed within a category so user navigation can be provided.
-
Webpage - this type of catalog object allows you to provide content pages that are part of the catalog system. These have a basic set of features such as page name, image, and html page content.
-
Link - as the name says, this is a simple way to create lists of links, or URL's to other pages or sites. These links can be targeted to open in a new window. Link attributes include a name, image, and short description if desired.
Additionally, there are options in the upper-right corner of the catalog area. These buttons allow you to bulk Sort the items within the selected category. You can edit or preview the category, or move up one level by clicking the respective button or icon.
Assigning Categories to a Product
-
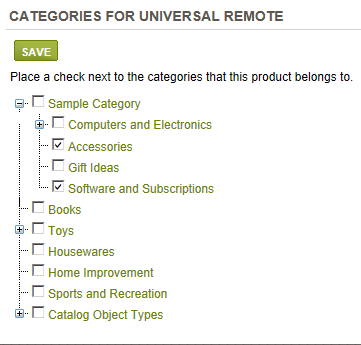
From Product Editing page, click on the Categories tab.
-
Your category tree will be displayed. You can click the + to view the sub-categories.
-
For each category that you want your product to be displayed in, check the box. There is no limit to the number of times a product can be assigned to a category.
-
Click SAVE when finished.
Go to Site Map
