Email Lists (see Manage > Email Lists)
Table of Contents Show
Manage Email Lists
Create email lists to keep your customers informed. Use the automated email sign-up form to encourage visitors to your website to enter their email for instant membership to as many email lists as you would like to offer. From sales and marketing to product information, you create the list and the users can sign-up on their own during checkout, or at any page you add the widget to your store.
To access the Email Lists feature, go to Marketing > Email Lists using the menu. A page similar to the one shown below appears.
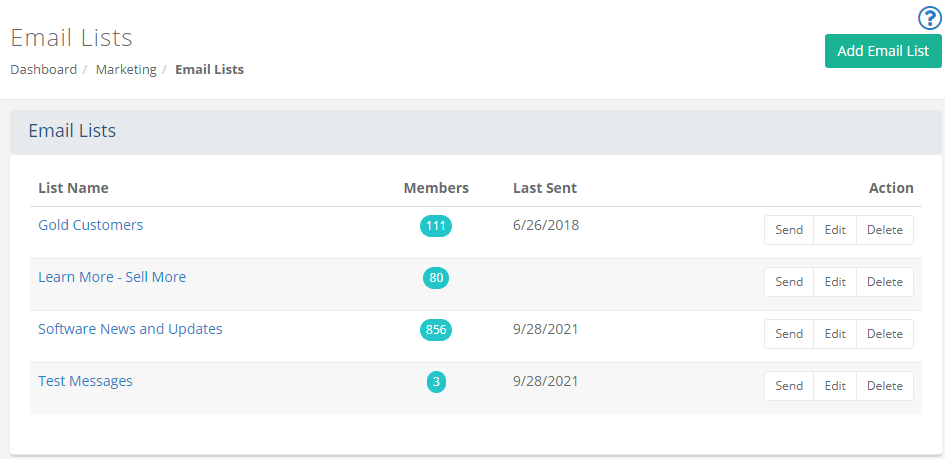
From the Email Lists page, you can manage all your mailing lists.
List Name - shows the name of the email list as it will appear for customers. Use the link to edit the list.
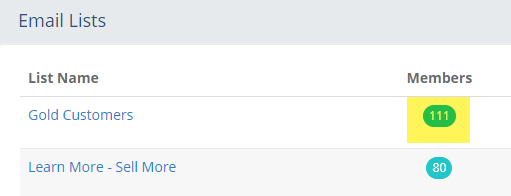
Members- this counter shows the number of users assigned to the list. You can add or remove members by clicking the linked counter.
Last Sent - this shows the date the list was last used to send email. If no date is shown, then it has never been used.
Action - the last column includes buttons to Send, Edit, or Delete the email list.
Add Email List
Using the menu, go to Marketing > Email Lists.
From the upper-right corner of the page, click the Add Email List button.
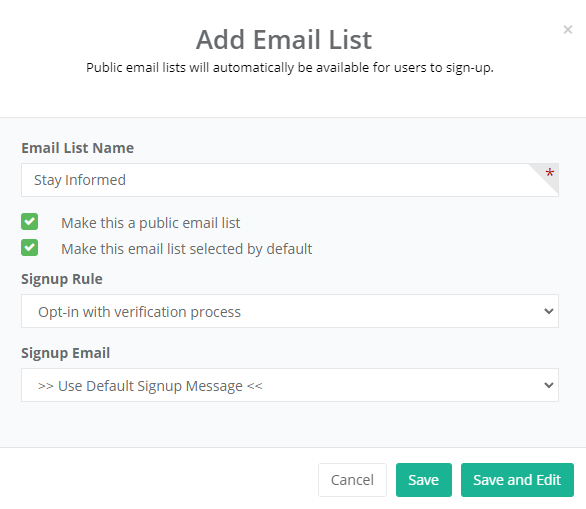
Enter a name for your list in the Email List Name field. This will be displayed to users if this is a public list.
Uncheck the box if this is a not a Public List. A public list will automatically appear for the customer on the checkout page or My Account page. A private list will only be available through the administration side.
Note: The widget "Subscribe to Email List" can be added to any page.Select a Signup Rule.
Opt-in with verification process: requires user to respond to the email list sign-up using a link within the email that is sent to them. If the user does not respond, they will not be added to the email list.
Opt-in with email confirmation only: will send user an email to let them know they signed up for the email list. The user is immediately added to the email list.
Select a Signup Email. The sign-up email is a requirement so the user can acknowledge, or have confirmation, that they have signed up for a mailing list.
There are three stock emails that can be used:>> Use Default Signup Message<< : A simple text email message. This cannot be customized. It can be used with either Signup Rule.
Email List Signup With Verification: An email message that is sent in html or text form. This can be customized. It provides a link that the user must click on to validate their address and be added to the list. It should be used with the signup rule "Opt-in with verification process".
Email List Signup Notification Only: An email message that is sent in html or text form. This can be customized. It provides confirmation to the user that they have signed up for the email list. It should be used with the signup rule "Opt-in with email confirmation only".
Click the Save and Edit button and continue to the next section, or click the Save button if finished.
Edit an Email List
Once the email list is created, you will have some additional options for management from the Edit Email List page.
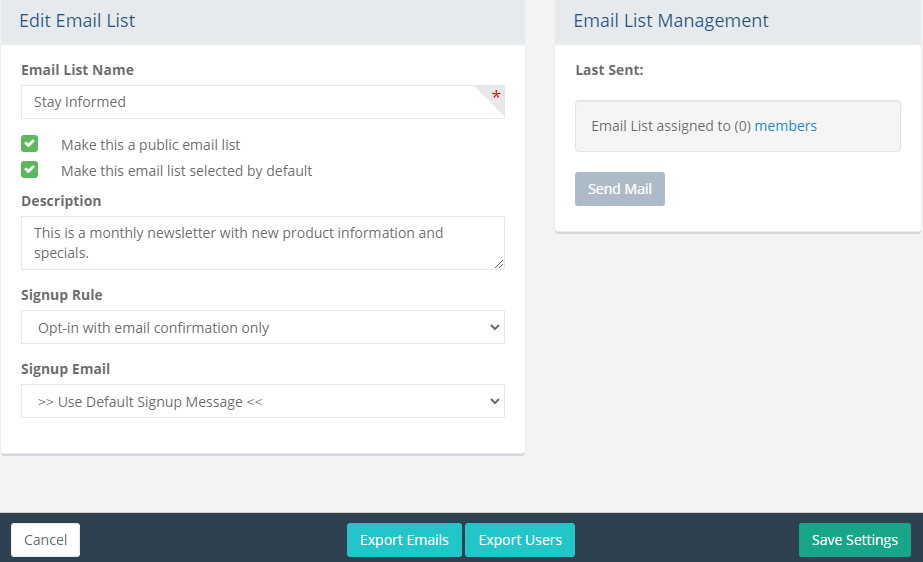
From the Edit Email List page, you can modify the Email List Name. This appears for the customer if the list is public.
To make a list private, uncheck the box next to Make this a public email list. A private email list will only be available from the Email Lists management page.
To make a list subscription appear checked for the user, check the box next to Make this email list selected by default. Be sure to check the email laws for your region to make sure this is allowed.
A Description field is available if you want to give your user's additional details about the email list.
The Signup Rule can be changed to be confirmation by email (automatic opt-in) or verification by email required (manual opt-in).
Select a Signup Email by using the default signup message, customizing one of your own, or choosing from one of the customizable templates included.
Click the Save Settings button after making any changes.
Email List User Management
From the Edit Email List page, you can manually search for users and add them to the list. Additionally, you can view existing members, remove, and add new members.
Search and Assign Users to an Email List
From the menu, go to the Marketing > Email Lists page to view the email lists available.
To assign users to an email list, click on the linked number counter in the 'Users' column for the applicable list.
Or, you can edit the list and click on the link "members" to arrive at the same page.
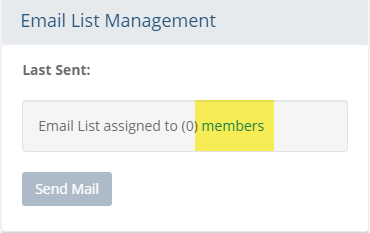
Both methods above will bring you to the Search Users form, which is similar to the one shown below.
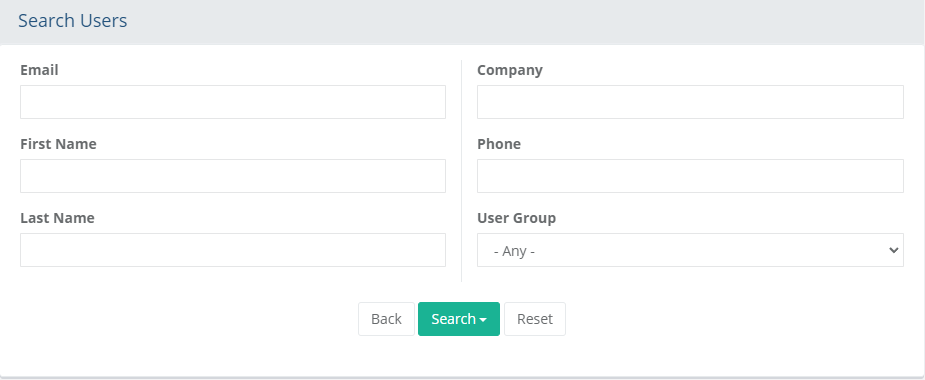
Using the search fields(s) provided, find the users that will be assigned to the email list selected from the prior page.
After entering the search criteria, press the Search button which will drop-down to provide 3 additional filters:
- All Users: results include all users regardless of their email list assignment.
- Users Assigned to this List Only: results include only the users that are assigned to the selected email list.
- Users Not Assigned to this List: results include only users that are not assigned to the selected email list.
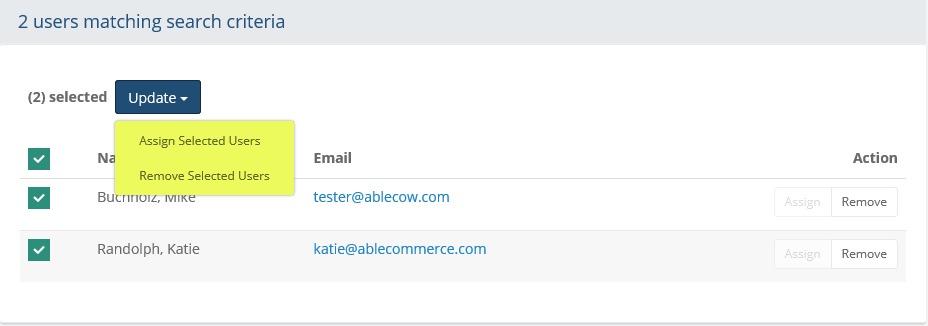
By default, the search results show any users that are currently assigned to the selected email list. Reference sample below.
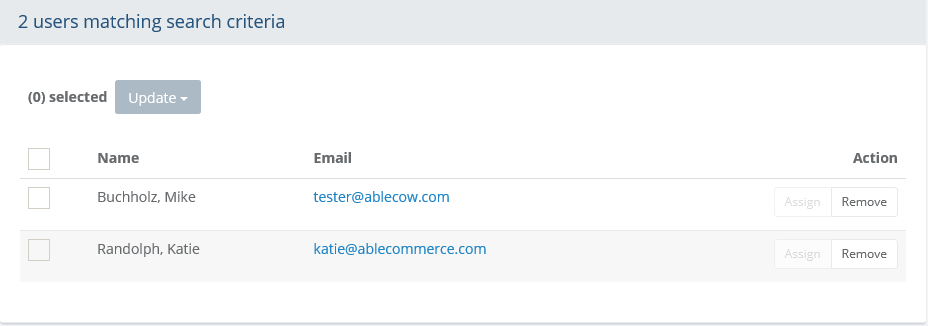
You can either use the buttons from the Action column to individually Assign or Remove email list associations, or..
Check the box next to one or more users, or check the box at the top of the first column to quickly select all users in the search results.
This will activate the Update button, which will drop-down to provide 2 options: either Assign or Remove the selected users.
The update will take place immediately after selection.
When finished assigning or removing users, click the BACK button to return to the Email List listing page.
Sending Email to Users of the List
To send an email to the list users, click on the Send button from the Action column for the applicable list.
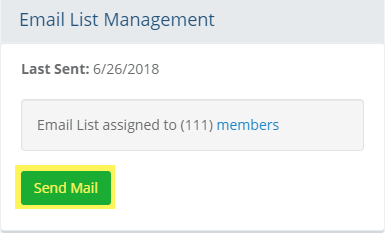
Or, you can edit the list and click on the Send Mail button to arrive at the same page.
From the Compose a Message page, there will be several options. An example is shown below:
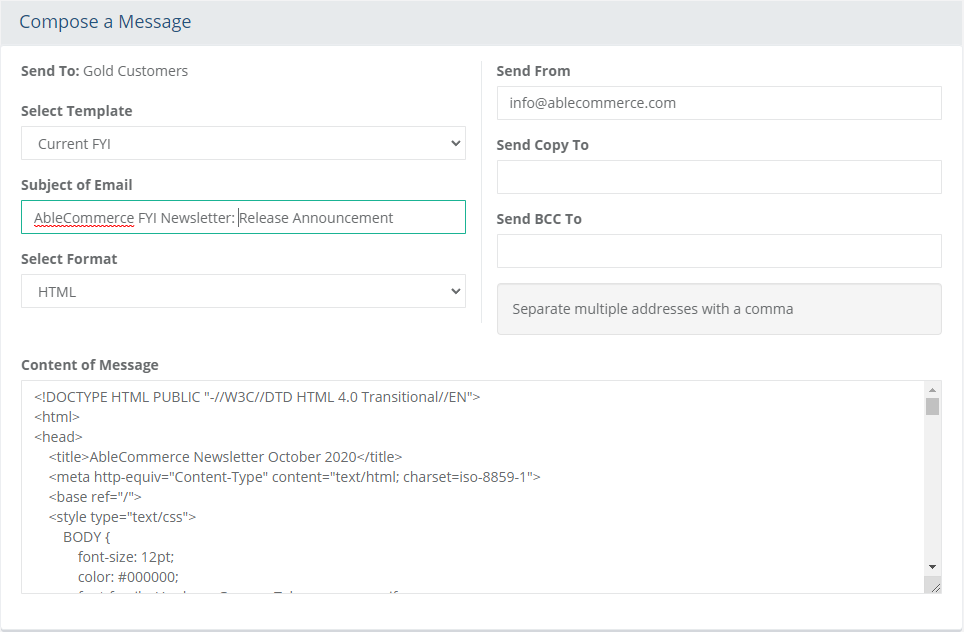
First, you will either need to select an email template from the list, or enter the text into the Content of Message field.
Note: To create new email templates, go to the Configure > Email > Templates page.If you have selected an existing email template, the Subject of Email will be populated. Otherwise, you can enter it here or change as needed.
The Select Format options are HTML or Text Only. Be sure to select the correct format for the email message.
In the Send From field, you can change as needed or use the default value populated from the email template.
The Send Copy To field will send a copy of the message to the email address entered in this field. The CC email will be displayed in the email along with the original recipient.
The Send BCC To field will send a blind copy of the message to the email address entered in this field. The recipient of the email will not see this email address.
Note: With both CC fields, you will receive one copy for EACH email sent. So, if the list contained 100 users, then the email CC user will receive a copy of all 100 emails sent, not just one. If you want to do any testing before sending the message, create a test Email List and add the recipient test users to that list.To continue, click the Preview button located at the bottom of the page. A sample is shown below:
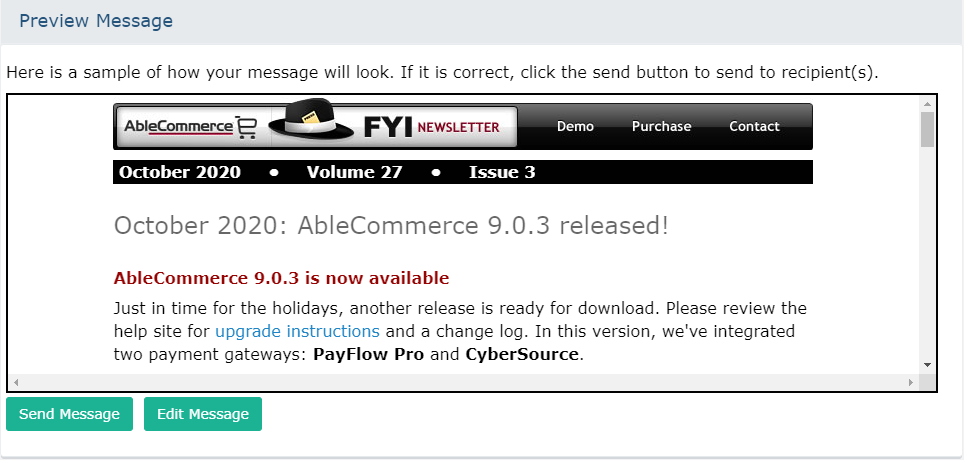
The next screen will show the message as HTML or TEXT depending on the format. Take a moment to view before sending.
If everything looks correct, then click the Send Message button. If you need to make changes, click the Edit Message button to go back.
After sending the email message, a confirmation page will be shown.

Click the Finish button to return to the Email List page. Once an email has been sent to a list, the date it was sent is recorded and shown from the Email List management section.
Exporting Data
From the bottom of the Edit Email List page, there are two options for exporting data.

Export Emails - When clicked, a CSV file is created with 3 pieces of data for each user record: email address, first name, and last name.
Export Users - When clicked, a CSV file is created with all user account information for each record: email address, first name, last name, company, address, city, state, postal code, country, phone, and fax.
Display of mailing lists in the storefront
For each public mailing list you add to your store, it will automatically appear in the following two locations:
Checkout Page
After the customer begins the checkout process, a section below
the Billing Address will
appear with all of your public mailing lists shown.

If the option to make the email list selected by default is on, then it will be shown checked and the customer must uncheck it to be removed. Once the customer is added to a mailing list, it will always show checked and the customer must either opt-out or uncheck the box.
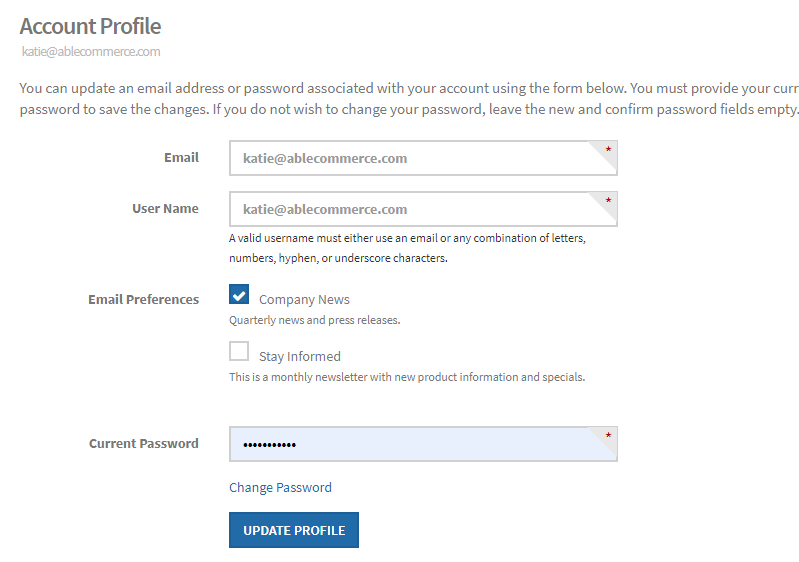
My Account Page
Customers can also manage their communication preferences after
creating an account. From the Account Profile page, the email
lists are shown. If the customer wishes to opt-out, they can uncheck
the box and click the Update
Profile button.
