Languages
Table of Contents Show
New Language
The retail storefront contains a vast amount of text that can be easily changed. This includes nearly every word or phrase. You will be able to modify any individual text string by editing the word or phrase from the retail side (in design mode), or by editing the language resource from the admin side. This section describes how to modify the language culture.
From the menu, go to Configure > Store > Languages.
Find the Languages listing as shown in the example below.
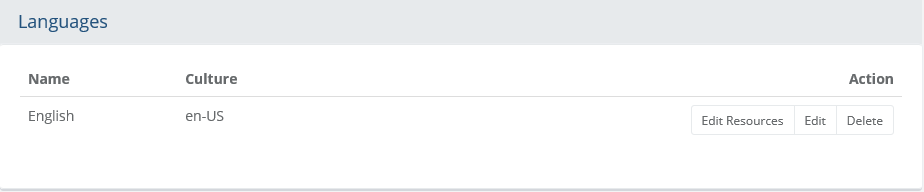
Within the Action column, press the Edit button for the default language culture, en-US.
This will bring you to the Edit Language popup screen, as shown in the example below.

The Name field is provided if you want to change the given name. The name is for reference, and only displayed for the admin user.
For the default language, the Culture is set to en-US. English (United States). If you will be changing the language resource strings, then you can choose a different culture from the selections available.
When finished, press the Update button to return to the Language listing page.
Add Language Culture
If you plan to switch your retail storefront to a different language, you may wish to add a new language and culture first. This will allow you to prepare the language file for translation without disrupting the current storefront.
From the menu, go to Configure > Store > Languages.
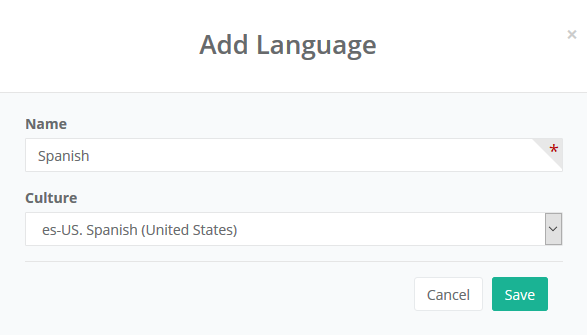
Press the Add Language button at the top-right corner of the page.
Similar to the instructions in the section above, enter a name for the language.
Select the proper culture and click Save.
Import Language Resources
From the menu, go to Configure > Store > Languages.
Press the Edit Resources button for a new language that you wish to import resource strings for.
Press the Import button at the top-right corner of the page. A popup form appears.
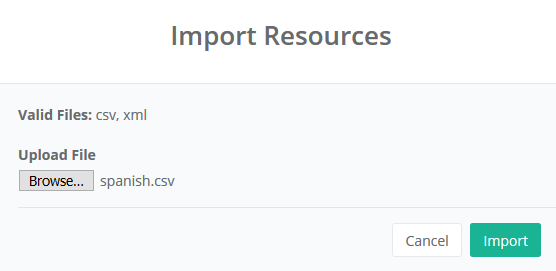
Select the Browse... button to select a physical file containing a set of new language strings.
NOTE: A valid file must be either a csv or xml type and contain the language string for each variable.
To copy and convert the existing language strings, find the "LangResources.csv file in the {website}\app_data\ folder.
Use Google Translator for a quick and easy method to convert the entire file to a new language.Press the Import button. The records from the file will be imported into the database.
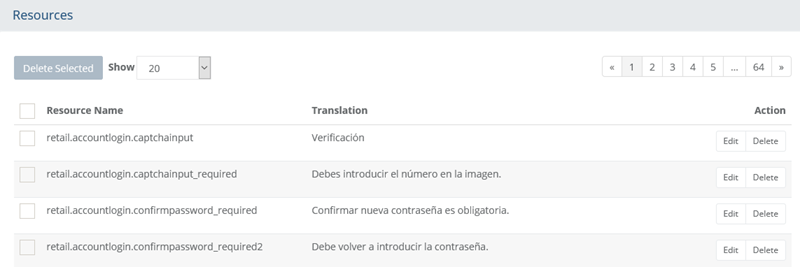
When finished, press the Reset button within the Filter Resources section to view the imported list.
Set the Active Language
Once you have imported a new language, you will need to make it active for the store.
From the Languages page, press the Active Language button from the upper-right corner of the page.
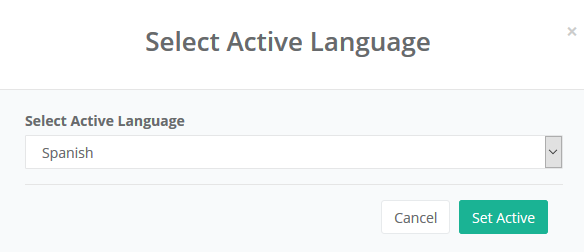
The Select Active Language popup appears as shown in the example above.
Select a new active language and press the Set Active button.
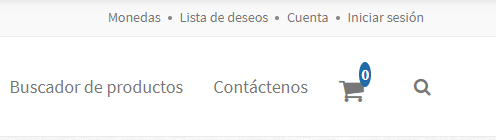
Visit the retail storefront to view the changes. As you can see from the example below, all text will be converted immediately.
Language Translations
To manage the existing language resources, there is a simple search form along with an interface allowing you to edit or delete any individual resource, or use a batch delete function. We do not recommend that you delete any language strings because the import process is capable of importing new data and incapable of updating existing data. Instead, you should remove the entire language and re-import for making mass updates.
Managing Language from the Admin
From the menu, go to Configure > Store > Languages.
Press the Edit Resources button for the language you want to edit. At the top of the page, a search form will be shown.
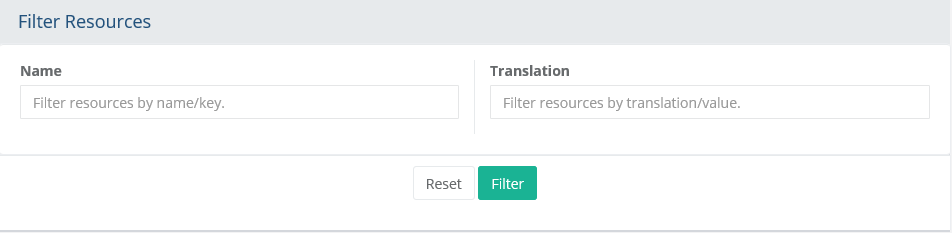
You can search on individual resource names or their translated values using the fields provided.
Press the Filter button to find the result(s), or press the Reset button to start over.
Once you have found the desired resource, press the Edit button from the Action column. This will display a popup as seen in the example below.
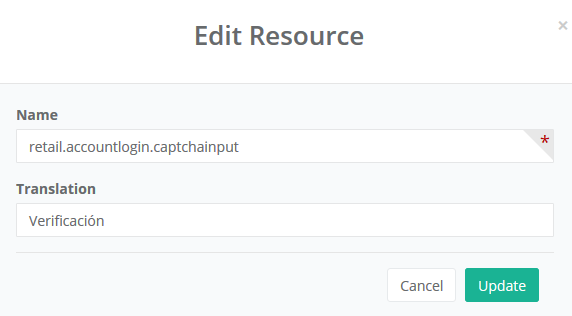
Change the translated value of the resource string in the Translation field.
NOTE: You should not change the Name field because it corresponds to code within the retail storefront. Changing this information, unless you have a reason to do so, will prevent the text from displaying.Press the Update button when finished.
To delete an individual resource and its translation, press the Delete button from the Action column. Not recommended unless you have a reason to do so.
Managing Language from the Retail storefront
Unless you are working with the entire set of language resources, it will be easier to make individual changes by viewing and editing from the retail storefront.
Make sure you are logged in as an admin user.
Visit the retail storefront and find the text that you would like to change.
Enable design mode by activating the slider on the right side of the page to the ON position.
Individual pieces of text can be changed throughout the store. Let's take a look at the text within the store header as shown in this example.
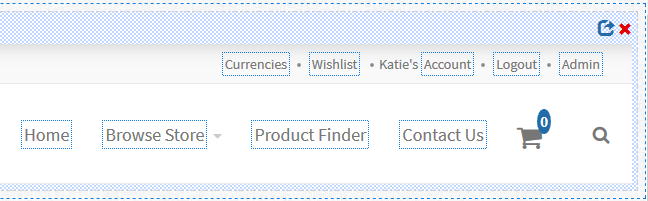
By hovering your mouse over a piece of text that is surrounded in the blue border, a small edit icon will appear.
Press the icon to open a popup form as shown in this example.
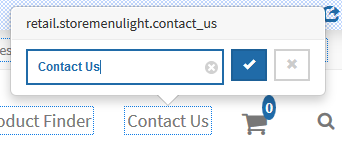
Change the text in the field provided.
Save by pressing the blue check-box. To cancel the change, press the X-box.
NOTE: Changes will take effect immediately. If you find text that cannot be edited directly, then it is part of a widget or an HTML snippet. For these cases, you will need to edit the text by using the Edit icon available in the upper-right corner of the section it is within.