Square Payments
Table of Contents Show
Square Payment Processing Features
Use Square's custom online payment form that’s responsive, secure, and PCI compliant. Customers can pay quickly with their favorite payment method, and businesses can rest assured they’ll get paid every time.
Square offers simple, transparent payment pricing with no hidden fees. Sellers only pay processing fees for each transaction.
PCI compliance - Square's online payment APIs facilitate your PCI-DSS compliance. Square takes on the burden of staying compliant, which means no checklists, audits, or assessments required.
Fast deposits - Get your money faster with Square. They deposit funds into your bank account as soon as the next business day.
Dispute management - Square has a dedicated disputes team to deal with the bank for you. Square will ask for the documentation needed and take care of the rest with no additional fees.
Fraud detection - Square uses machine learning to analyze every payment in our ecosystem, and continuously innovate in fraud prevention.

AbleCommerce supports all the standard features of the Square payment gateway.
Authorize
Authorize Capture (Sale)
Capture
Void
Refund
Partial Refund
Square is primarily an American provider. Amounts will be in USD.
Post-order Processing
All AbleCommerce payment gateway integrations offer full support for post-order processing. This means that after an order is placed, you can authorize, capture, refund, and void transactions from the AbleCommerce order administration area.
The Square Payments API does not support a capture for less than the original authorized amount. For this reason, the ability to change the capture amount has been removed for payments made with Square.
Some post-order processing features, such as refunds, may require that you enable credit card storage from the Configure > Security > System Settings page.
Part 1: Configure Square Payments with AbleCommerce
Before you install the AbleCommerce's Square Payments Plugin, you will need to first obtain a Square production account:
Step 1 - Obtain a Square Account
Go to https://squareup.com and create a new account, or login with an existing one.
Step 2 - Obtain API keys for Square Oauth
Confirm you are still logged in to your Square Dashboard.
In a new browser tab, navigate to https://developer.squareup.com
The first step is to create an Application. Use the +Add option to launch the application wizard.
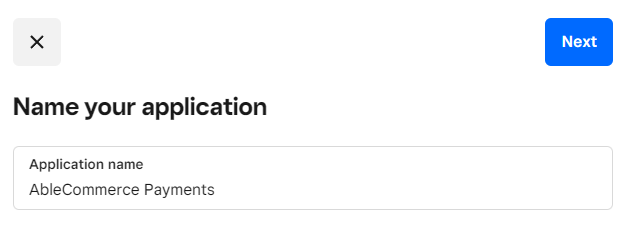
Enter a name for the application. (e.g. AbleCommerce Payments) and click Next.
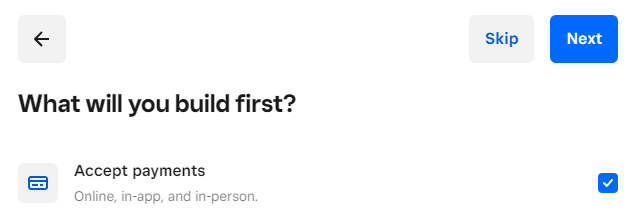
From the next screen, choose the "Accept payments" option before clicking Next.
On the Find your audience screen, choose "A company" and click the Complete button.
From the Developer Dashboard, select Production mode.

Note: If you wish to begin in Sandbox mode, you can ReAuthorize the Square application after initial configuration and testing.From the left menu, select OAuth.
There are two pieces of information you will need to install the AbleCommerce Square Payment plugin.
Production Application ID
Production Application Secret
The Production Redirect URL will be given to you in the next section, so stay on this page.
Step 3 - Install the Square Payment Plugin for AbleCommerce 9
In a new browser window, login to your AbleCommerce Merchant Admin.
Using the menu, go to the Plugins page.
Use the Filter Plugins option and select the type "Payment".
Find the Square Payments plugin.

Click the green Install button in the right column.
NOTE: The Square Payments plugin is only compatible with AbleCommerce version 9.0.10+When the confirmation popup appears, click the green Yes, install it button.
Once the plugin is installed, you will need to configure it.
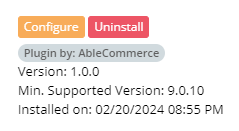
From the same Plugins page, find Square Payments and click the orange Configure button.
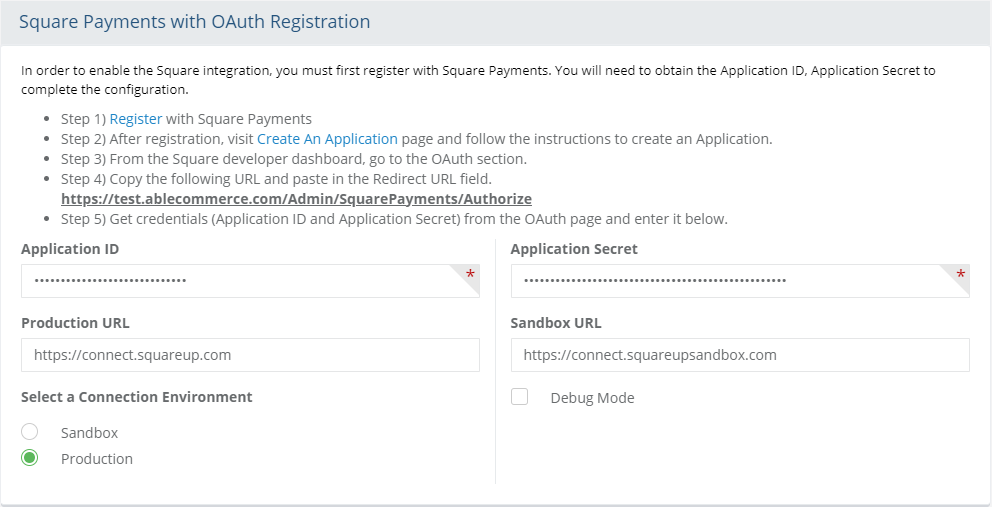
Copy the URL given in Step 4) of the on-screen instructions of the "Square Payments OAuth Registration" page within AbleCommerce. Reference the screenshot above. The URL will be different than the example as it is generated using your licensed domain name.
Now return to the Square Developer > OAuth page from Part 1 - Step 2 above.
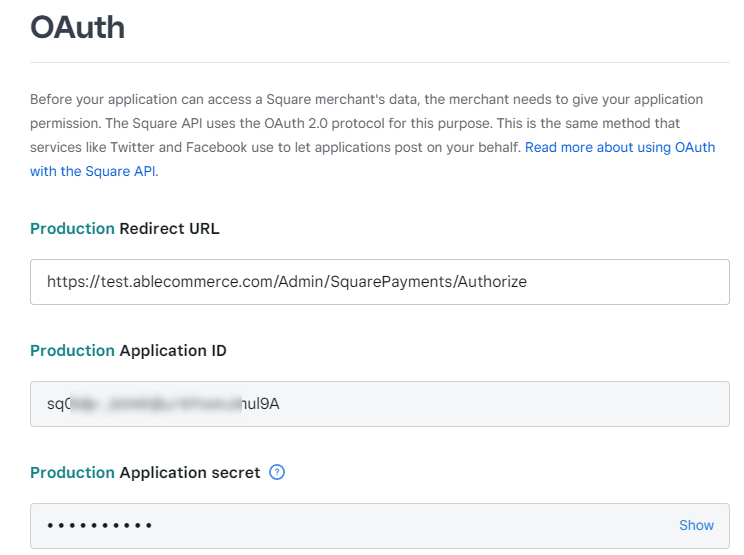
In the first field, paste the Production Redirect URL. Again, this will be different from the example screenshot above.
Next, copy the Production Application ID from Square to the Application ID field on the "Square Payments OAuth Registration" page.
Return to the Square OAuth page. Use the Show link to display the Application secret. Copy the code from Square and enter it into the Application Secret field on the "Square Payments OAuth Registration" page.
Return to the Square OAuth page and click the Save button before continuing.
Return to the "Square Payments OAuth Registration" page in AbleCommerce and confirm the Connection Environment is set to Production.
Click the Authorize button in the admin footer. If everything was entered properly in both configuration pages, you will see the main configuration page within AbleCommerce Square Payment Gateway page and a success message.

In the General Settings section of the Configure Square Payments page, select the Location ID for your business.
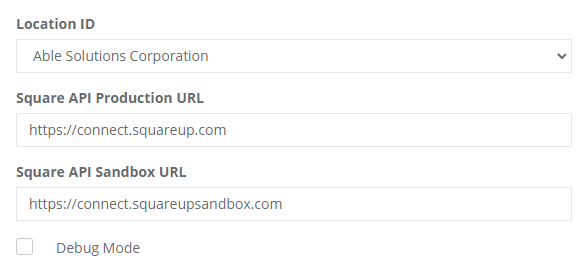
IMPORTANT: If you ever need to reconfigure the AbleCommerce Square plugin for a different production account, or to switch between Sandbox and Development modes, then you must ReAuthorize the Square Application using the orange button available under Gateway Mode.
Step 4 - Configure Square with a new Webhook for AbleCommerce
Webhooks are used to enable the different features within Square so they can be used with AbleCommerce. A Webhook is the connection method between the two applications. This step is required to obtain a Signature Key for the AbleCommerce Square Payment configuration page.
Confirm you are still logged in to your Square Developer Dashboard.
From the left menu, go to the Webhooks > Subscriptions page.
Click the Add subscription button.
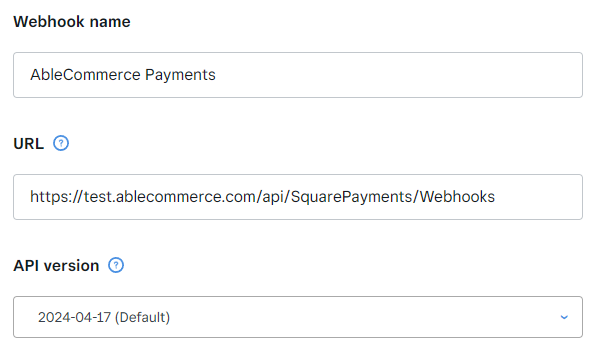
In the first field, enter a Webhook name. (e.g. AbleCommerce Payments)
For the second URL field, you will need to return to the AbleCommerce Square Payments configuration page and view the configuration section Webhook Settings.
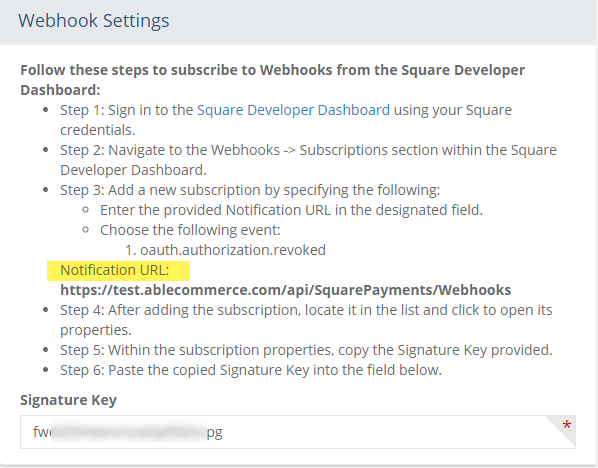
Copy the URL given in Step 3) of the on-screen instructions. Reference the screenshot above. The URL will be different than the example as it is generated using your licensed domain name.
Return to the Square Add a webhook subscription page, and paste this into the URL field. Again, this will be different from the example screenshot above.
For the API version, select the default.
Below the form, there will be a long list of Events. Scroll down and select oauth.authorization.revoked.

Click the Save button to finish adding the Webhook.
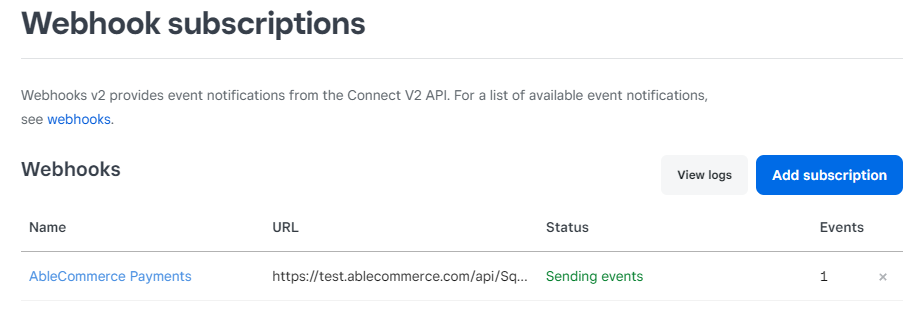
To complete the configuration within AbleCommerce, click the linked Webhook name. This will expand a window pane on the right.
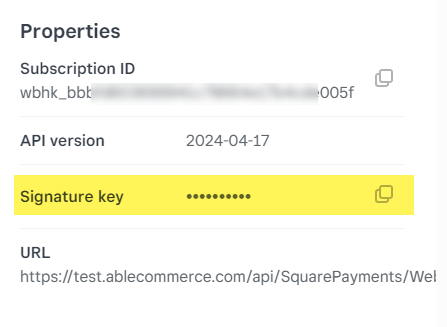
Find the Signature key section. The information is not shown on screen, so you will need to click the Copy icon.
Return to the AbleCommerce Square Payments configuration page, and Paste the information into the Signature Key field.
Click the Save button in the admin footer. The basic configuration with Square Payments is now complete.
In the Square Payments Settings section, the Web Payments SDK Production and Sandbox URLs are shown. Do not change this information unless directed by AbleCommerce support.
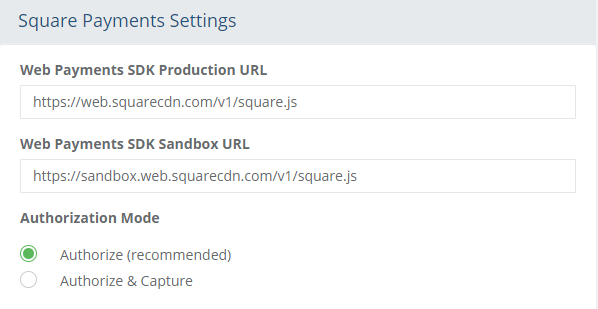
Before taking payments, confirm a few remaining settings:
- Choose the type of Authorization Mode.
Authorize: to request authorization without capturing funds at the time of purchase. You can capture authorized transactions through the order admin interface.
Authorize & Capture: to capture funds immediately at the time of purchase. You should not use this feature unless you are able to ship goods the same day of the sale.
Debug Mode: When debug mode is enabled, all messages sent to and received from Square Payments are logged. This should only be enabled at the direction of qualified support personnel.
Default Log File Location: ..\App_Data\Logs\[gatewayname].log
At the bottom of the page, click the Save and Close button to finish.
Part 2: Setting up the Payment Methods
The Square Payments integration has a single payment form for credit or debit cards. This is different than the default payment form in AbleCommerce which requires a customer to select their card type. Overall, the payment experience provided by Square at checkout is easier but you will need to perform some additional changes within AbleCommerce to remove the existing payment methods.
If you will implement Square for debit/credit cards, perform the following steps:
Login to your AbleCommerce Merchant Admin
Using the menu, go to the Configure > Payment > Methods page. You will see a list of payment methods similar to the image below:
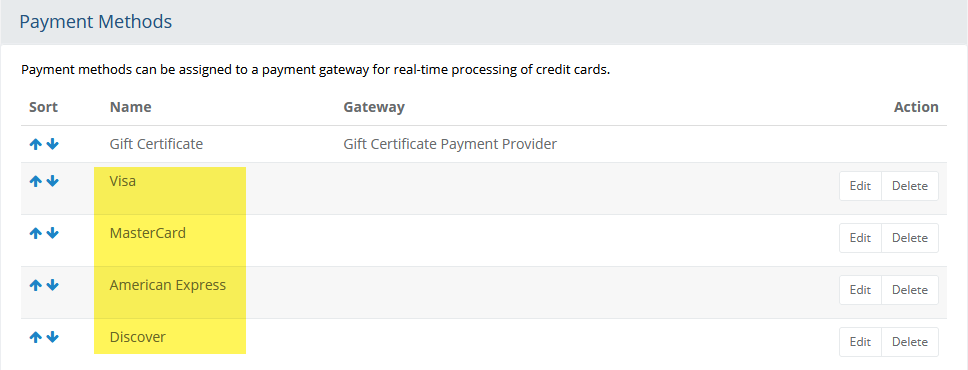
The payment methods highlighted in the above image will be replaced by the Square payment form.Click the Add Payment Method in the upper-right corner.
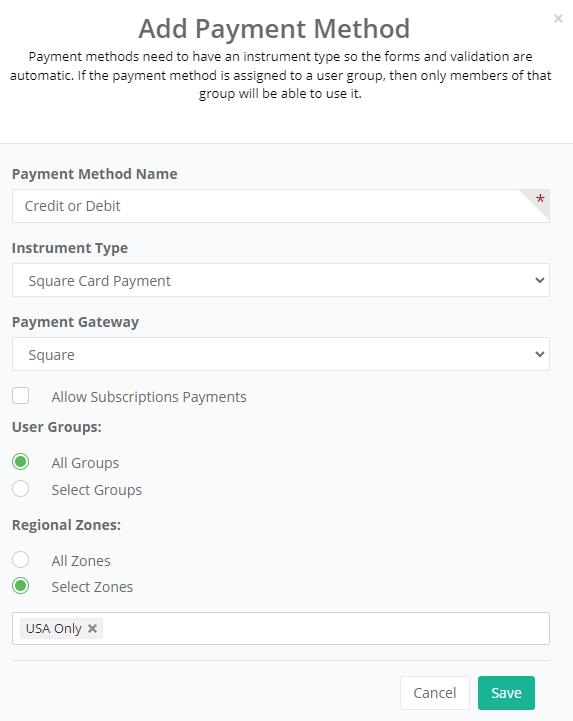
Enter the desired Payment Method Name (e.g. Credit or Debit)
Select "Square Card Payment" for the Instrument Type.
Select "Square" for the Payment Gateway.
If desired, you can select specific groups so that only users in that group can view this payment type.
You should limit the regional zone selection to USA only, as Square does not support international payments.
Allow Subscriptions Payments is not supported at this time.
Click the Save button. This will add the new payment method option.
Next, you will need to delete all the payment methods that are being replaced by Square. (e.g. Visa, Mastercard, American Express, Discover)
If desired, you can assign Google Pay and Apple Pay to the Square payment gateway by editing each of those methods and assigning the "Square" payment gateway.
When finished, you can sort the payment methods so "Credit or Debit" appears before others in the list. The first sort option is the default on the payment page.
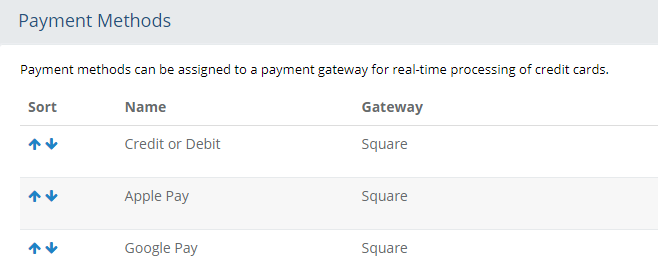
The following image is an example of how the above configuration will be presented on the final checkout page:

*The Apple Pay payment method will only appear for devices that support Apple Pay.
NOTE: There may be additional features within your Square account that have not been tested with AbleCommerce. If you enable unsupported features, you are doing so at your own risk.